
There’s something undeniably comforting about returning to the classics, don’t you think? When the craving for something sweet hits, I often find myself daydreaming about a luscious No Bake Chocolate Pie that evokes memories of cherished family gatherings. Imagine the rich, creamy chocolate melting in your mouth, perfectly offset by the crunch of a buttery crust—it’s pure bliss.
I stumbled upon this delightful recipe while browsing for quick yet indulgent desserts to whip up on warm summer evenings, and I knew I’d hit the jackpot. Not only does it come together in no time, but this pie also promises to impress any guests who might pop by, transforming an ordinary evening into a celebratory feast. Perfect for those who are tired of store-bought sweets or looking to up their homemade dessert game, this recipe brings both ease and flavor right to your kitchen. Let’s dive into this chocolate fantasy and turn the everyday into something truly special!
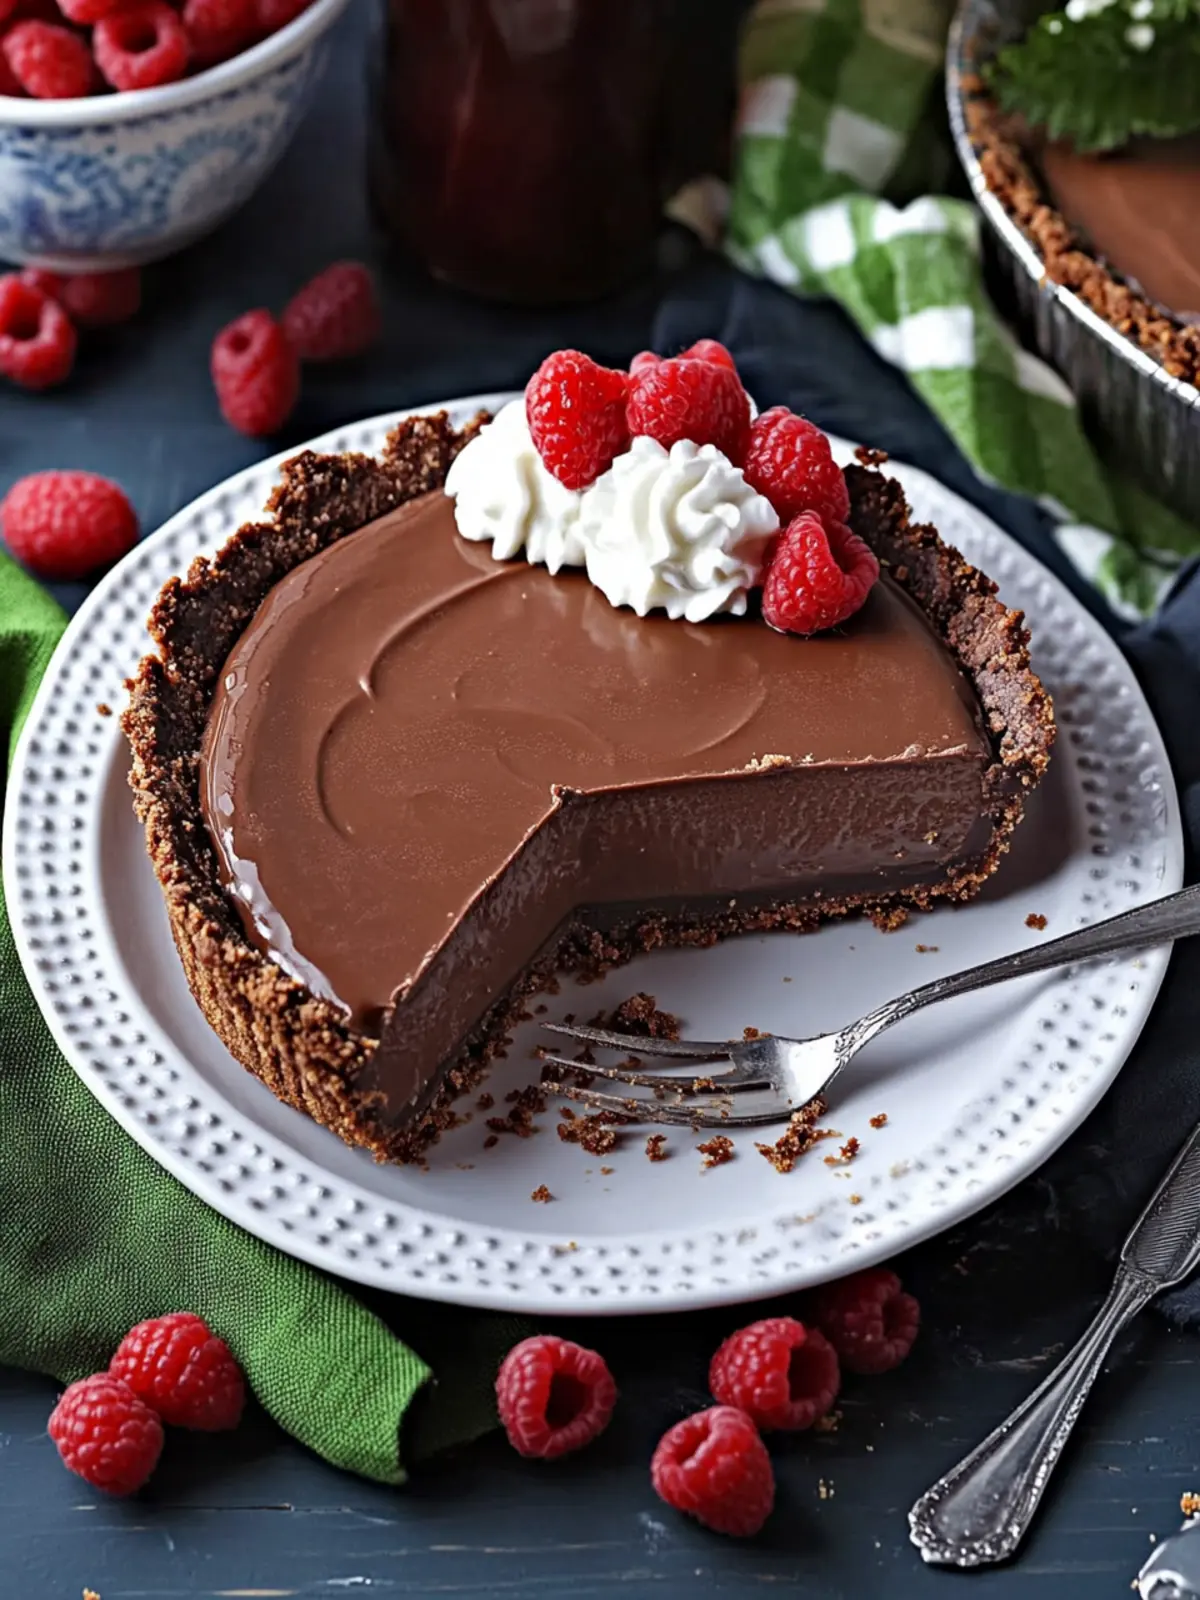
Why is No Bake Chocolate Pie a Must-Try?
Indulgent flavor: Each bite delivers a creamy chocolate experience that’s simply irresistible.
Quick and easy: This pie comes together effortlessly, making it perfect for those last-minute dessert cravings.
Impressive presentation: A stunning dessert that looks as good as it tastes – your guests will be raving!
Versatile recipe: Customize it with toppings like whipped cream or fresh berries to suit any occasion.
Comforting classic: A nostalgic treat that never fails to bring smiles and satisfaction.
If you’re looking to elevate your dessert game, check out my other exciting dessert recipes that will spruce up your collection!
No Bake Chocolate Pie Ingredients
Indulge in every bite of this heavenly dessert!
For the Crust
- Pie crust – A pre-baked crust adds that delightful crunch to balance the creamy filling.
For the Chocolate Filling
- Sugar – Sweetness brings out the rich chocolate flavor, so don’t skimp!
- Cornstarch – This helps thicken the filling without the need for baking, ensuring a smooth texture.
- Salt – A pinch enhances the sweetness and deepens the chocolate taste.
- Milk – Whole milk is best for a creamier filling, but you can substitute with any milk you prefer.
- Egg yolks – These add richness to the filling; lightly beaten for even incorporation.
- Butter – A touch of butter ensures a silky finish.
- Vanilla – Vanilla extract elevates the dessert, balancing the chocolate beautifully.
- Semi-sweet chocolate chips – The star of the show, delivering that drool-worthy chocolate experience; feel free to use dark chocolate for a more intense flavor.
This No Bake Chocolate Pie is a delightful way to satisfy your sweet tooth while enjoying the simplicity of homemade goodness!
How to Make No Bake Chocolate Pie
-
Combine ingredients: In a saucepan, blend sugar, cornstarch, and salt together nicely. This mixture will form the base of your velvety filling.
-
Whisk in milk: Gradually add milk to the saucepan, whisking until the mixture is smooth and free of lumps. This step is key for a silky texture!
-
Cook the mixture: Cook over medium heat, stirring constantly until it thickens to a pudding-like consistency—usually about 5 to 7 minutes. You will notice it changing as it heats up!
-
Incorporate eggs and butter: Remove the saucepan from the heat, and quickly stir in the slightly beaten egg yolks, butter, and vanilla. You’ll see the mixture transform into a luscious chocolate delight.
-
Melt the chocolate: Add the semi-sweet chocolate chips to the mixture, stirring continuously until they melt completely and the filling is smooth and glossy.
-
Fill the crust: Pour the rich chocolate mixture into your baked pie crust, smoothing it out evenly with a spatula.
-
Chill to set: Pop the pie into the refrigerator, allowing it to chill for at least 3 hours until it firms up perfectly. Patience is key for that dreamy texture!
Optional: Top with whipped cream and fresh berries for an extra touch of indulgence.
Exact quantities are listed in the recipe card below.
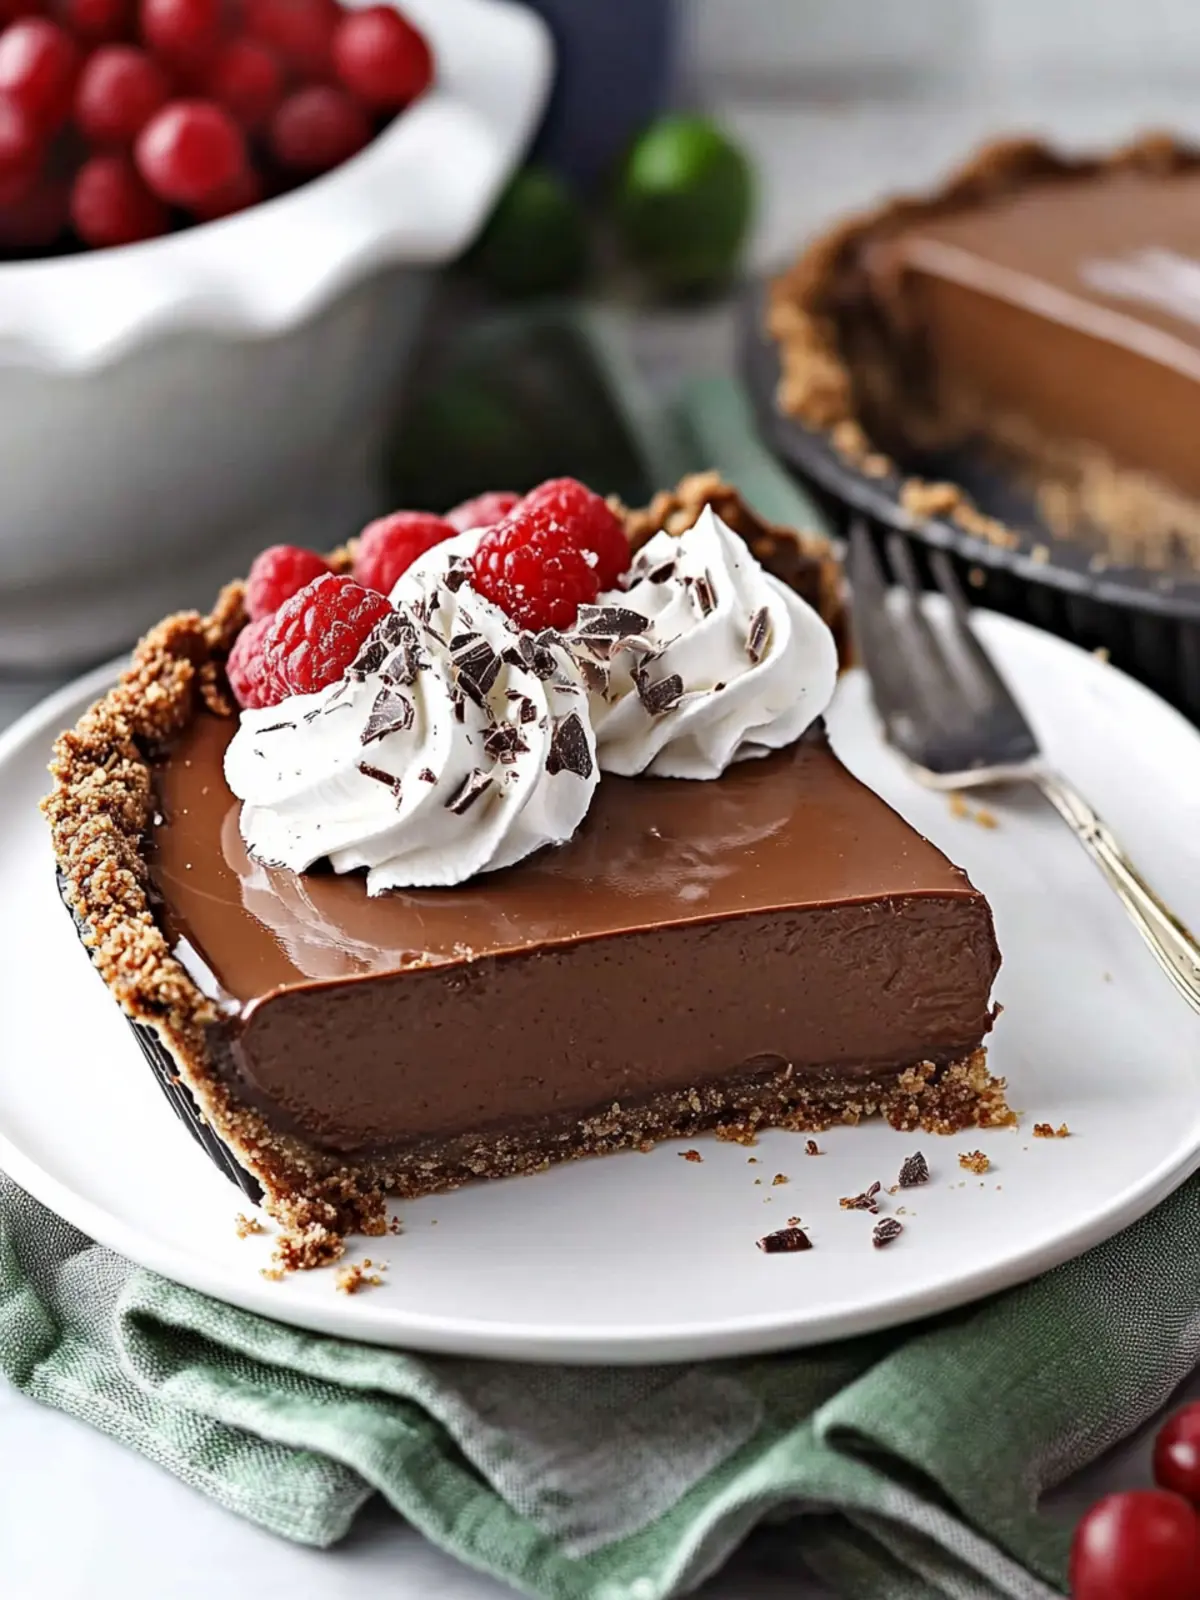
Expert Tips for No Bake Chocolate Pie
-
Chill Time: Allow the pie to set for at least 3 hours in the fridge. This step ensures the filling firms up beautifully without any runny surprises.
-
Whisk Carefully: When adding milk, whisk it in gradually to avoid lumps—this is crucial for achieving a silky, smooth filling that enhances your No Bake Chocolate Pie’s texture.
-
Cooling Off: After cooking the mixture, let it cool slightly before mixing in the egg yolks to prevent them from scrambling. Keep the temperature just right for a velvety finish!
-
Versatile Crust: Feel free to customize your crust! A chocolate cookie crust adds an extra layer of flavor, and it’s a delightful alternative to a traditional pie crust.
-
Quality Ingredients: Use high-quality chocolate chips for the best flavor impact. Your No Bake Chocolate Pie deserves nothing less than the richest chocolate experience!
How to Store and Freeze No Bake Chocolate Pie
Fridge: Store your No Bake Chocolate Pie covered with plastic wrap or in an airtight container for up to 5 days. This keeps it fresh and ready for indulging!
Freezer: If you want to save it for later, wrap the pie tightly in plastic wrap and then aluminum foil. It can be frozen for up to 2 months. Thaw in the fridge before serving.
Reheating: There’s no need to reheat this pie—enjoy it chilled right from the fridge for the best experience.
What to Serve with No Bake Chocolate Pie?
Transform your dessert experience into a delightful feast with these scrumptious pairings that highlight the chocolatey richness of your pie.
-
Fresh Berries: The tartness of strawberries or raspberries beautifully balances the sweetness of the pie, offering a refreshing contrast. Try sprinkling them on top for a pop of color!
-
Whipped Cream: A dollop of light, fluffy whipped cream adds a luscious creaminess that enhances each bite, making it even more indulgent.
-
Ice Cream: Serve with a scoop of vanilla or coffee ice cream to create a decadent blend of flavors and temperatures. The creamy texture complements the pie’s chocolatey goodness perfectly.
-
Chocolate Sauce: Drizzle warm or cold chocolate sauce over individual slices for an extra layer of chocolatey bliss that chocolate lovers dream of.
-
Coffee: A robust cup of coffee beautifully contrasts the richness of the pie, enhancing its flavors and making it an adults-only treat.
-
Mint Leaves: Garnish with fresh mint leaves for a vibrant twist that adds a refreshing note; plus, it brightens the presentation!
No Bake Chocolate Pie Variations
Ready to take your No Bake Chocolate Pie to new heights? Here are some delightful ways to customize your pie for a truly unique experience!
-
Dairy-Free: Substitute whole milk with almond or coconut milk, and use dairy-free chocolate chips for a creamy treat everyone can enjoy.
-
Sugar-Free: Swap out regular sugar for your favorite sugar substitute, ensuring your pie stays sweet without the calories.
-
Nutty Delight: Add crushed nuts to the crust for added texture and flavor. Chopped pecans or walnuts work beautifully!
-
Minty Fresh: Stir in a few drops of peppermint extract into your chocolate filling for a refreshing mint chocolate experience.
-
Spicy Twist: Sprinkle in a pinch of cayenne or chili powder to your chocolate mixture for a surprising and delightful kick.
-
Cocoa Powder Boost: Replace one cup of milk with 1/4 cup cocoa powder and an extra 1/4 cup of sugar to intensify that chocolate flavor and richness.
-
Fruit Infusion: Top your pie with fresh raspberries or crushed strawberries for a burst of fruity flavor that pairs perfectly with chocolate.
-
Gourmet Toppings: Consider drizzling caramel sauce or chocolate ganache on top, along with a sprinkle of flaky sea salt for a gourmet touch.
Feel free to mix and match these variations to create a No Bake Chocolate Pie that’s entirely your own!
Make Ahead Options
These No Bake Chocolate Pies are perfect for busy weeknights or last-minute gatherings! You can prepare the chocolate filling up to 24 hours in advance. Simply follow the recipe through step 5, then cool the mixture and transfer it to an airtight container. Refrigerate until you’re ready to fill the pie crust. The crust, made from a pre-baked pie shell, can also be prepared a few days ahead; just cover it with plastic wrap to keep it fresh. When you’re ready to serve, simply pour the chilled filling into the crust, chill for at least 3 hours, and garnish with whipped cream or berries for that show-stopping finish. Enjoy delicious dessert made easy!
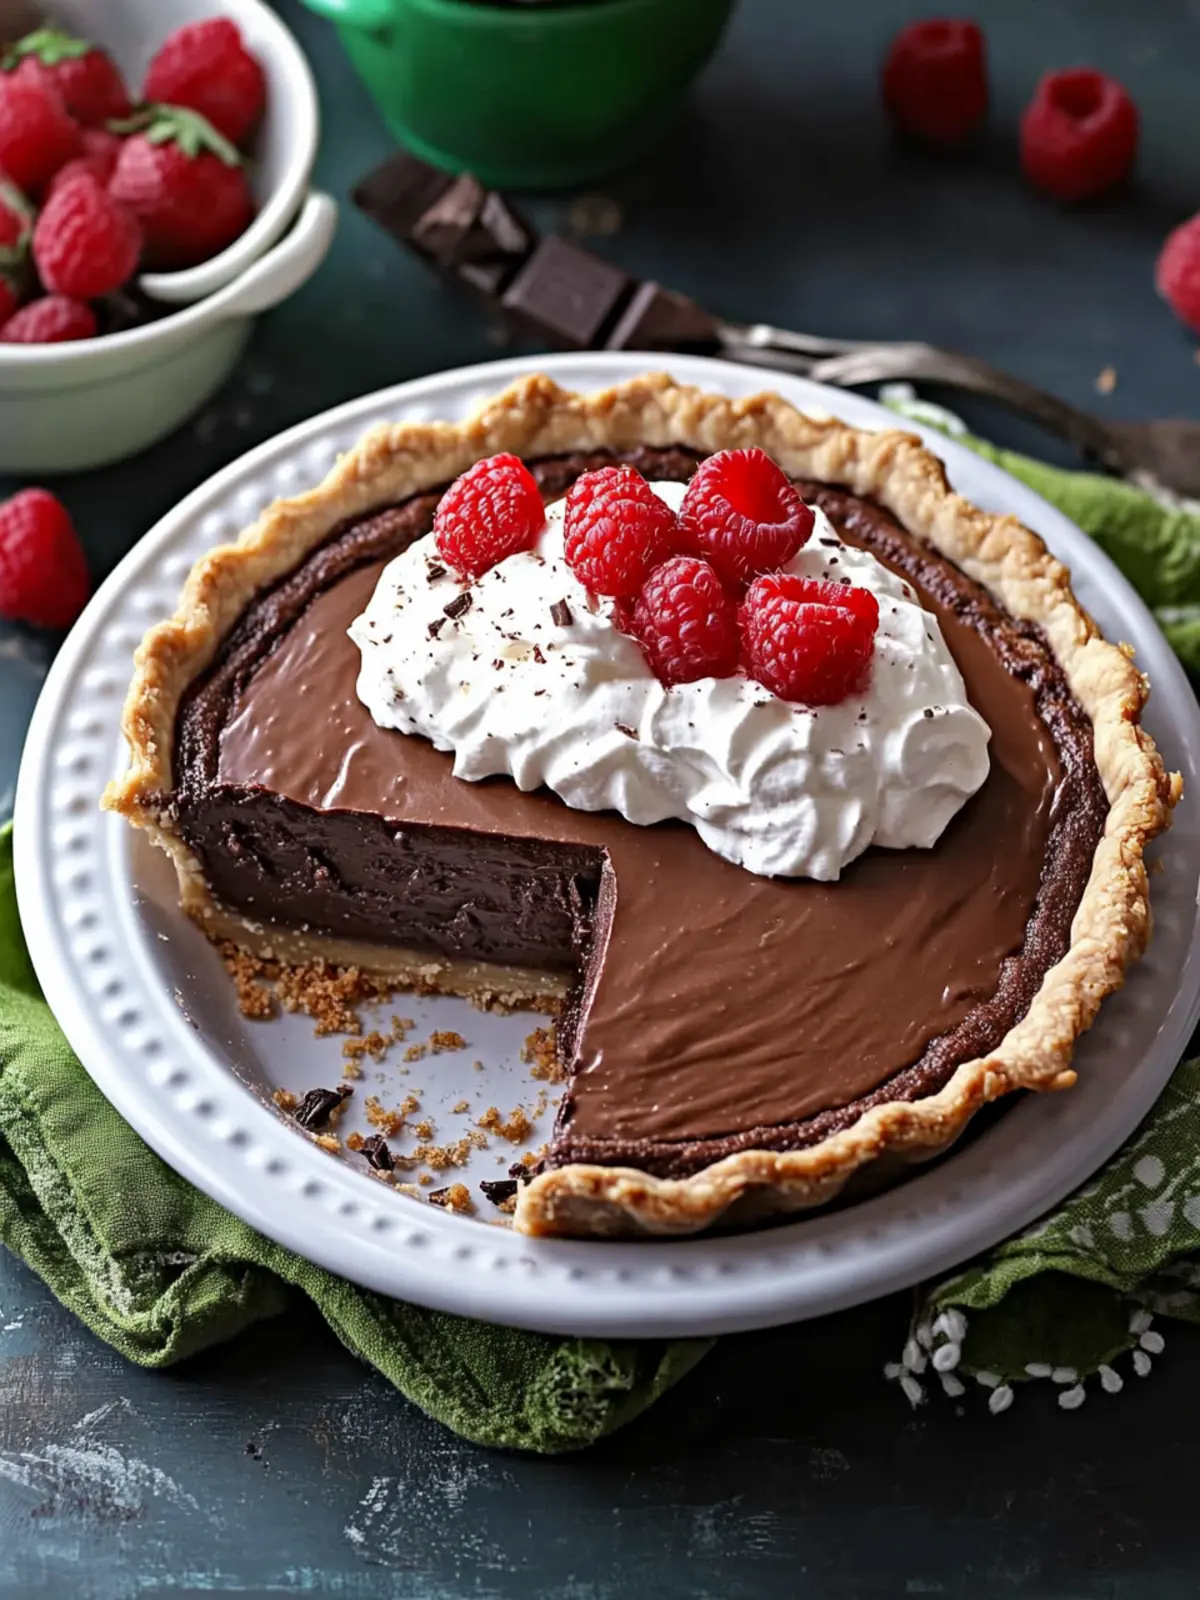
No Bake Chocolate Pie Recipe FAQs
What type of chocolate should I use for the pie?
Absolutely! I recommend using semi-sweet chocolate chips for a balanced richness, but dark chocolate chips can also be used for a more intense flavor experience. If you prefer a milder sweetness, opt for milk chocolate chips, keeping in mind that it’ll be sweeter.
How do I know when the filling is thick enough?
The filling should be thickened to a pudding-like consistency. This typically takes about 5 to 7 minutes of cooking over medium heat. Stir continuously until you can see trails in the mixture when you pass the whisk through it—it should hold its shape but still be pourable!
How should I store the No Bake Chocolate Pie?
For the fridge, cover the pie with plastic wrap or store it in an airtight container. It’ll stay fresh for up to 5 days! For longer storage, wrap the entire pie tightly in plastic wrap, followed by aluminum foil. It can be frozen for up to 2 months. Just remember to thaw it in the fridge before serving for the best texture.
Can I use a different type of crust?
Very! You can absolutely switch up the crust to suit your tastes! A chocolate cookie crust adds an extra layer of flavor that’s perfect for chocolate lovers. Simply crush your favorite chocolate cookies and mix with melted butter, then press it into the pie dish to form the crust before adding the filling.
Is this No Bake Chocolate Pie suitable for those with dietary restrictions?
Yes! To make it dairy-free, you can substitute whole milk with almond milk or a non-dairy milk of your choice and use dairy-free chocolate chips. Also, for those with egg allergies, you can experiment with a cornstarch or silken tofu mixture as a thickener, though I recommend following a specific dairy-free recipe for best results.
How do I prevent lumps in the filling?
To prevent lumps, remember to gradually whisk the milk into the dry ingredients in step 2. Additionally, continuously stir the mixture while cooking over medium heat; this ensures a smooth and creamy filling, creating that dreamy texture we all crave in this No Bake Chocolate Pie!
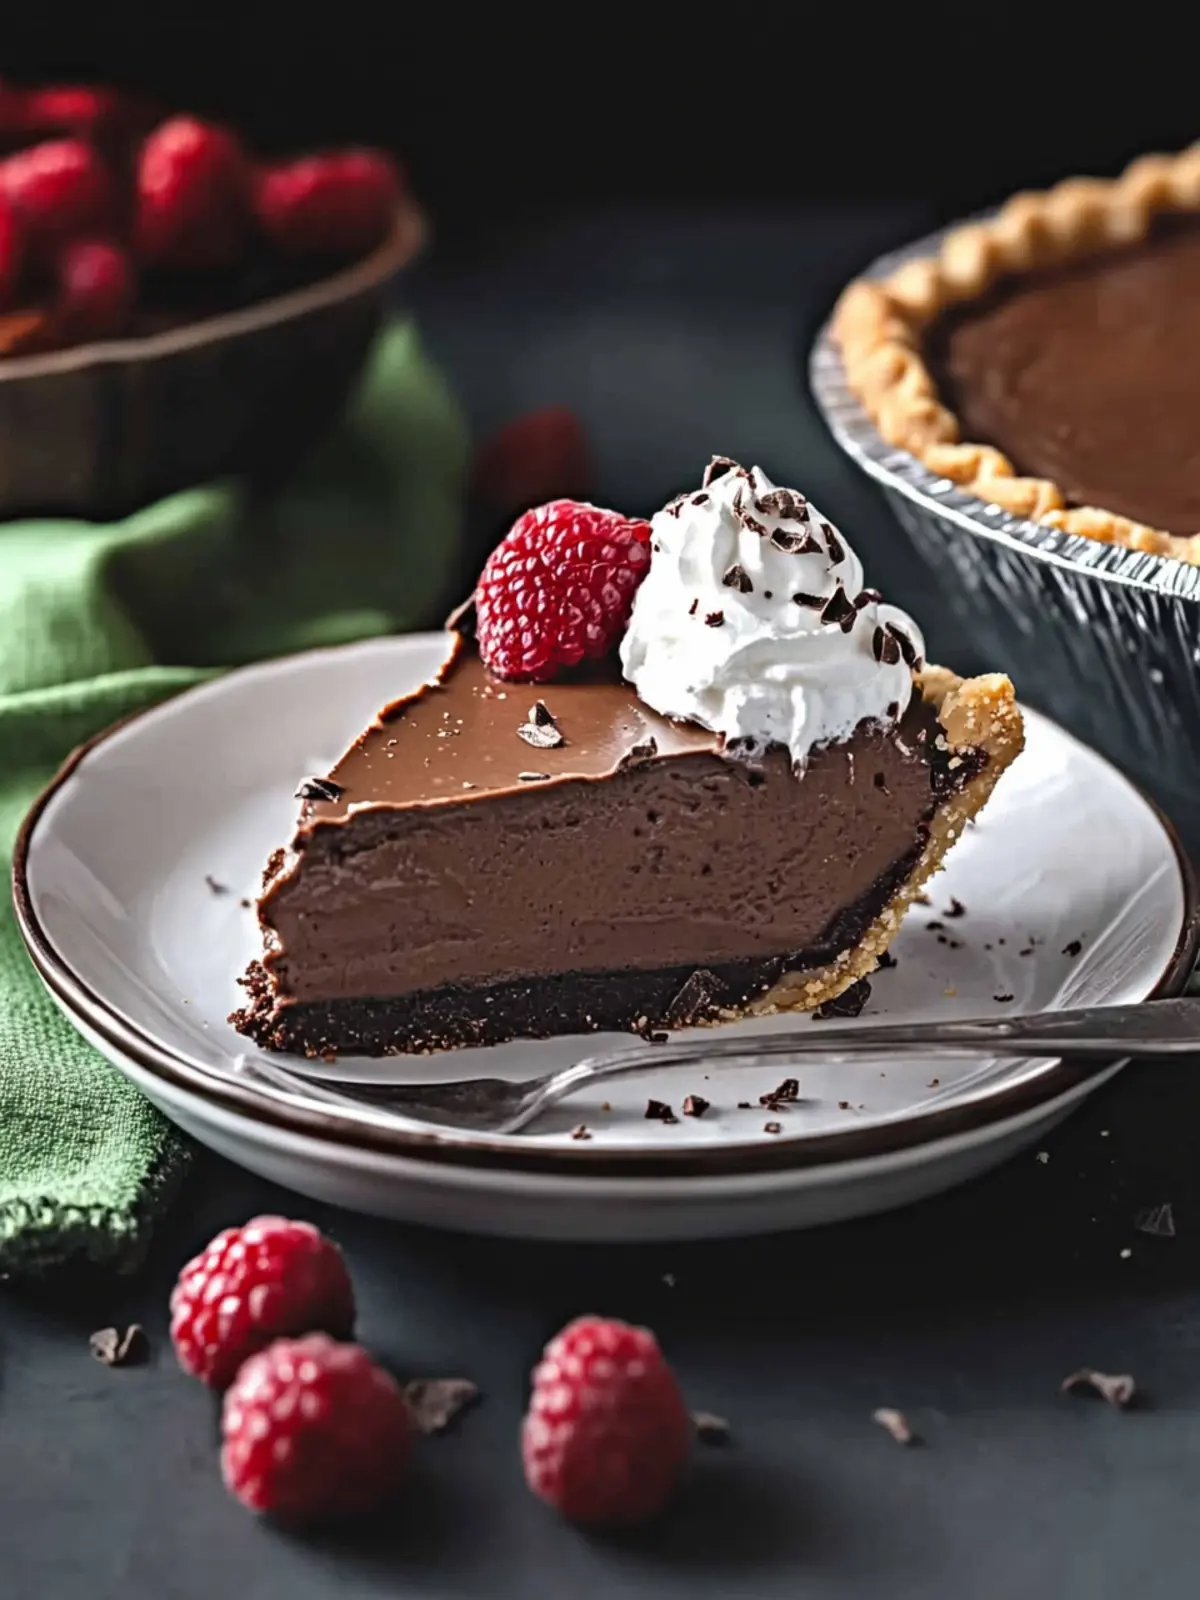
Decadent No Bake Chocolate Pie That’ll Steal Your Heart
Ingredients
Equipment
Method
- In a saucepan, blend sugar, cornstarch, and salt together nicely.
- Gradually add milk to the saucepan, whisking until smooth.
- Cook over medium heat, stirring constantly until it thickens to a pudding-like consistency, about 5 to 7 minutes.
- Remove from heat, and stir in the slightly beaten egg yolks, butter, and vanilla.
- Add the semi-sweet chocolate chips, stirring until melted and smooth.
- Pour the chocolate mixture into the baked pie crust, smoothing out evenly.
- Chill in the refrigerator for at least 3 hours until firm.