
Imagine a hot summer afternoon, the sun beating down and the ice cream truck’s familiar jingle echoing in the distance. Instead of rushing to the corner for a scoop, I found a delightful way to bring that joy home—by making Chocolate Fudge Pops! These treats remind me of childhood summers, but with a grown-up twist that’s both indulgent and incredibly simple.
With just two basic ingredients, you’ll create a dessert that not only satisfies those chocolate cravings but also dazzles friends and family. As the chocolatey goodness melts in your mouth, it transports you back to carefree days, taking every gathering to the next level.
So if you’re ready to ditch the fast food routine and treat yourself to something homemade, join me in whipping up these luscious Chocolate Fudge Pops that are pure bliss in every bite!
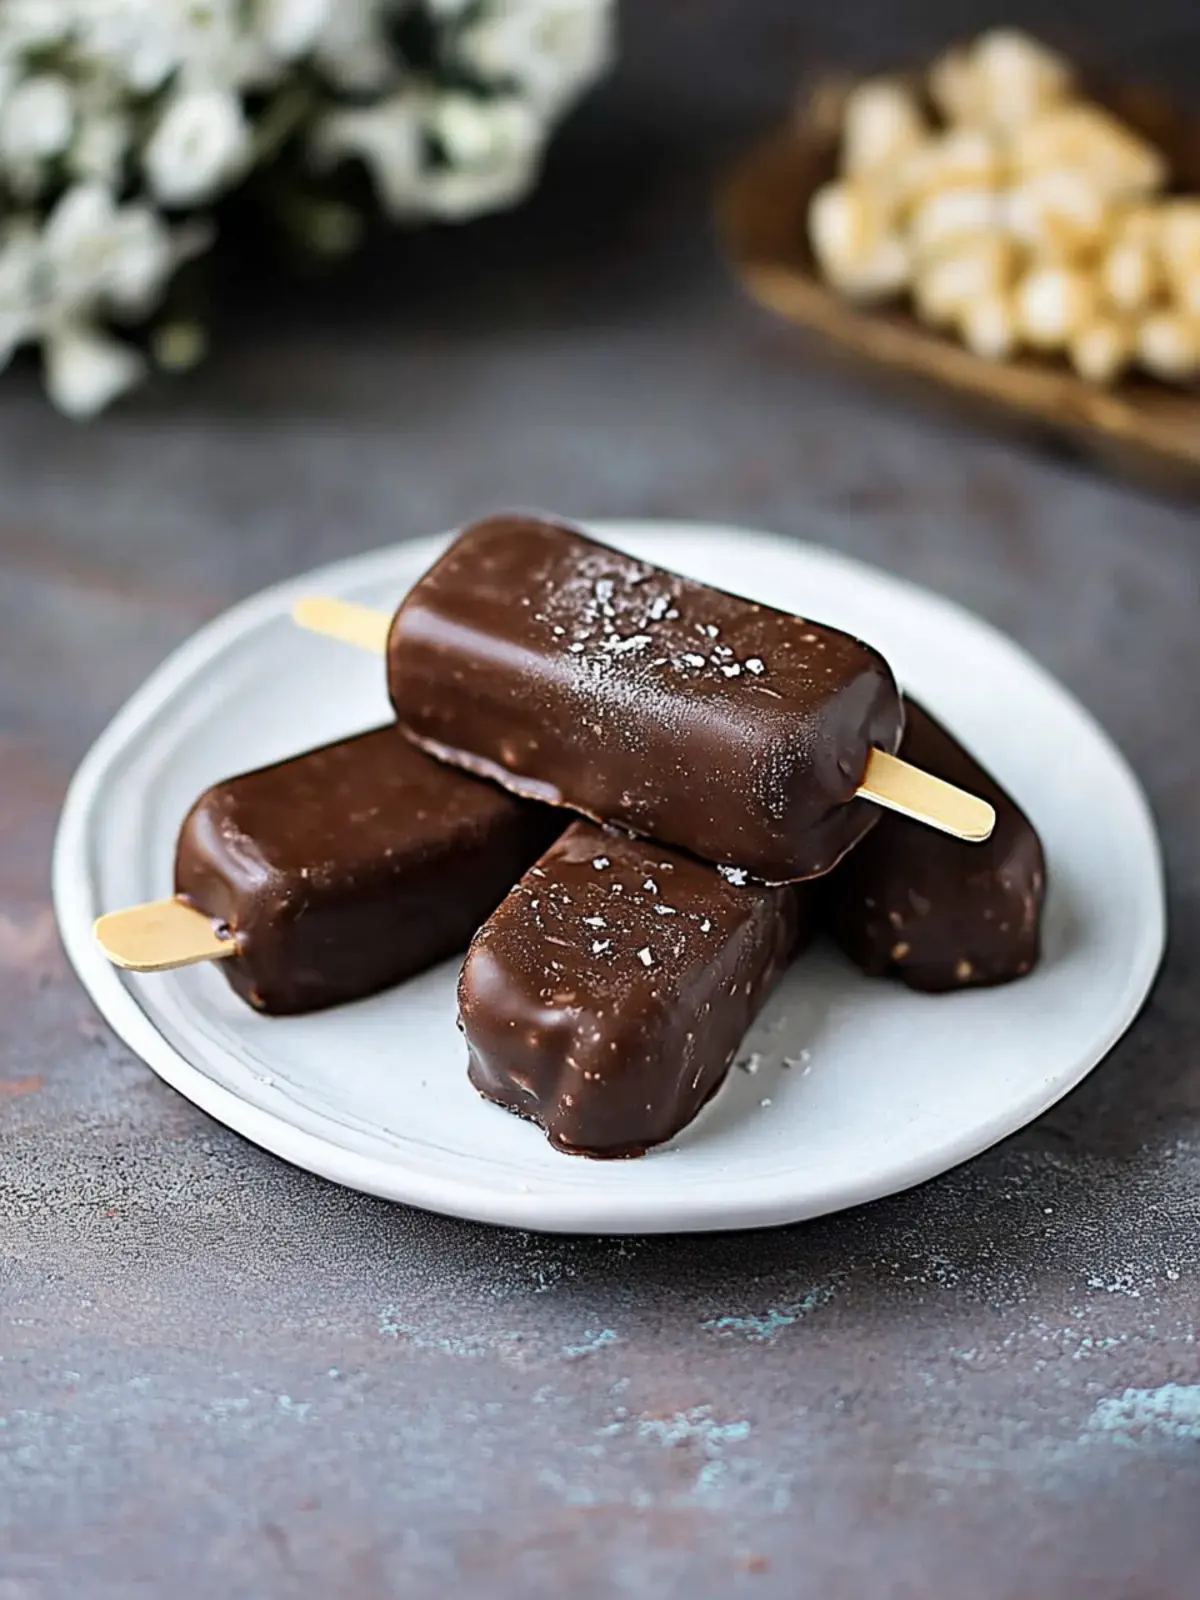
Why will you love Chocolate Fudge Pops?
Indulgence at its finest: These Chocolate Fudge Pops are a creamy, rich delight that will satisfy any chocolate lover’s cravings.
Quick and easy: With just two ingredients, you’ll have a delectable dessert ready in no time!
Nostalgic flavors: Reminisce about childhood summers while enjoying an elevated version of your favorite frozen treat.
Impressive presentation: Serve these pops at gatherings, and watch as they steal the show!
Customizable options: Add your favorite toppings or mix-ins to make each pop uniquely yours.
Get ready to indulge in a homemade treat that everyone will love!
Chocolate Fudge Pops Ingredients
• Create your own frozen bliss with these simple ingredients.
For the Fudge Base
- Milk – 2 ⅔ cups of this creamy goodness provides the perfect base for your Chocolate Fudge Pops.
- Instant pudding mix (chocolate) – 1 small box (3.9 oz or 1.4 oz if sugar-free) creates the rich, chocolaty flavor you crave in these delightful pops.
Feel free to get creative with these ingredients to make your own variation of Chocolate Fudge Pops!
How to Make Chocolate Fudge Pops
-
Combine the milk and instant pudding mix in a mixing bowl. Use a whisk to stir them together until they’re fully blended. This should take about 2 minutes to ensure a smooth consistency.
-
Whisk the mixture vigorously until it thickens. You’ll want to see it transform into a luscious, creamy texture—this typically takes about 3-5 minutes.
-
Pour the chocolate mixture into your chosen popsicle molds. Make sure to leave a little space at the top to allow for expansion as they freeze!
-
Insert sticks into the molds. If your popsicle molds didn’t come with sticks, you can use wooden craft sticks or even sturdy spoons as a delightful substitute.
-
Freeze the molds for at least 4 hours, or until the pops are completely solid. The waiting game can be tough, but trust me, it will be worth it!
-
Remove the pops from the molds gently. If they’re stuck, run warm water over the outside of the mold for a few seconds to help loosen them.
Optional: Drizzle with melted chocolate and sprinkle with crushed nuts before serving for an extra touch!
Exact quantities are listed in the recipe card below.
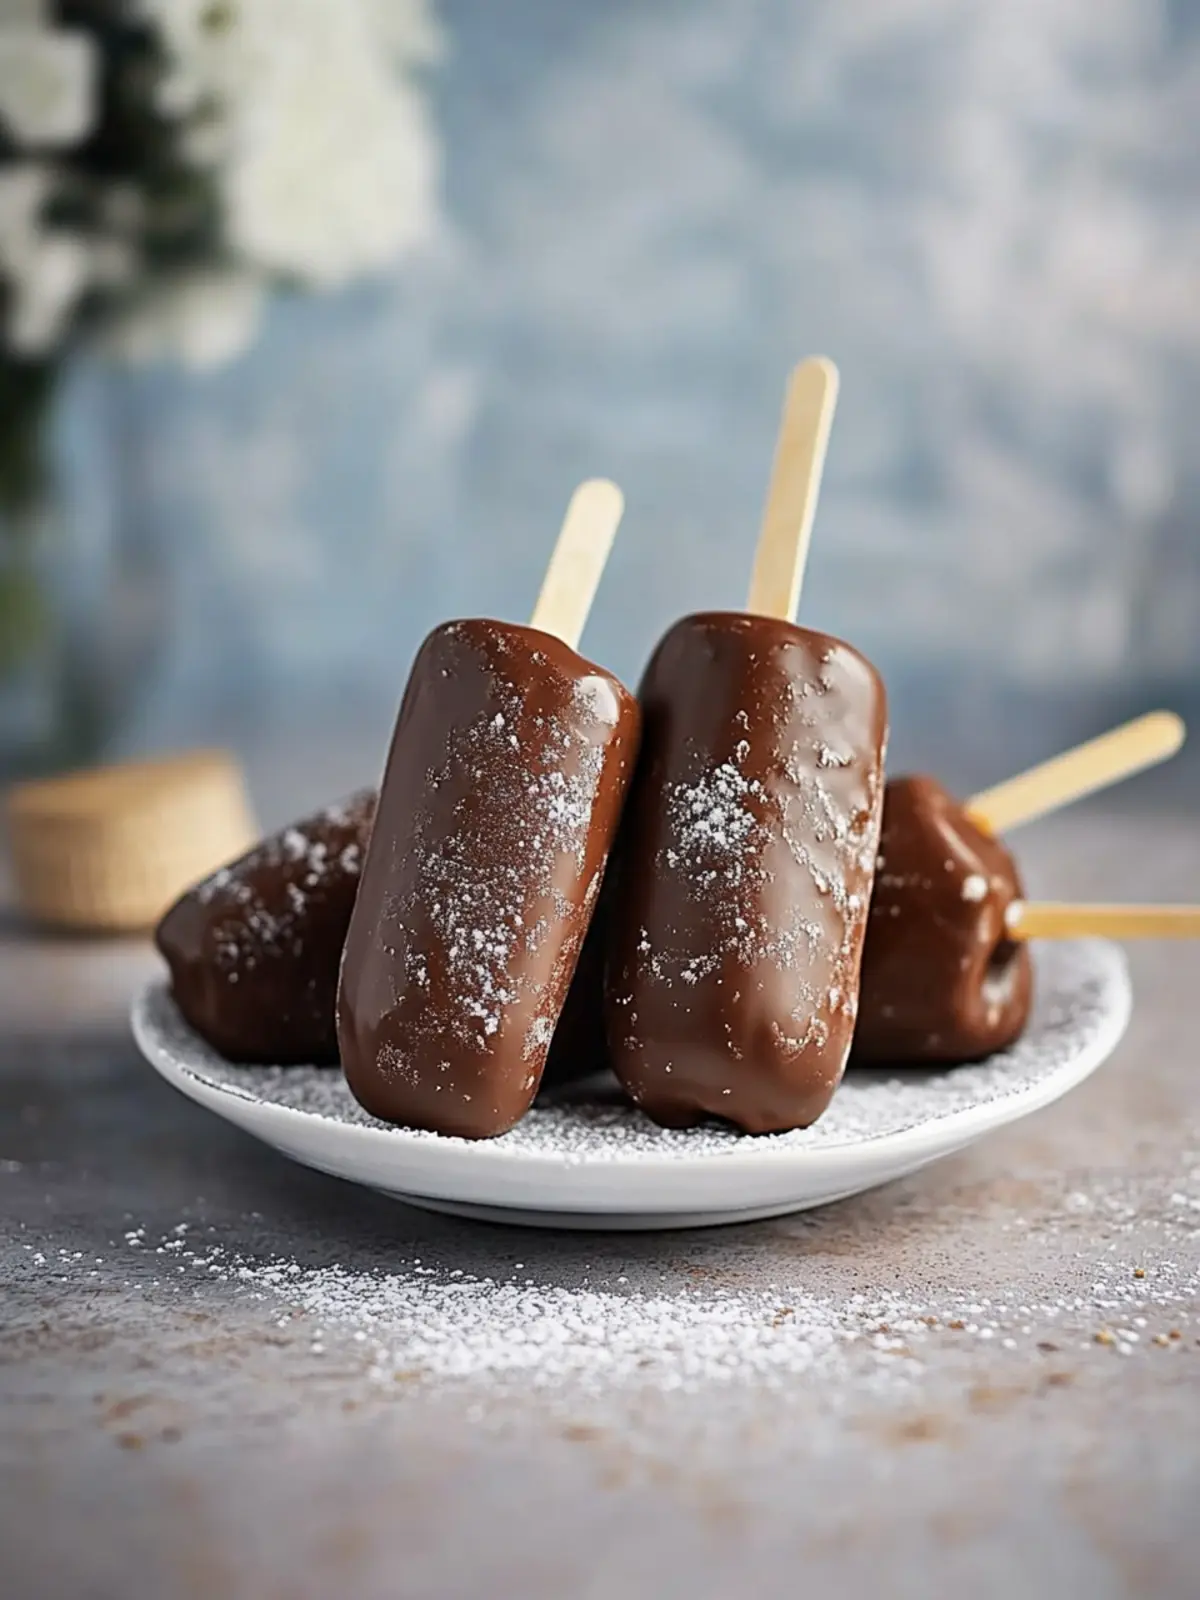
What to Serve with Chocolate Fudge Pops?
Imagine a warm summer evening, the sun setting and laughter filling the air as you enjoy these heavenly treats.
-
Fresh Berries: The bright, tart sweetness of strawberries or raspberries perfectly balances the richness of the chocolate. Fresh fruit brings a refreshing element to your dessert table.
-
Whipped Cream: Light and airy whipped cream adds a luscious touch that enhances the fudgy goodness. A dollop on top makes them extra indulgent!
-
Chocolate Drizzle: A warm, melted chocolate drizzle elevates your pops to gourmet status. This adds an extra layer of chocolatey goodness for true chocoholics.
-
Nuts: Toasted almonds or hazelnuts provide a crunchy contrast to the smooth pops. Sprinkle these on for extra flavor and texture.
-
Mint Leaves: Fresh mint offers a burst of color and a refreshing herbal note that cuts through the richness. Pair a mint leaf with each pop for a delightful surprise.
-
Coffee: A rich cup of coffee or an espresso complements the dessert beautifully, creating a cozy pairing reminiscent of your favorite café indulgence.
-
Ice Cream Toppings: Serve alongside a bowl of assorted toppings—think sprinkles, crushed cookies, or caramel sauce—for a build-your-own dessert bar that brings out everyone’s creativity.
Each of these pairings magically enhances your Chocolate Fudge Pops experience, turning a simple treat into an unforgettable occasion!
Variations & Substitutions for Chocolate Fudge Pops
Get ready to explore some delightful twists on your Chocolate Fudge Pops, making them even more irresistible!
-
Dairy-Free: Substitute regular milk with almond or coconut milk for a creamy, dairy-free delight.
-
Nutty Delight: Add ½ cup of chopped walnuts or almonds to the mixture before pouring into molds for extra crunch and flavor.
-
Minty Fresh: Mix in a few drops of peppermint extract to infuse a refreshing mint flavor into your Chocolate Fudge Pops.
-
Spicy Kick: Stir in a pinch of chili powder or cayenne pepper for a surprising heat that perfectly complements the chocolate.
-
Fruit Fusion: Incorporate a tablespoon of your favorite fruit puree—like raspberry or strawberry—into the chocolate mixture for a fruity twist.
-
Sweetener Swap: Use a sugar substitute like stevia or monk fruit in place of sugar-based pudding mix for a low-calorie option while maintaining sweetness.
These variations encourage you to get creative and cater to your family’s taste preferences or dietary needs. Each twist brings a unique flair to the classic recipe, making your homemade pops a delectable treat!
Expert Tips for Chocolate Fudge Pops
• Quality Ingredients: Use high-quality milk and instant pudding to achieve the richest chocolate flavor in your Chocolate Fudge Pops.
• Perfect Mixing: Ensure you whisk the pudding mixture long enough to avoid graininess; it’s typically 3-5 minutes for the best consistency.
• Use Fun Molds: Experiment with different popsicle molds to create fun shapes! Silicone molds make it easier to release your pops without breaking.
• Add Toppings: Want extra flair? Consider adding sprinkles, nuts, or a drizzle of caramel before freezing to enhance your Chocolate Fudge Pops.
• Storage Tips: Wrap pops individually in plastic wrap if not consuming immediately, to avoid freezer burn and keep them tasting fresh.
Make Ahead Options
These Chocolate Fudge Pops are perfect for meal prep! You can prepare the chocolate base up to 24 hours in advance. Simply combine the milk and instant pudding mix and whisk until smooth, then cover and refrigerate. This step helps maintain the luscious texture of your fudge pops. When you’re ready to enjoy, just pull the mixture from the fridge, pour it into your molds, and finish with the freezing step. Let them freeze for at least 4 hours before enjoying the frozen delights. With this make-ahead strategy, you’ll have sweet treats ready for those busy summer days, all without sacrificing flavor or quality!
Storage Tips for Chocolate Fudge Pops
Freezer: Store your Chocolate Fudge Pops in an airtight container in the freezer for up to 2 months for optimal freshness.
Individually Wrapped: If you’d like to keep them extra fresh, wrap each pop in plastic wrap before placing them in the container to prevent freezer burn.
Thawing: Allow the pops to sit at room temperature for 5-10 minutes before enjoying, as this enhances the creamy texture when you bite into them.
Avoid Clumping: If storing multiple pops, separate them with parchment paper in the container to prevent sticking together.
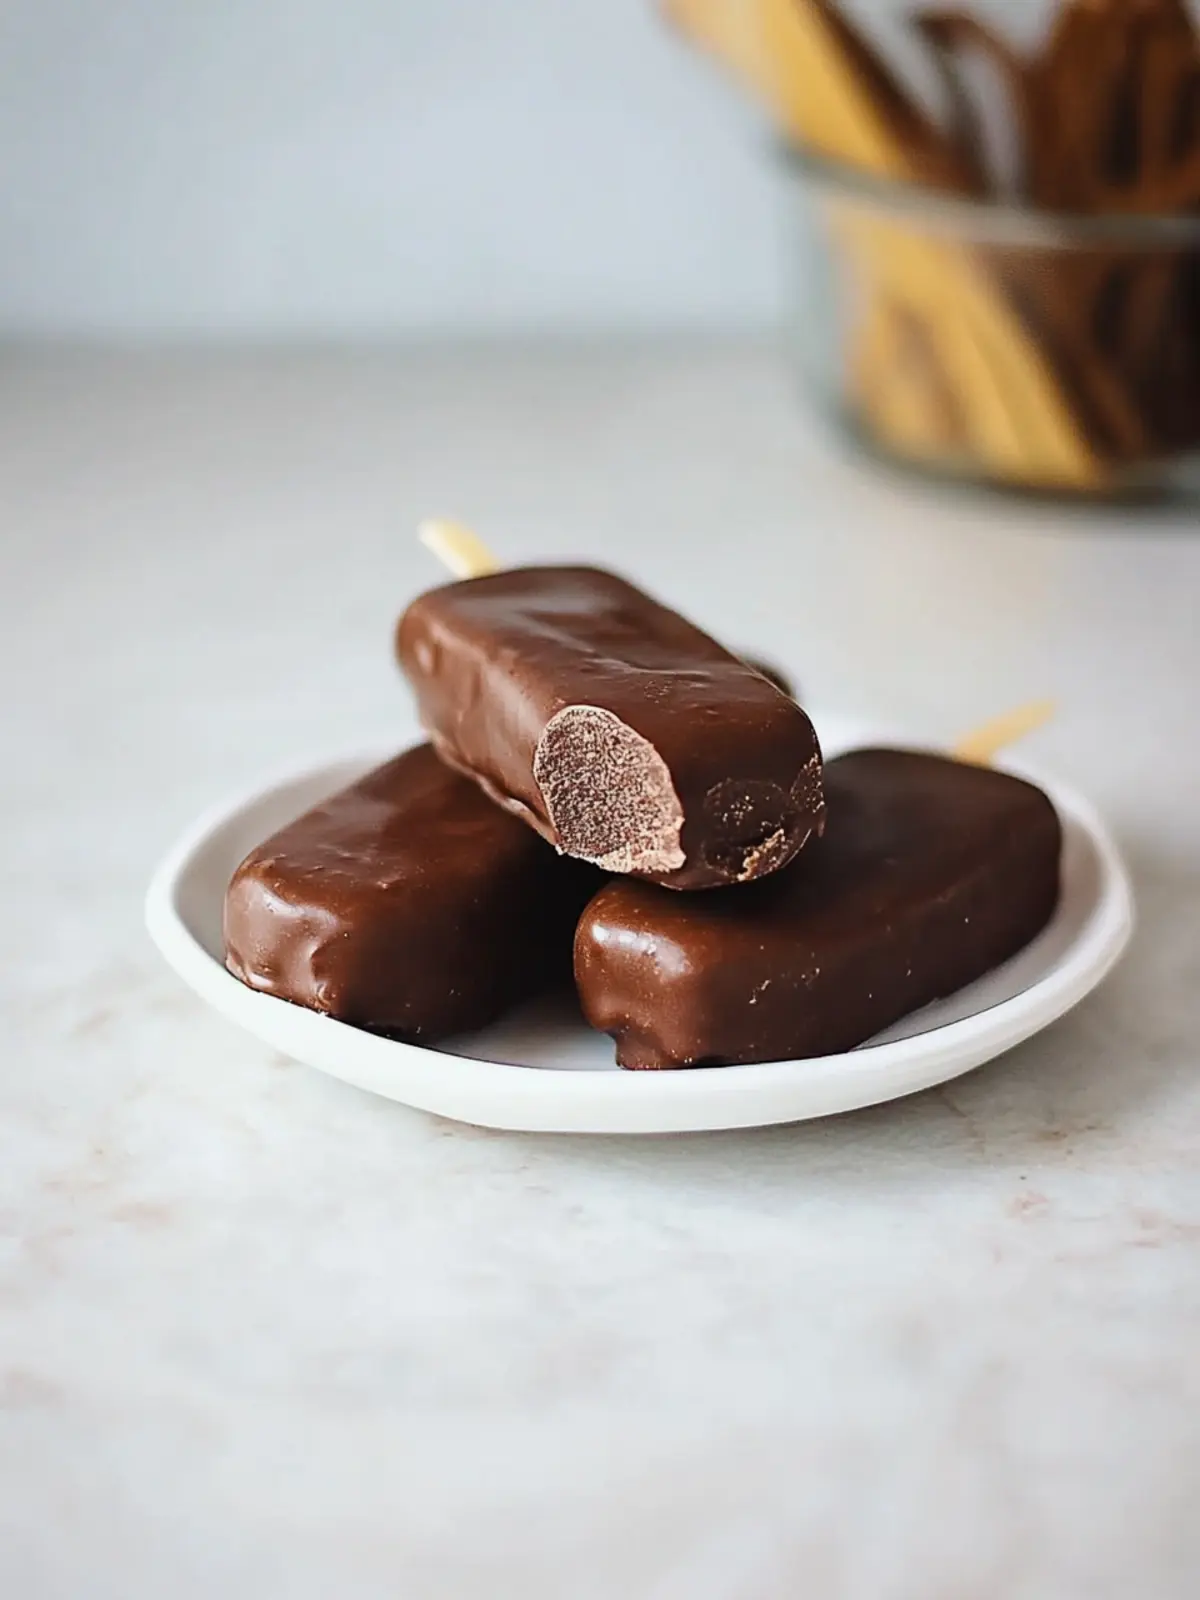
Chocolate Fudge Pops Recipe FAQs
What type of milk works best for Chocolate Fudge Pops?
Absolutely! For the creamiest Chocolate Fudge Pops, I recommend using whole milk. However, if you’re looking for a lighter alternative, skim milk or even almond milk can work well, though they may affect the richness slightly.
How should I store Chocolate Fudge Pops?
You’ll want to keep your Chocolate Fudge Pops stored in an airtight container in the freezer for up to 2 months. Wrap each pop in plastic wrap for extra protection against freezer burn. This simple step helps maintain their delightful flavor and texture!
Can I freeze Chocolate Fudge Pops for longer than two months?
While you technically can freeze Chocolate Fudge Pops beyond two months, I recommend enjoying them within that timeframe for the best taste and creaminess. If left too long, they can develop ice crystals, which may affect their smooth texture.
What should I do if my pops are stuck in the mold?
No worries! If your Chocolate Fudge Pops are difficult to remove, simply run warm water over the outside of the mold for about 10-15 seconds. This gentle heat will help loosen them, allowing you to pull them out without breaking.
Can I make these Chocolate Fudge Pops dairy-free?
Very much so! Simply substitute the milk with a dairy-free alternative, such as almond or coconut milk. Be mindful that using non-dairy milk may alter the flavor slightly, but it will still be delicious!
What toppings can I add to my Chocolate Fudge Pops?
The more the merrier! Customizing your Chocolate Fudge Pops is half the fun. Consider adding crushed nuts, sprinkles, or a drizzle of your favorite syrup like caramel or chocolate before freezing to create a unique and delectable treat!
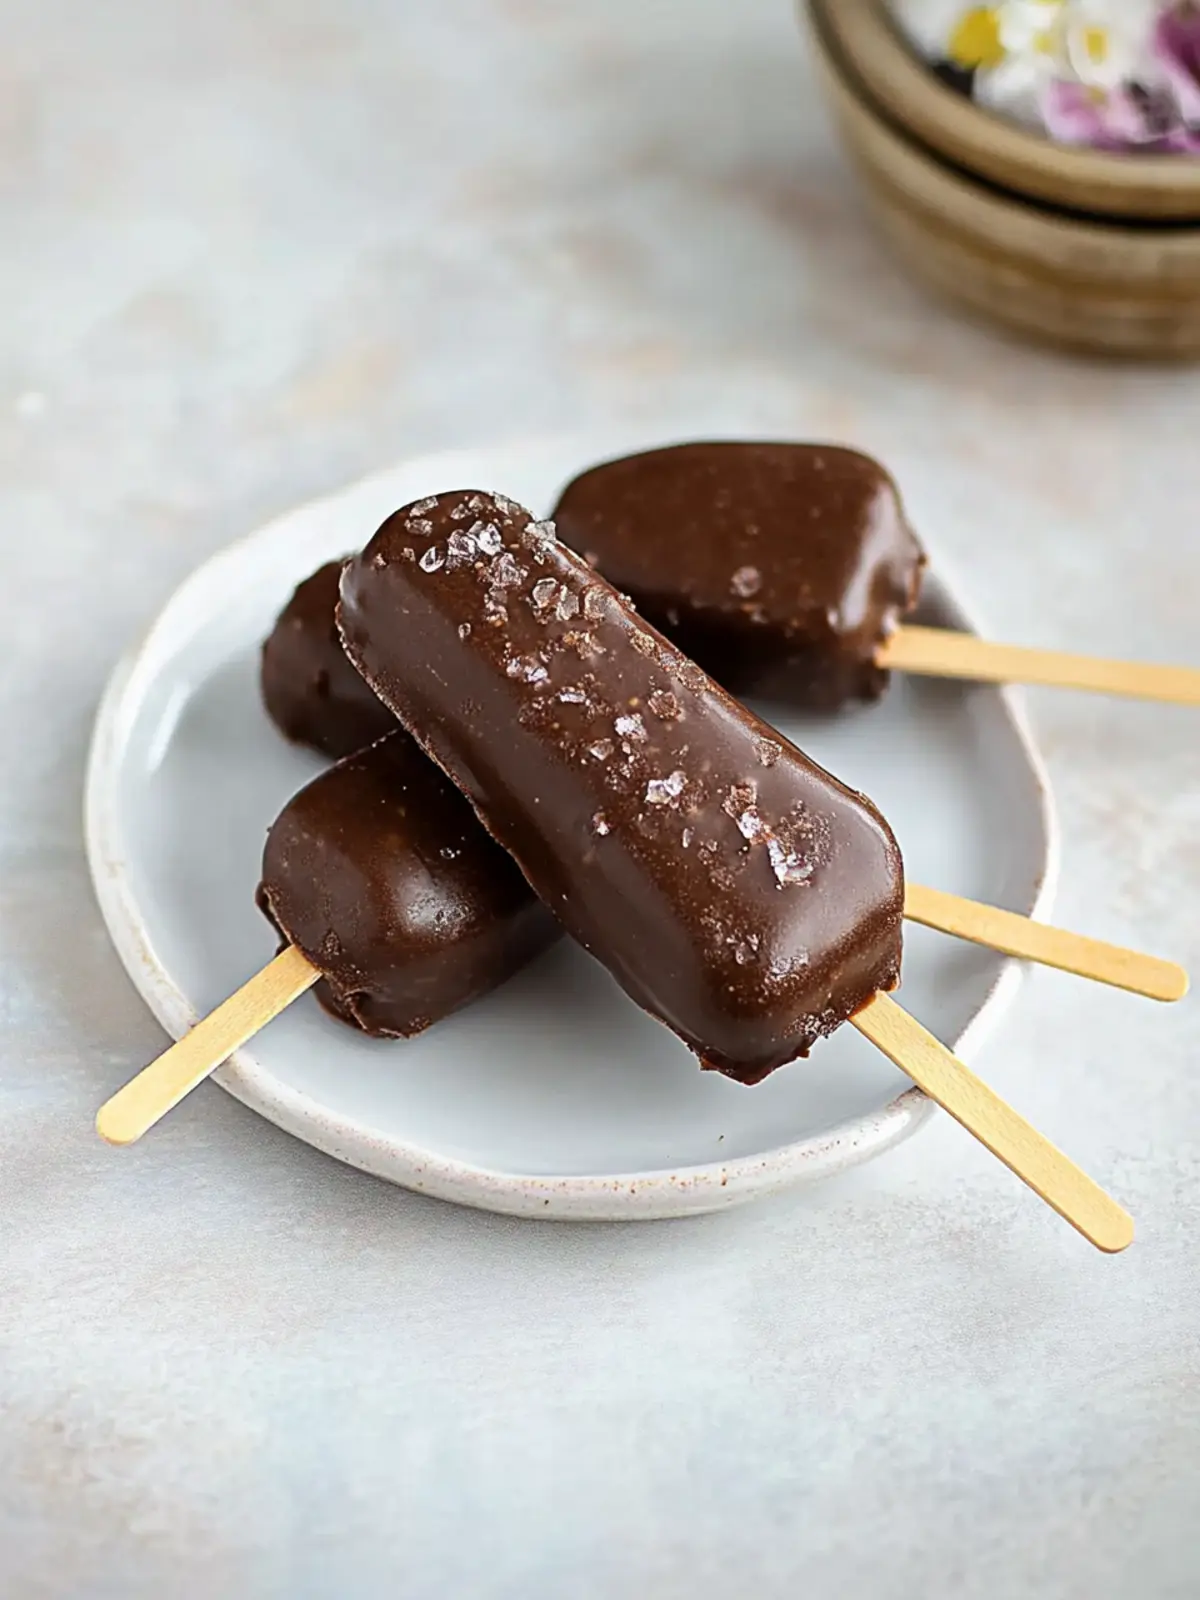
Decadent Chocolate Fudge Pops You Can Whip Up Today
Ingredients
Equipment
Method
- Combine the milk and instant pudding mix in a mixing bowl. Use a whisk to stir them together until fully blended. This should take about 2 minutes.
- Whisk the mixture vigorously until it thickens, typically taking about 3-5 minutes.
- Pour the chocolate mixture into your chosen popsicle molds, leaving a little space at the top to allow for expansion as they freeze.
- Insert sticks into the molds, using wooden craft sticks or sturdy spoons if necessary.
- Freeze the molds for at least 4 hours, or until the pops are completely solid.
- Remove the pops from the molds gently. If stuck, run warm water over the outside of the mold for a few seconds.