
As the festive spirit of Eid al-Adha draws near, I find myself reflecting on the joy of gathering with loved ones around delicious homemade treats. This year, instead of adding to my list of elaborate desserts, I wanted something that captures the essence of celebration while being refreshingly simple. Enter my Easy No-Bake Matcha Coconut Cream Tart Recipe!
Imagine the welcoming aroma of coconut mingling with the earthy scent of matcha, a combination that instantly transports me to a serene, sunlit afternoon. The beauty of this recipe lies in its approachability and versatility—it requires no baking, yet delivers a stunningly elegant dessert that’ll leave your guests in awe. With layers of creamy coconut and a hint of matcha, every bite is an indulgence worth celebrating. Whether you’re hosting an intimate gathering or bringing a dish to a potluck, these tart slices of joy will surely be the highlight of the table. Let’s dive into this delightful recipe that beautifully embodies both flavor and festivity!
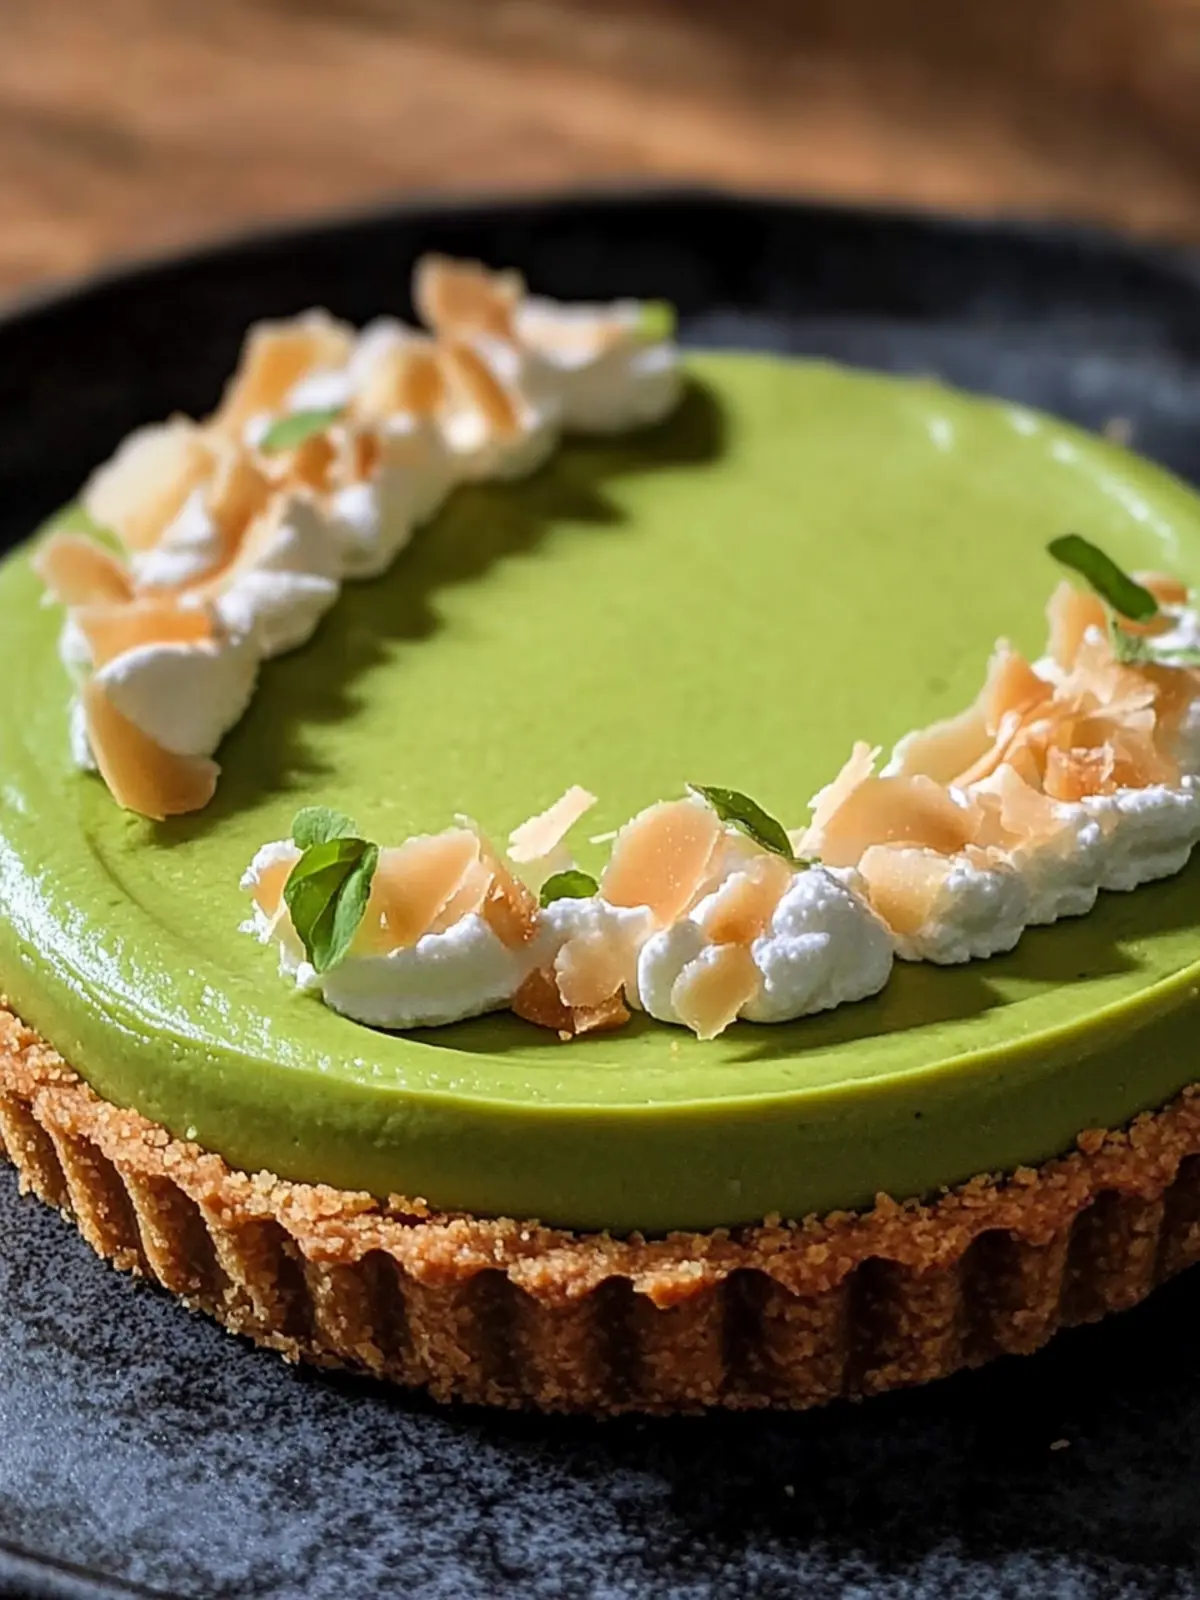
Why is this Eid al-Adha Easy No-Bake Matcha Coconut Cream Tart Recipe a must-try?
Simplicity at its finest: With no baking required, you can whip up this stunning tart in just 45 minutes.
Exquisite flavors: The harmonious blend of matcha and coconut creates a delightful taste experience that feels indulgent yet comforting.
Crowd-pleaser: Perfect for gatherings, your guests will rave about this unique dessert that beautifully captures the spirit of celebration.
Versatile: Whether topped with berries or toasted coconut flakes, this tart can be customized to suit your preferences.
Quick and easy: Ideal for busy hosts, this recipe allows you to spend less time in the kitchen and more time enjoying the festivities. Get ready to impress with this dessert that balances elegance and ease!
Eid al-Adha Easy No-Bake Matcha Coconut Cream Tart Recipe Ingredients
For the Tart Crust
- Graham cracker crumbs – a sweet, crunchy base that adds texture and flavor to your tart.
- Melted butter – ensures the crust holds together perfectly; you can substitute with coconut oil for a hint of extra flavor.
For the Filling
- Sweetened condensed milk – adds richness and a touch of sweetness that complements the matcha.
- Coconut cream – creates a luscious, creamy texture; if you’re after a lighter version, consider using coconut yogurt.
- Matcha powder – the star ingredient that lends a unique flavor and vibrant color to your tart.
- Vanilla extract – enhances the overall sweetness and balances the flavors beautifully.
- Salt – a pinch to elevate the other flavors; don’t skip it!
For the Toppings
- Toasted coconut flakes – add a crispy, nutty layer on top for added crunch and flavor.
- Fresh berries – serve as a refreshing and colorful garnish that brightens up each slice of this delicious tart.
This Eid al-Adha Easy No-Bake Matcha Coconut Cream Tart Recipe offers a delightful way to celebrate with loved ones while keeping your kitchen time to a minimum!
How to Make Eid al-Adha Easy No-Bake Matcha Coconut Cream Tart
-
Preheat: Begin by ensuring your kitchen is cozy—there’s nothing like it! Set your oven to 350°F (175°C) to have it warmed up for the crust, even if we won’t bake there later.
-
Mix: In a medium bowl, combine the graham cracker crumbs and melted butter. Stir until the crumbs are well coated—this mixture should resemble wet sand, ready to mold into a crust.
-
Form the Crust: Press this crumb mixture firmly into the bottom of your chosen tart pan. Aim for an even layer to ensure a satisfying crunch with each bite.
-
Whisk the Filling: In another bowl, whisk together the sweetened condensed milk, coconut cream, matcha powder, vanilla extract, and salt. Mix until smooth and creamy; you want a gentle green hue that is oh-so-inviting!
-
Pour: Carefully pour the matcha filling over the prepared crust. Use a spatula to spread it evenly, creating a beautiful and inviting layer that beckons with its vibrant color.
-
Chill: Cover the tart with plastic wrap and set it in the fridge for at least 30 minutes. This step allows the tart to set properly, resulting in a deliciously firm texture.
-
Serve: Once chilled and set, remove your tart from the fridge and slice it into elegant pieces. Each slice should have a delightful firmness yet remain creamy!
-
Garnish: If you’re feeling fancy, sprinkle the top with toasted coconut flakes and arrange fresh berries for an added touch of color and crunch—perfect for your celebration!
Optional: Add a dusting of extra matcha powder on top for a beautiful finishing touch!
Exact quantities are listed in the recipe card below.
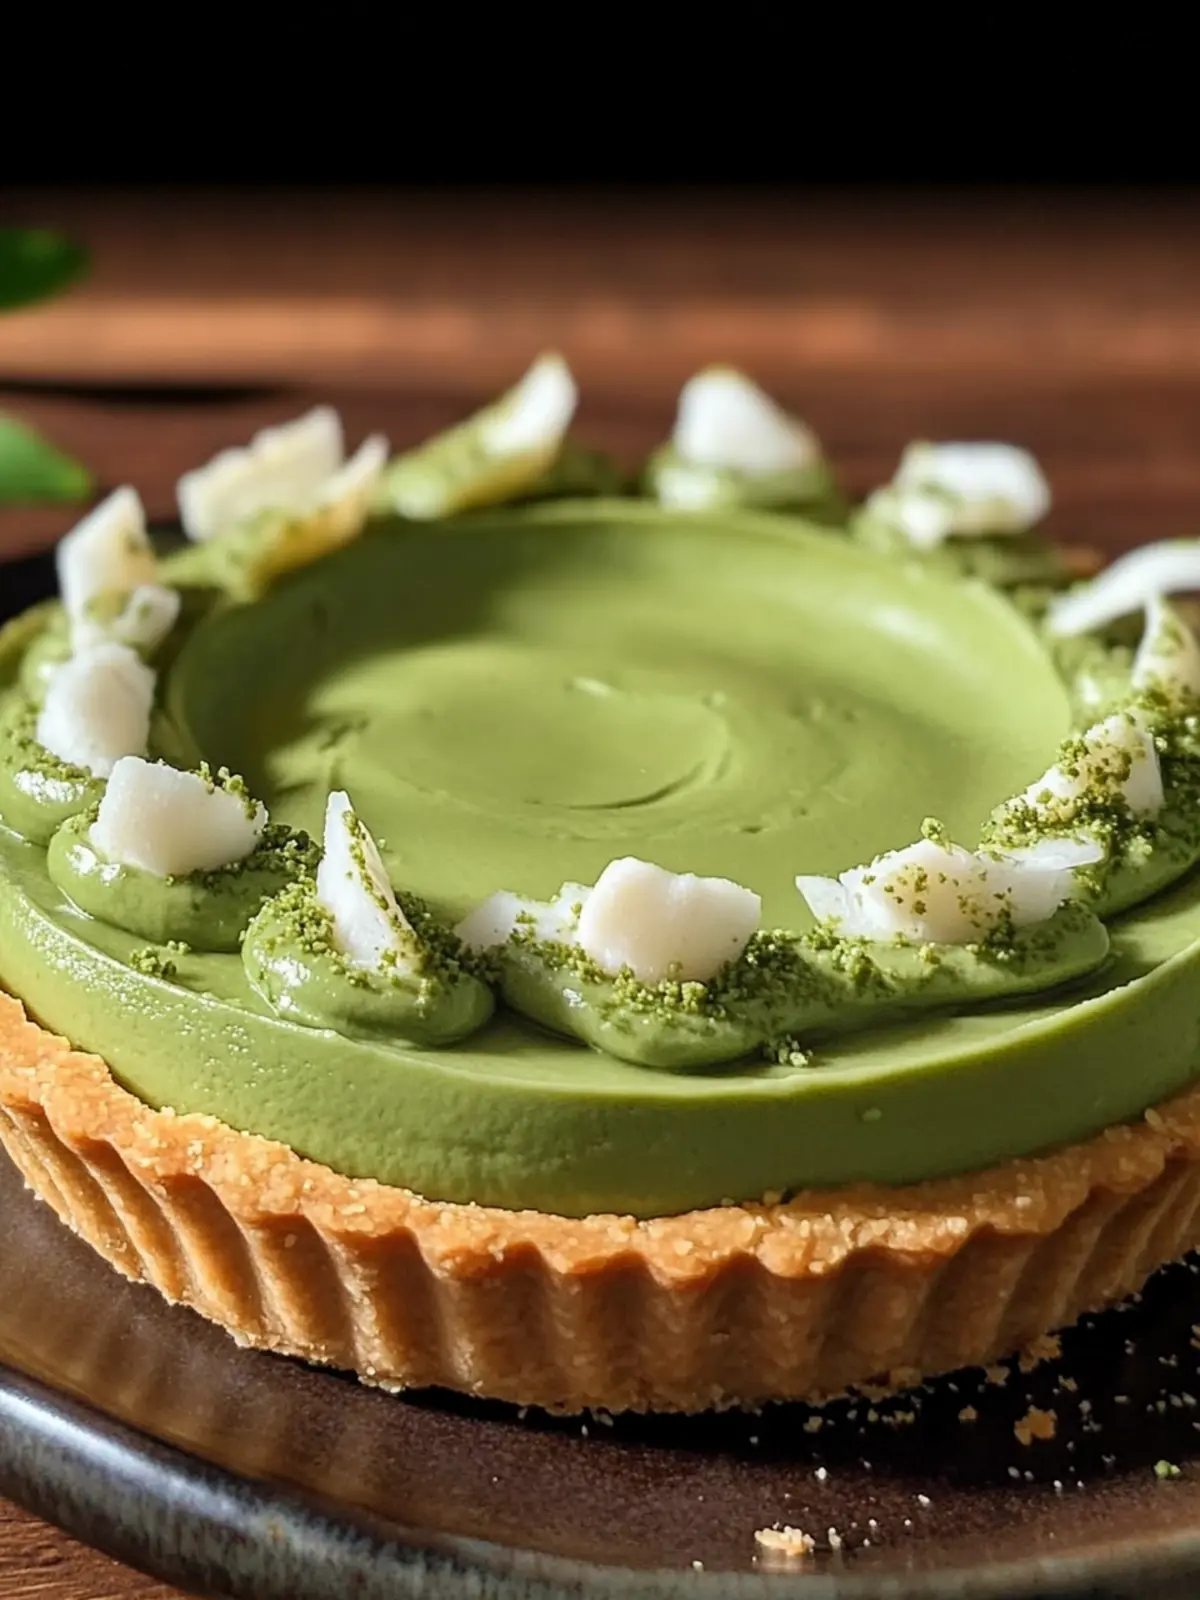
Expert Tips for Eid al-Adha No-Bake Matcha Coconut Cream Tart
-
Choose Quality Matcha: Use high-quality matcha for vibrant color and rich flavor. Lower-grade matcha can taste overly bitter and affect the overall experience.
-
Crust Consistency: Ensure your graham cracker crust is tightly packed—this prevents it from crumbling when you slice the tart. A sturdy base will hold all that creamy filling beautifully!
-
Chill Well: Allow the tart to chill for at least 30 minutes. This step is crucial for achieving the perfect, sliceable consistency and ensures a delightful texture.
-
Serving Suggestions: Feel free to experiment with toppings. Fresh berries or edible flowers add visual appeal and can brighten the matcha flavor while making your tart a showstopper.
-
Store Properly: Cover leftovers tightly and store them in the fridge. Enjoy them within 3 days for the best taste and texture; the flavors meld beautifully after a day!
This Eid al-Adha Easy No-Bake Matcha Coconut Cream Tart Recipe is perfect for any celebration, and these helpful tips will ensure that it turns out flawlessly every time!
Storage Tips for Eid al-Adha Easy No-Bake Matcha Coconut Cream Tart
Fridge: Store the tart in an airtight container in the fridge for up to 3 days. This keeps it fresh while allowing the flavors to meld beautifully.
Freezer: To freeze, place the tart in a well-wrapped airtight container. It can stay frozen for up to 2 months. Thaw overnight in the fridge before serving.
Reheating: No need to reheat this dessert—it’s best enjoyed chilled, which enhances its refreshing flavors!
Serving Suggestions: After storing, consider refreshing the toppings with a sprinkle of toasted coconut or fresh berries just before serving to jazz it up!
Eid al-Adha Easy No-Bake Matcha Coconut Cream Tart Recipe Variations
Feel free to personalize this delightful tart with your favorite twists and flavors!
-
Nutty Crust: Replace graham cracker crumbs with almond flour for a gluten-free, nutty base. It adds a lovely depth to your tart.
-
Dairy-Free Delight: Substitute sweetened condensed milk with coconut condensed milk for a creamy, vegan-friendly option. Your tart will still be lush and satisfying!
-
Fruit Forward: Mix finely chopped seasonal fruits like mango or banana into the filling for an added fruity dimension. Each slice becomes a burst of tropical bliss!
-
Flavor Boost: Enhance the matcha flavor by adding an extra tablespoon of matcha powder. It deepens the green hue and intensifies the earthy taste.
-
Chocolate Swirl: Drizzle melted dark chocolate on top before serving. The chocolate’s rich bitterness beautifully complements the sweetness of the tart!
-
Zingy Citrus: Incorporate the zest of one lime into the filling for a zesty contrast against the creamy coconut. This adds a refreshing kick that brightens every bite.
-
Coconut Bliss: Use coconut milk instead of coconut cream for a lighter filling. This creates a different texture while retaining that delicious coconut flavor.
-
Chili Heat: For those who love a spicy touch, sprinkle a pinch of cayenne into the filling. It creates an unexpected warmth that pairs wonderfully with matcha!
Play around with these variations and make this tart your own, ensuring every gathering is filled with unique surprises. Happy baking!
Make Ahead Options
These Eid al-Adha Easy No-Bake Matcha Coconut Cream Tart slices are perfect for busy home cooks looking to save time without sacrificing flavor! You can prepare the crust and filling separately up to 24 hours in advance; simply cover each with plastic wrap and refrigerate. For the crust, make sure to press it firmly to maintain its texture. When you’re ready to serve, pour the chilled matcha filling over the crust, let it set for at least 30 minutes, and then garnish with toasted coconut flakes and fresh berries. This way, you’ll have a stunning dessert ready to impress your guests with minimal last-minute effort!
What to Serve with Eid al-Adha Easy No-Bake Matcha Coconut Cream Tart?
Elevate your festive gathering by pairing this delightful tart with a variety of complementary dishes and drinks.
- Coconut Rice: Adds a gentle sweetness and texture that echoes the tart’s flavor profile while balancing the richness.
- Fresh Fruit Salad: A vibrant mix of berries and tropical fruits provides a refreshing contrast to the creamy tart, enhancing each bite.
For a sophisticated touch, consider presenting the fruit salad in elegant individual cups. Your guests will appreciate the beautiful display as much as the taste.
- Iced Matcha Latte: Rich and refreshing, this drink mirrors the tart’s flavor while offering a cooling contrast, perfect for warm gatherings.
- Chilled Herbal Tea: Light and fragrant, herbal teas infused with mint or chamomile can cleanse the palate between bites.
With its delicate flavors, the tart pairs beautifully with beverages that offer refreshing lightness, inviting even more enjoyment.
- Mini Cheesecakes: Rich, creamy, and deliciously satisfying, these bite-sized desserts provide variety without overwhelming the palate.
- Chocolate-covered Strawberries: Their sweet, juicy flavor combined with a hint of chocolate creates a delightful treat that enhances the tart without competing.
Embrace these pairing ideas to create an unforgettable culinary experience that celebrates both the occasion and the delightful simplicity of your matcha dessert!
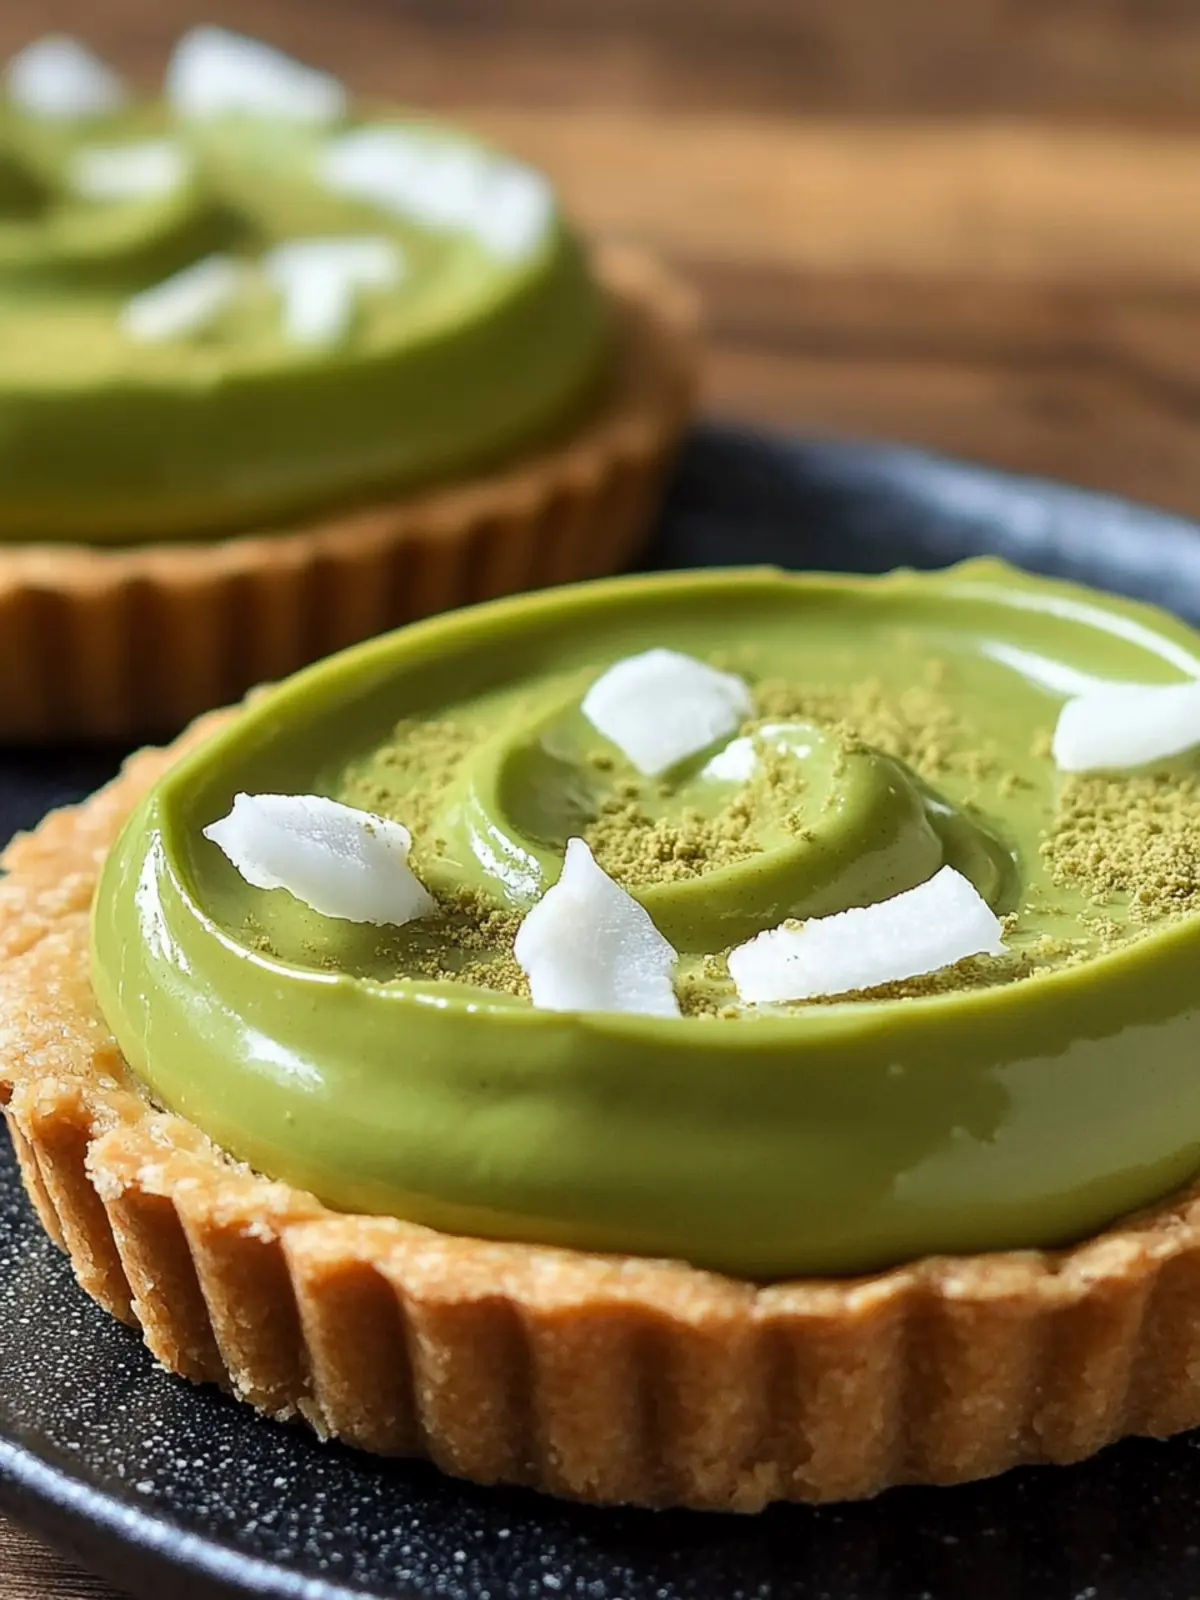
Eid al-Adha Easy No-Bake Matcha Coconut Cream Tart Recipe FAQs
What type of matcha should I use for this recipe?
Absolutely! I recommend using high-quality culinary or ceremonial matcha powder for the best flavor. Lower-grade matcha may taste bitter and dull, impacting the overall delightful experience of your tart.
How can I tell if my coconut cream is fresh?
Very good question! Fresh coconut cream should be thick and creamy, while older cans may have an off smell or visible separation. Always check the expiration date. If you see dark spots or a bloated can, it’s best to avoid using it.
Can I make this tart ahead of time?
Certainly! You can prepare the tart a day in advance and store it in the fridge covered with plastic wrap. Just remember that the flavors get better as they meld, so it’s actually more delicious the next day!
How should I store leftovers of the tart?
To keep your tart fresh, place any leftovers in an airtight container and store them in the fridge for up to 3 days. You might notice the flavors blend beautifully after a day, enhancing the overall taste!
Can I freeze the matcha coconut tart?
Of course! To freeze, wrap the tart tightly in plastic wrap and then place it in a freezer-safe container. It can last in the freezer for up to 2 months. When ready to enjoy, simply thaw it in the fridge overnight for the best texture.
What to do if the crust crumbles when slicing?
If your crust crumbles, it might not have been packed tightly enough. Next time, make sure to press the graham cracker mixture firmly into the tart pan to create a sturdy base. For now, just scoop the slices onto plates and enjoy the deliciousness!
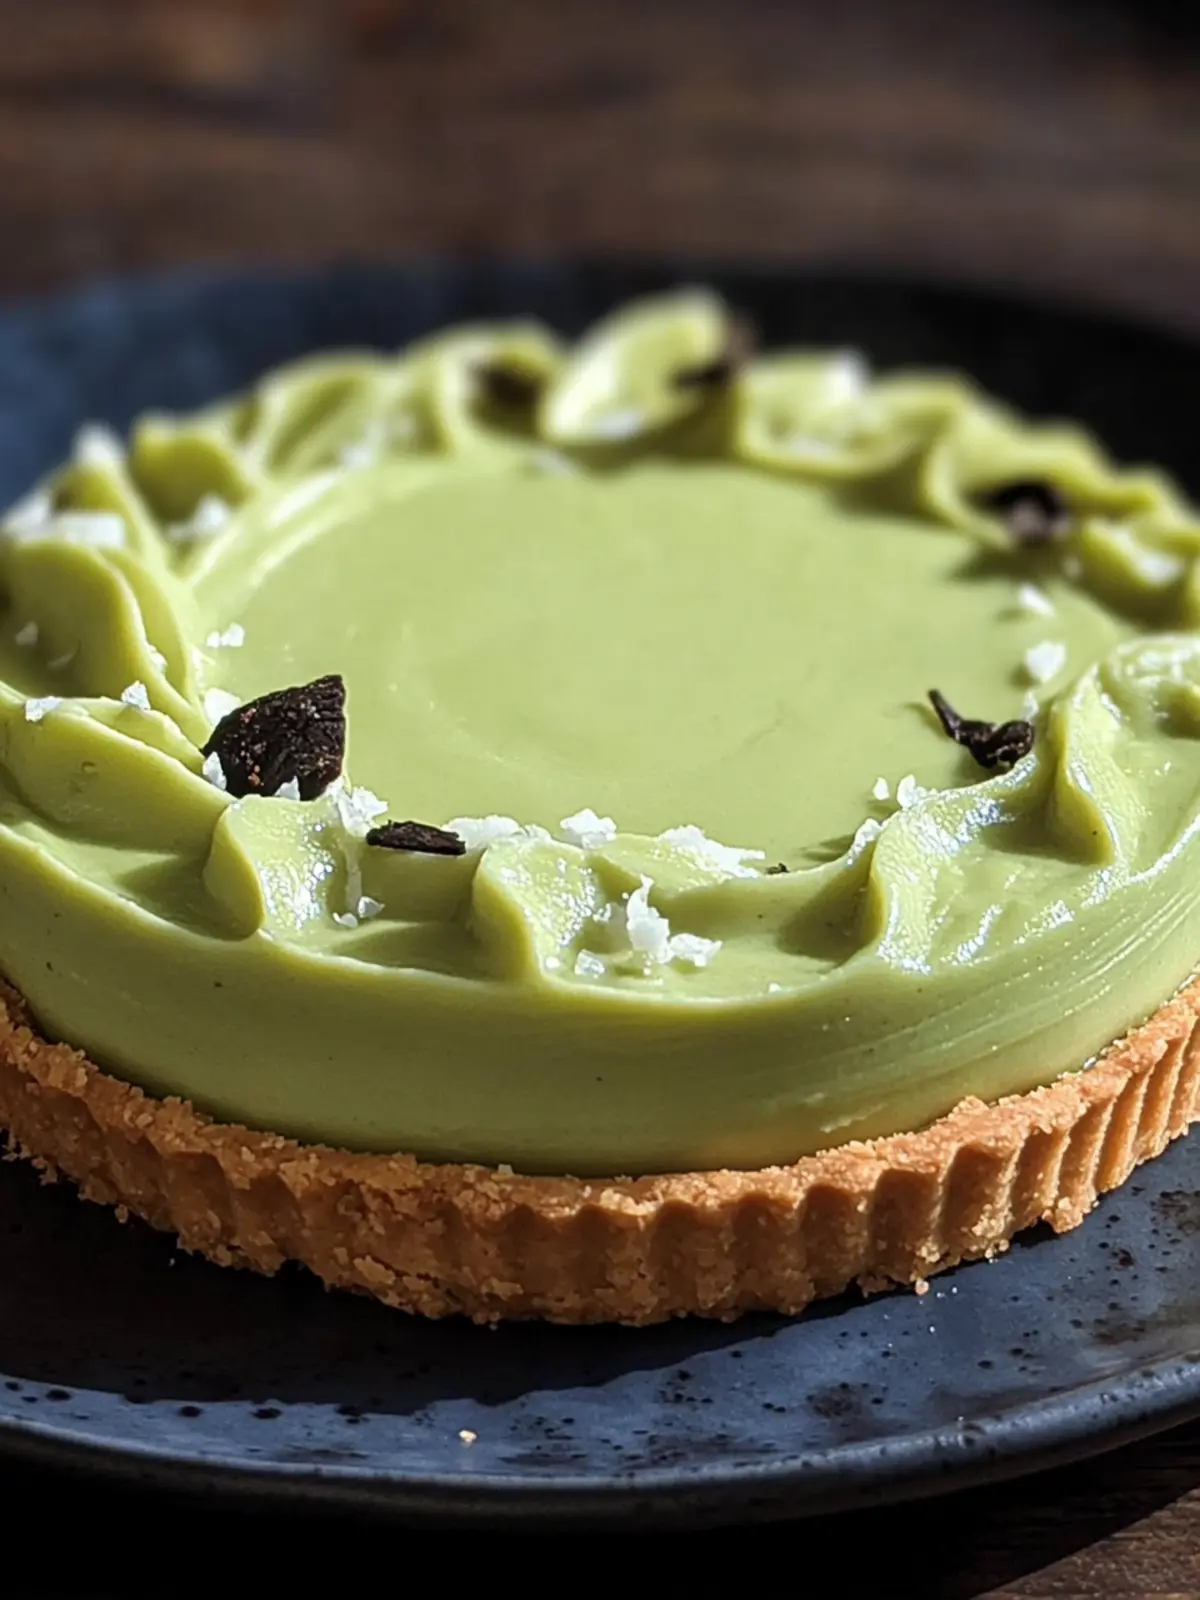
Eid al-Adha No-Bake Matcha Coconut Cream Tart in Minutes
Ingredients
Equipment
Method
- Begin by ensuring your kitchen is cozy—there’s nothing like it! Set your oven to 350°F (175°C) to have it warmed up for the crust, even if we won’t bake there later.
- In a medium bowl, combine the graham cracker crumbs and melted butter. Stir until the crumbs are well coated.
- Press this crumb mixture firmly into the bottom of your chosen tart pan.
- In another bowl, whisk together the sweetened condensed milk, coconut cream, matcha powder, vanilla extract, and salt until smooth and creamy.
- Carefully pour the matcha filling over the prepared crust. Spread it evenly with a spatula.
- Cover the tart with plastic wrap and set it in the fridge for at least 30 minutes to set properly.
- Remove your tart from the fridge and slice it into elegant pieces.
- Sprinkle the top with toasted coconut flakes and arrange fresh berries for an added touch of color and crunch.