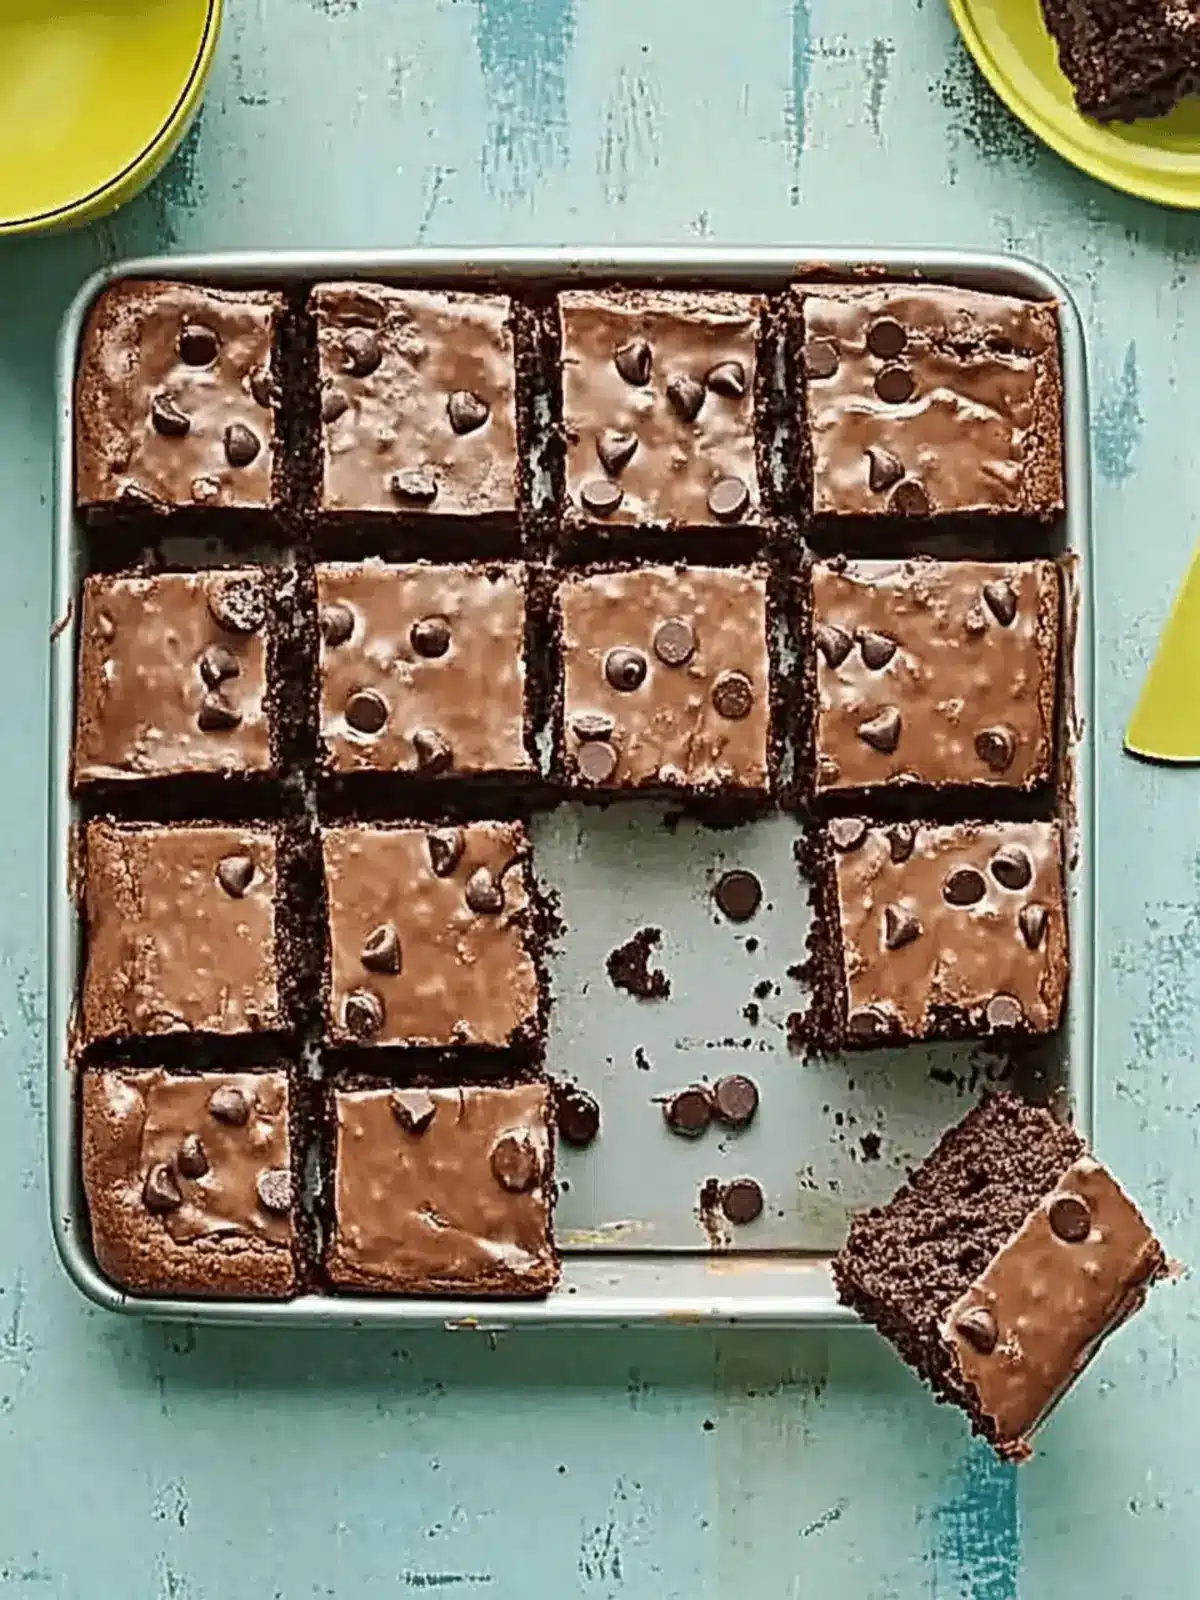
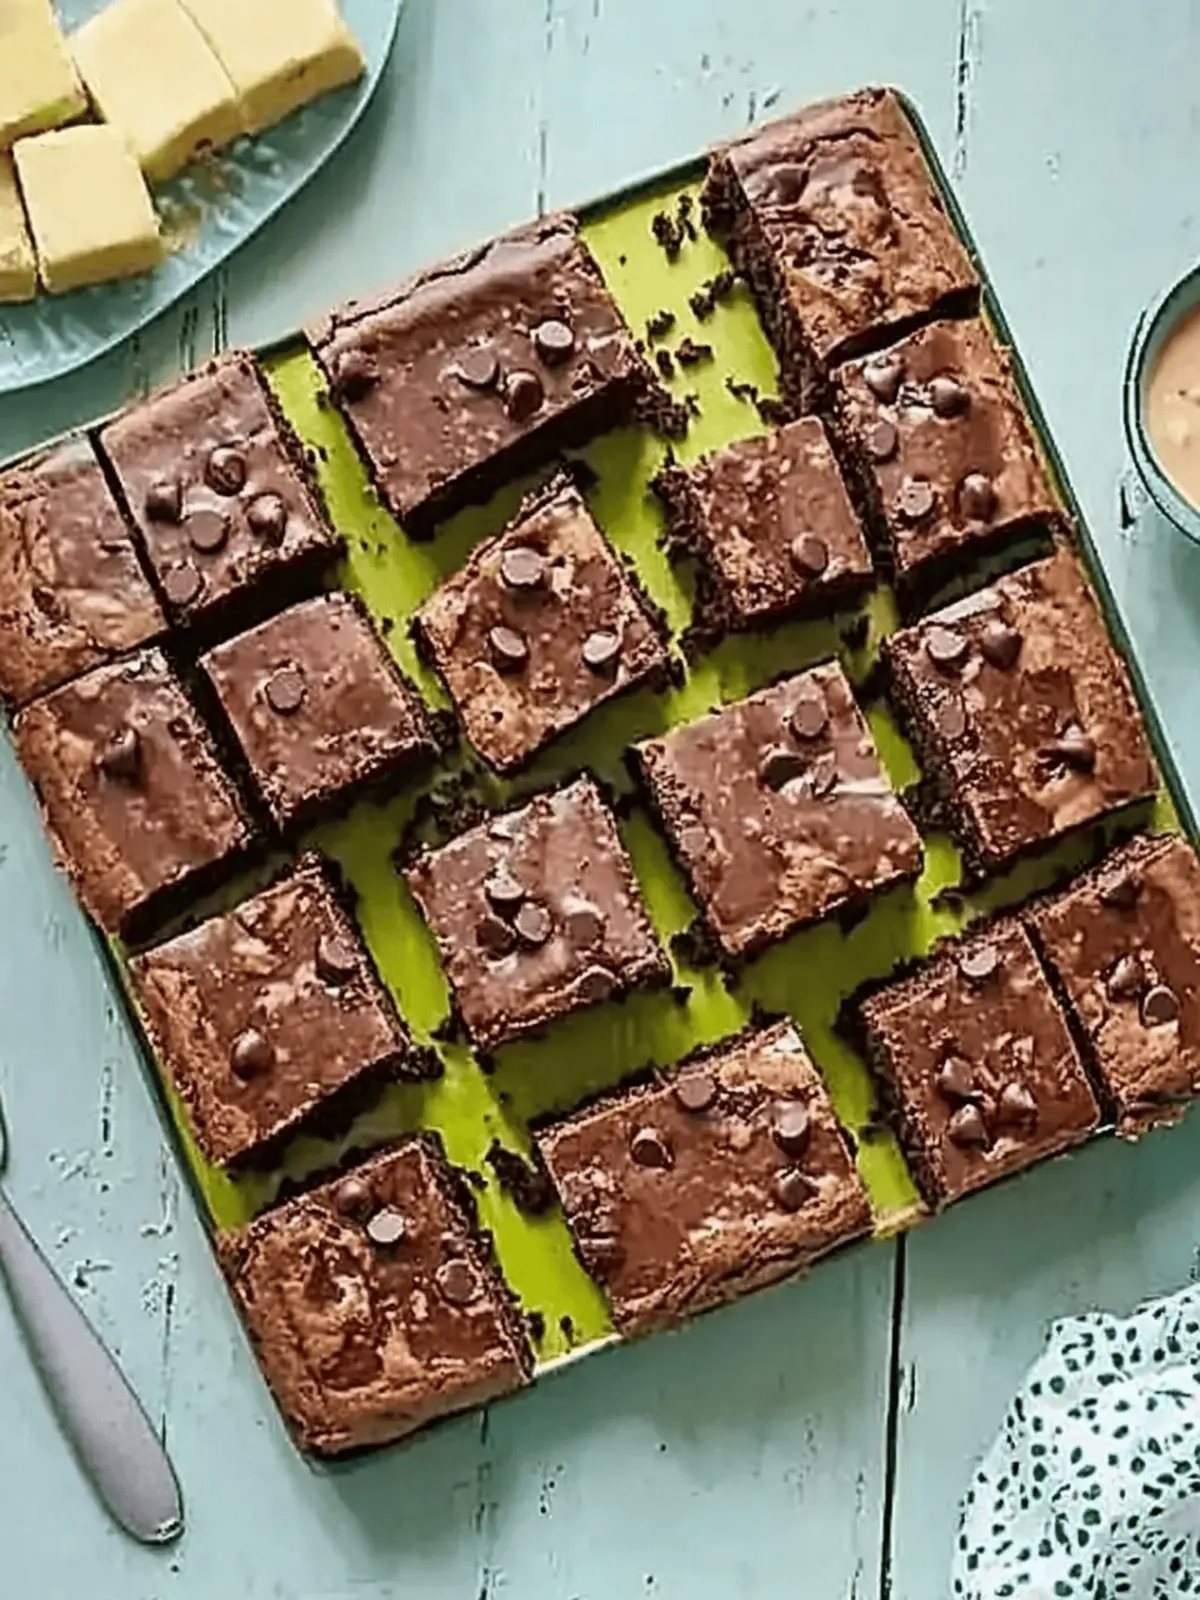
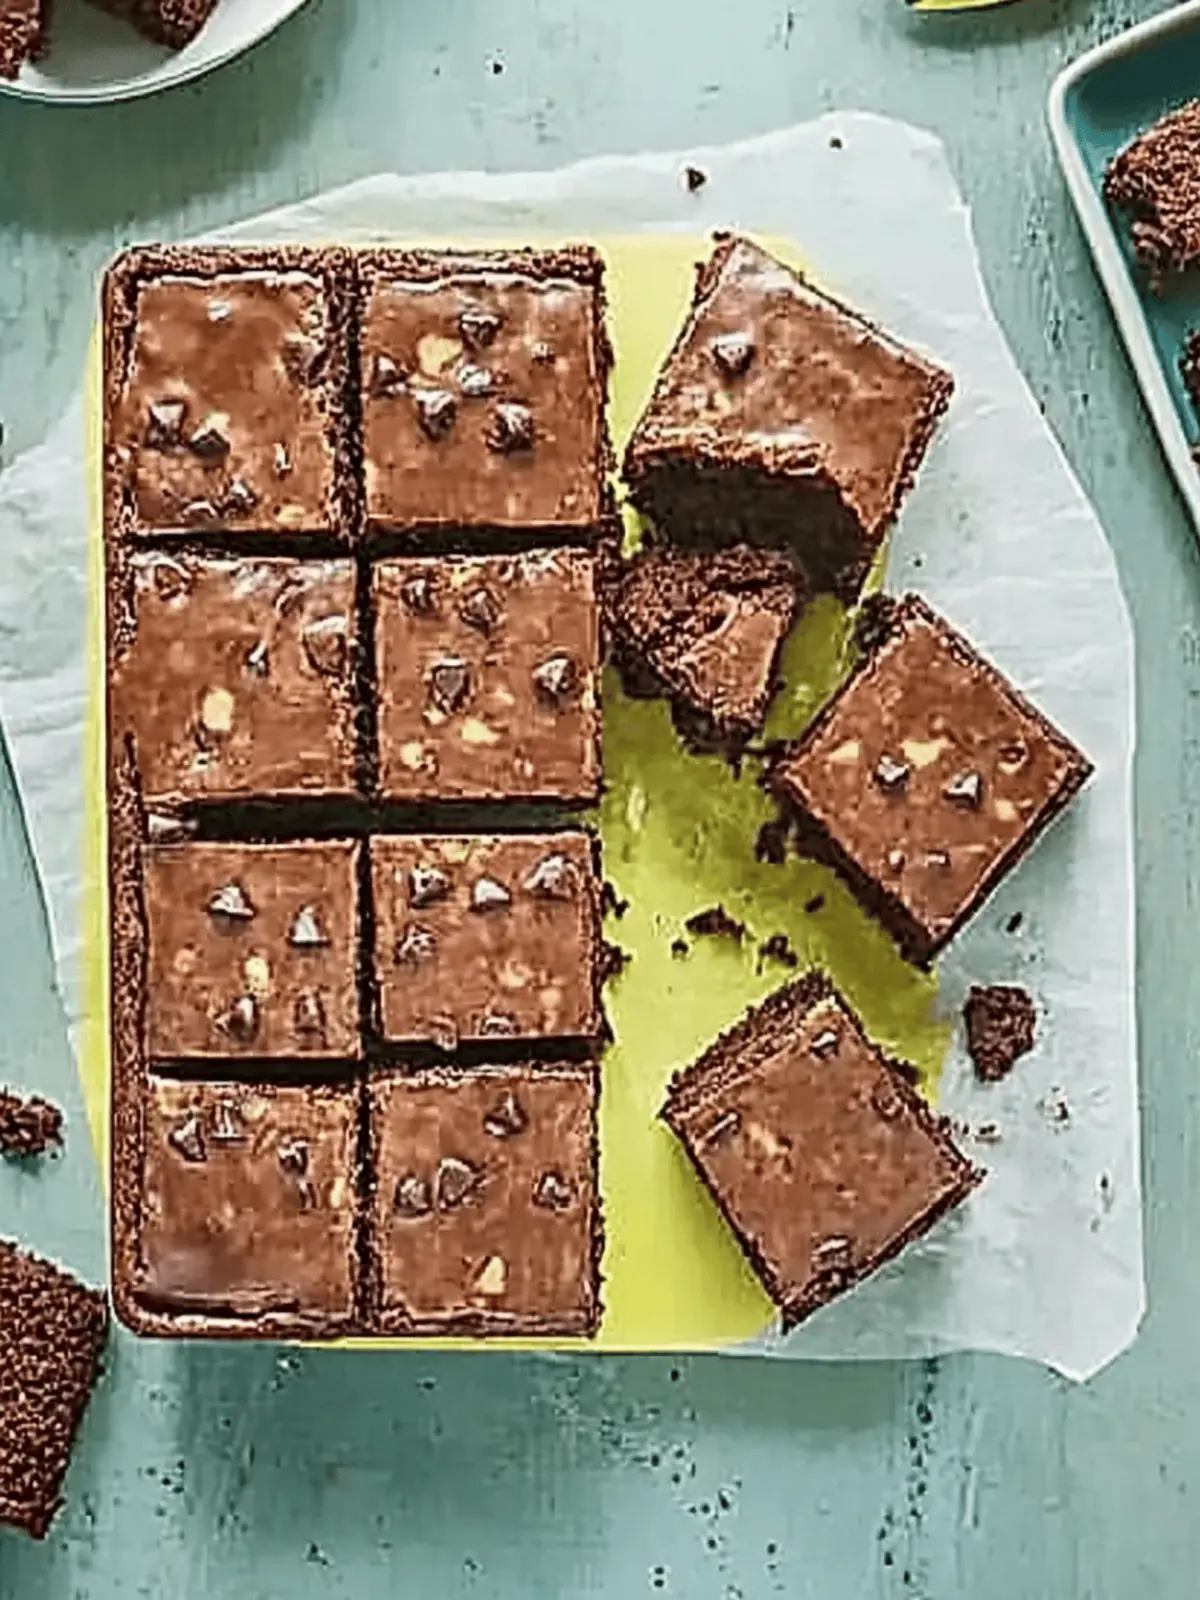
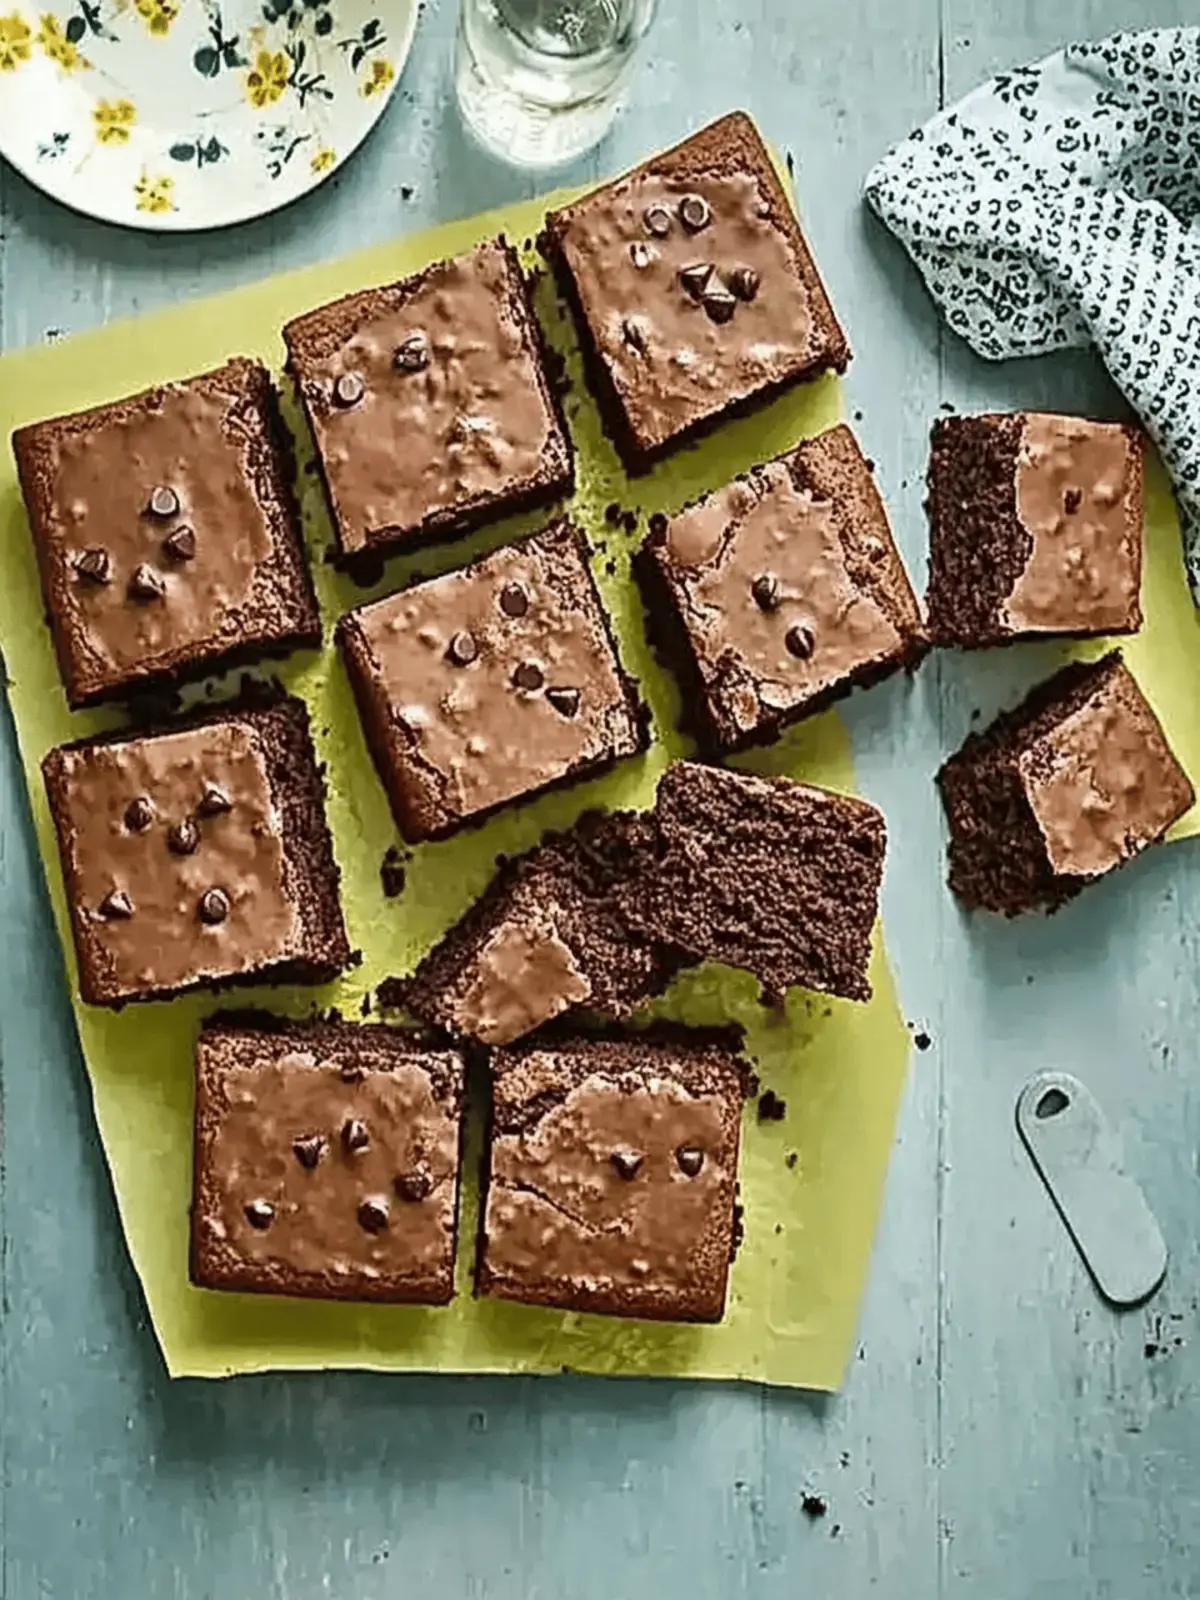
There’s something truly enchanting about the smell of freshly baked goods wafting through the house, especially when chocolate is involved. As I pulled a batch of Chocolate Chip Traybakes from the oven, I was reminded of lazy Sunday afternoons spent in the kitchen with family, laughter mingling with the warm aroma of sugar and vanilla. This easy recipe has become a staple in our home, bringing joy not just to the sweet tooth but also a sense of fulfillment as we share each delicious square. Perfect for baking with kids or whipping up quickly for a last-minute gathering, these traybakes are wonderfully versatile. Whether you’re adding a drizzle of chocolate icing, a sprinkle of nuts, or fresh berries on the side, this delectable treat is sure to impress without any stress. Let’s dive into the simple steps that will turn your kitchen into a haven of chocolaty delight!

Why will you love this Chocolate Chip Traybake?
Irresistible aroma: The sweet scent of chocolate fills your kitchen, creating a cozy atmosphere that makes baking fun.
Family-friendly fun: Perfect for baking with kids, this recipe makes a delightful, shared experience.
Customizable toppings: Elevate your traybake with nuts, icing, or seasonal sprinkles for a personal touch.
Quick and easy: With minimal ingredients and steps, you can whip this up in no time, making it ideal for last-minute treats.
Decadent texture: Each square boasts a fudgy center with a slight crunch on top, satisfying every chocolate lover’s dream.
Crowd-pleasing delight: Whether for parties, snacks, or family gatherings, these traybakes are guaranteed to impress!
Chocolate Chip Traybake Ingredients
• Get ready to bake bliss with these simple yet essential ingredients!
For the Batter
- Rapeseed Oil – Adds moisture and tenderness to the bake. Can be replaced with sunflower oil or melted coconut oil.
- Plain Flour – Provides the structure for the traybake. Ensure to measure accurately to avoid a dense texture.
- Cocoa Powder – Gives a rich chocolate flavor and color. Use Dutch-processed cocoa for a deeper cocoa taste.
- Baking Powder – A leavening agent that helps the traybake rise. Don’t substitute with baking soda without adjusting other ingredients.
- Light Brown Soft Sugar – Sweetens the bake and adds moisture. Dark brown sugar can be used for a stronger flavor.
- Whole Milk – Contributes moisture and richness. Substitute with a dairy-free alternative like almond or oat milk for a vegan option.
- Vanilla Extract – Enhances the sweetness and flavor profile. Use pure vanilla extract for the best taste.
- Large Eggs – Binds the ingredients and adds structure. Aquafaba can be used as a vegan substitute (3 tablespoons per egg).
- White Chocolate Chips – Provide sweet bursts of flavor throughout. Swap for milk or dark chocolate chips if preferred.
For the Icing
- Butter – Used for making the icing, giving it a smooth texture. Margarine can be used as a dairy-free alternative.
- Icing Sugar – Sweetens and thickens the icing. Can substitute with powdered erythritol for a sugar-free version.
- Cocoa Powder (for icing) – Adds richness to the icing.
- Milk (for icing) – Adjusts the consistency of the icing. Use as needed to reach desired thickness.
How to Make Chocolate Chip Traybake
-
Preheat your oven to 180°C (160°C fan/gas 4) and prepare a 33 x 23 cm roasting tin by greasing it and lining it with baking parchment. This will ensure your traybake comes out easily!
-
Combine the dry ingredients in a large bowl. Mix together flour, cocoa powder, baking powder, light brown sugar, and a pinch of salt, whisking gently to break up any lumps for a smooth batter.
-
Whisk the wet ingredients together in a jug. In a separate container, combine the rapeseed oil, milk, vanilla extract, and eggs, then pour this lovely mixture into the dry ingredients along with the chocolate chips. Stir until no dry flour remains.
-
Pour the batter into your prepared tin and bake for 25-30 minutes. Check for doneness by inserting a skewer; it should come out clean. If it’s still wet, pop it back in for 5 more minutes. Let it cool in the tin for 20 minutes.
-
Make the icing by melting the butter in a saucepan, then stir in icing sugar, cocoa powder, and milk until smooth and combined. If it’s too thick, feel free to gently reheat it to reach a pourable consistency.
-
Glaze your cooled cake by pouring the icing over the top. Allow it to set fully before slicing into squares for serving.
Optional: Drizzle some extra melted chocolate on top for an indulgent twist!
Exact quantities are listed in the recipe card below.

Chocolate Chip Traybake Variations
Embrace your creativity and customize this recipe to suit your taste buds and occasion.
- Nutty Delight: Add chopped walnuts or pecans to the batter for a satisfying crunch and an extra layer of flavor.
- Dairy-Free: Swap whole milk for almond or oat milk and use dairy-free chocolate chips for a vegan delight.
- Fruity Twist: Mix in chopped bananas or applesauce for added moisture and natural sweetness.
- Seasonal Sprinkles: Top with colored sprinkles or themed decorations for birthdays or holidays to make it festive.
- Decadent Frosting: Spread a layer of cream cheese frosting on top before icing for a rich, tangy contrast.
- Minty Fresh: Add a few drops of peppermint extract to the batter for a refreshing twist on the classic flavor.
- Caramel Drizzle: Drizzle dulce de leche or caramel sauce over the icing for a luxurious finishing touch.
- Spicy Kick: Incorporate a pinch of cayenne pepper or cinnamon into the batter to give a surprising heat to the sweetness.
Make Ahead Options
These Chocolate Chip Traybakes are ideal for meal prepping, saving you valuable time during busy weeknights! You can prepare the batter and store it in the refrigerator for up to 24 hours before baking; just cover the bowl tightly to maintain freshness. If you prefer, bake the traybakes a day ahead and let them cool completely. Store the cooled traybake in an airtight container at room temperature for up to 4 days. When you’re ready to serve, simply whip up the icing and drizzle it over the chilled cake for a delightful finish. This way, you achieve just as delicious results with minimal effort, perfect for quick treats!
How to Store and Freeze Chocolate Chip Traybake
Room Temperature: Store your Chocolate Chip Traybake in an airtight container at room temperature for up to 4 days to maintain freshness.
Fridge: For longer storage, refrigerate the traybake in an airtight container where it can last up to 1 week without losing its delightful flavor.
Freezer: You can freeze the traybake for up to 3 months. Wrap it tightly in plastic wrap and foil to prevent freezer burn.
Reheating: When ready to enjoy, thaw at room temperature or microwave individual squares for a few seconds until warm—perfect for that fresh-baked feel!
What to Serve with Chocolate Chip Traybake?
Elevate your dessert experience by pairing these soft, fudgy squares with delightful accompaniments that bring out their rich chocolate flavor.
-
Vanilla Ice Cream: A classic pairing, the creamy sweetness of vanilla ice cream adds a delightful contrast to the warm, chocolatey traybake.
-
Fresh Berries: Serve with a handful of raspberries or strawberries for a refreshing burst of color and tartness that balances the sweetness.
-
Caramel Sauce: Drizzle warm caramel sauce on top for an indulgent twist, enhancing the flavors with a buttery richness that will have everyone coming back for more.
-
Whipped Cream: Lighten up each decadent square with a dollop of fluffy whipped cream for a soft texture that complements the fudgy bite.
-
Chocolate Ganache: For the ultimate chocolate lover’s dream, pour over a luscious chocolate ganache, adding an extra layer of decadence.
-
Milkshakes: Pair your traybake with a rich chocolate milkshake, creating a delightful combination that’ll please both kids and adults alike.
Each of these accompaniments enhances your Chocolate Chip Traybake experience, making every bite a memorable one!
Tips for the Best Chocolate Chip Traybake
- Don’t Overmix: Mixing the batter too much can lead to a dense texture. Stir until just combined for airy squares.
- Cool Before Cutting: For clean edges, let the traybake cool in the tin, then refrigerate briefly before slicing.
- Icing Consistency: If the icing thickens too much, gently warm it to return it to a pourable consistency for easy glazing.
- Customize Flavors: Feel free to swap in different chocolate chips or add nuts for a personal touch on your chocolate chip traybake.
- Check Doneness: Use a skewer to check for doneness; it should come out clean. If not, give it an extra few minutes in the oven.

Chocolate Chip Traybake Recipe FAQs
What type of cocoa powder should I use for the best flavor?
I recommend using Dutch-processed cocoa for a deeper, richer chocolate taste. It enhances the overall flavor profile of your Chocolate Chip Traybake, giving it that irresistible chocolatey goodness. If you only have natural cocoa powder, that will work too, but the flavor will be slightly different.
How should I store my Chocolate Chip Traybake to keep it fresh?
Store your traybake in an airtight container at room temperature for up to 4 days for maximum freshness. If you prefer to keep it longer, you can refrigerate it in a sealed container, where it will stay good for up to 1 week without losing flavor.
Can I freeze the Chocolate Chip Traybake?
Absolutely! To freeze, wrap the cooled traybake tightly in plastic wrap and then foil to prevent freezer burn. It can be frozen for up to 3 months. When you’re ready to enjoy, simply thaw at room temperature or microwave individual squares for a few seconds until warm, allowing you to savor that freshly baked experience.
What if my traybake comes out too dense or gummy?
If your traybake turns out dense, it might be due to overmixing the batter. Mixing the ingredients just until combined is key to keeping it light and airy. Also, be sure to measure your flour correctly—using a scale or fluffing the flour before scooping can help avoid packing it down, which leads to density.
Can I make this recipe vegan-friendly?
Yes, you can easily adapt this Chocolate Chip Traybake to be vegan! Substitute large eggs with 3 tablespoons of aquafaba (the liquid from canned chickpeas) for each egg, and use almond or oat milk in place of whole milk. Just ensure to use dairy-free chocolate chips and margarine instead of butter for the icing.
What toppings or add-ins would you suggest to customize my traybake?
The options are endless! You can swap out white chocolate chips for milk or dark chocolate, add a handful of nuts like walnuts or pecans for texture, or even stir in some dried fruits. For an extra decadent touch, consider drizzling the top with caramel sauce or colored sprinkles for festive occasions. Have fun experimenting!

Delicious Chocolate Chip Traybake Perfect for Family Fun
Ingredients
Equipment
Method
- Preheat your oven to 180°C (160°C fan/gas 4) and prepare a 33 x 23 cm roasting tin by greasing it and lining it with baking parchment.
- Combine the dry ingredients in a large bowl. Mix together flour, cocoa powder, baking powder, light brown sugar, and a pinch of salt, whisking gently to break up any lumps for a smooth batter.
- Whisk the wet ingredients together in a jug. In a separate container, combine the rapeseed oil, milk, vanilla extract, and eggs, then pour this lovely mixture into the dry ingredients along with the chocolate chips. Stir until no dry flour remains.
- Pour the batter into your prepared tin and bake for 25-30 minutes. Check for doneness by inserting a skewer; it should come out clean. If it’s still wet, pop it back in for 5 more minutes. Let it cool in the tin for 20 minutes.
- Make the icing by melting the butter in a saucepan, then stir in icing sugar, cocoa powder, and milk until smooth and combined. If it’s too thick, feel free to gently reheat it to reach a pourable consistency.
- Glaze your cooled cake by pouring the icing over the top. Allow it to set fully before slicing into squares for serving.


