
A few weeks ago, I found myself staring at a formidable mountain of leftovers, unsure how to turn yesterday’s dinner into something exciting. Just as I contemplated another round of mundane reheating, the vibrant, spicy scent of kimchi wafted through the air, striking me with inspiration. That’s how my Cheese Sauce Kimchi Fried Rice was born—a delightful fusion of flavors and textures that transforms any ordinary meal into a culinary adventure.
Brimming with umami, this dish is perfect for both seasoned chefs and home cooks seeking to elevate their weeknight repertoire. Picture golden grains of rice mingling with the tanginess of kimchi, the richness of creamy cheese, and a choice of savory proteins—each bite delivers a satisfying surprise. What’s even better? This recipe is not just easy to whip up; it’s a celebration of flavors that will have your taste buds dancing. So, let’s dive into the comforting world of fried rice that’s anything but predictable!
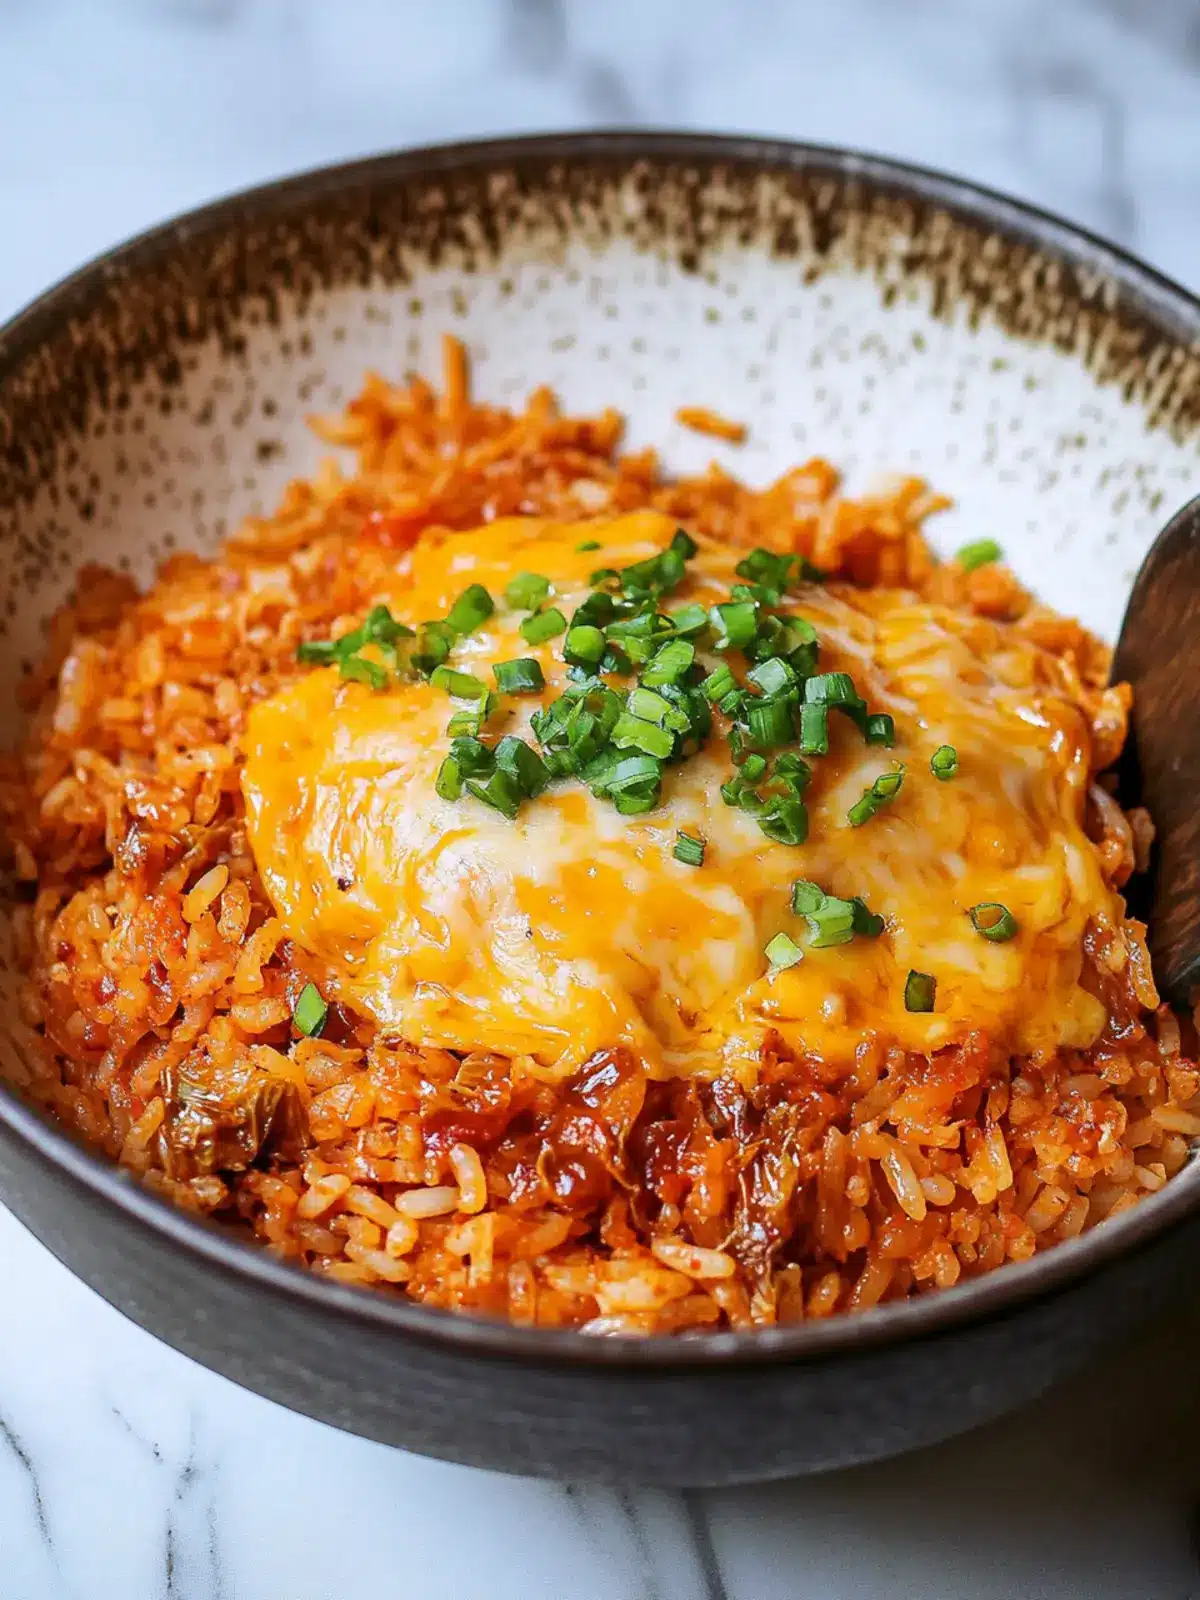
Why is Cheese Sauce Kimchi Fried Rice a must-try?
Deliciously Unique: This recipe marries the comforting elements of classic fried rice with a zesty twist from kimchi, delighting your palate with unexpected flavors.
Quick & Easy: You can whip this up in under 30 minutes, making it a perfect solution for those busy weeknights.
Customizable: Choose your favorite protein—from bacon to tofu—and make it your own.
Rich, Creamy Texture: The indulgent cheese sauce elevates every forkful, creating a harmonious blend of creaminess and spice.
Crowd-Pleaser: Whether serving family or hosting friends, this dish is sure to impress and satisfy everyone’s cravings.
Cheese Sauce Kimchi Fried Rice Ingredients
For the Rice Base
• Cooked rice – leftover rice works best for that perfect chewy texture.
• Kimchi – adds a zesty kick; don’t forget the juice for extra flavor!
• Garlic – enhances the aromatic depth; use freshly minced for the best aroma.
• Egg – binds everything together; feel free to scramble it right into the mix.
For the Protein
• Protein of choice (beef, bacon, Spam, sausage, or tuna) – choose your favorite for a heartier dish.
For Cooking
• Oil for cooking – helps to sauté the garlic and creates a perfect crispy base.
For the Flavor
• Gochujang – adds a spicy, sweet depth; adjust to your heat preference!
• Honey – balances out the spiciness with a touch of sweetness.
• Sesame oil – infuses a nutty aroma that elevates the whole dish.
For the Creamy Cheese Sauce
• Heavy cream or evaporated milk – makes the sauce luxuriously rich and creamy.
• Shredded cheese – melts into the sauce for that ultimate cheesy goodness.
• Cheese slice – for an extra creamy layer that’ll have you asking for seconds.
For Garnishing
• Spring onions – chopped for a fresh, crunchy finish on top.
• Sesame seeds – sprinkle for a delightful crunch and additional flavor.
This Cheese Sauce Kimchi Fried Rice not only brings comfort but also a delightful crunch and richness that’s impossible to resist!
How to Make Cheese Sauce Kimchi Fried Rice
-
Heat the oil
Begin by warming the oil in a large skillet over medium heat. Add the minced garlic and sauté for about 1-2 minutes until fragrant and golden brown—this step builds the base flavor. -
Cook the protein
Add your chosen protein to the pan. Sauté until it is fully cooked through and beautifully browned, about 3-5 minutes. This will add a savory depth to your fried rice. -
Mix in the rice and kimchi
Stir in the leftover cooked rice, chopped kimchi, and kimchi juice if using. Toss everything together until well combined, heating until the rice is warmed through. -
Scramble the egg
Create a well in the center of the rice mixture and crack an egg into it. Scramble the egg gently in this well until it’s set, then mix it thoroughly into the rice, creating a rich texture. -
Add flavor enhancers
Pour in the gochujang, honey, and sesame oil, stirring to incorporate all the flavors throughout the rice. Allow it to cook for an additional 2-3 minutes, letting the spices dance. -
Prepare the cheese sauce
In a separate small pot, combine the heavy cream or evaporated milk with shredded cheese. Heat gently while stirring until melted and creamy; this should take about 2-4 minutes. -
Serve it up
Dish out the fried rice into bowls and generously drizzle with the creamy cheese sauce. Garnish with chopped spring onions and a sprinkle of sesame seeds for that final touch of crunch and flavor.
Optional: Top with a few extra kimchi pieces for added zing!
Exact quantities are listed in the recipe card below.
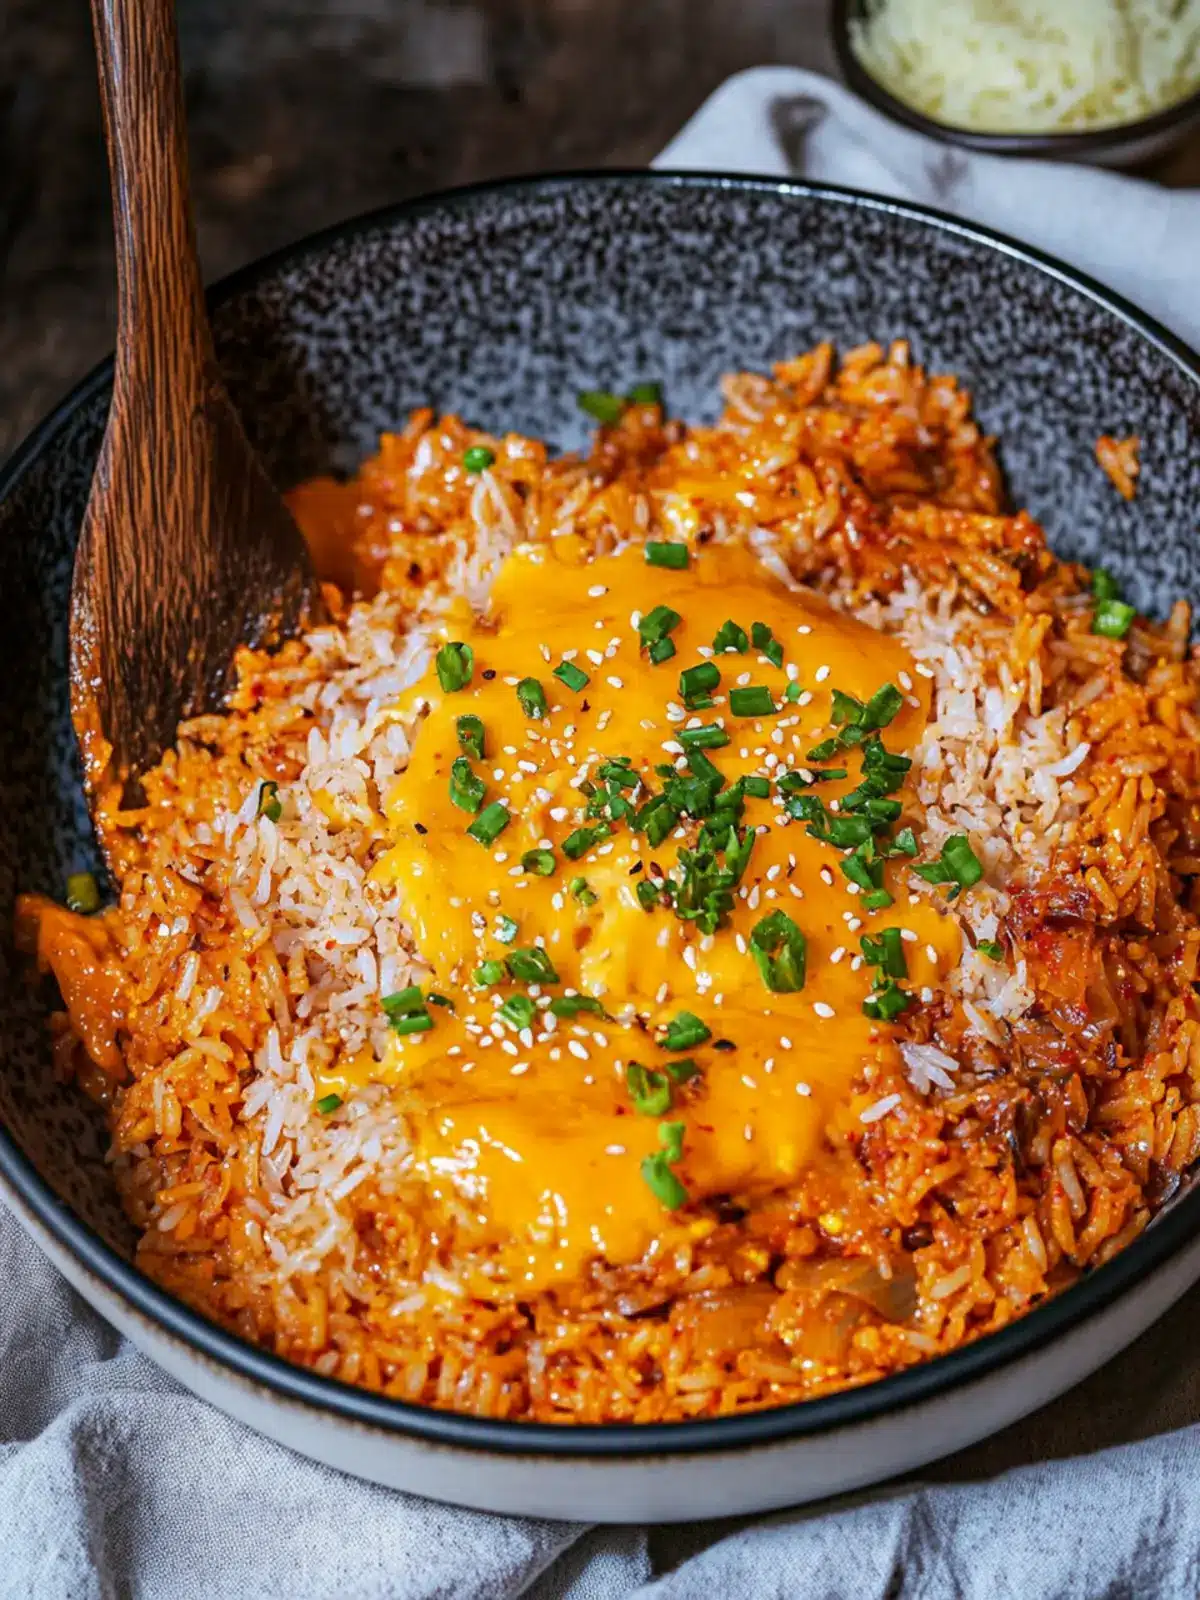
Cheese Sauce Kimchi Fried Rice Variations
Feel free to get creative and make this dish uniquely yours by trying out these fun, flavorful twists!
-
Vegan: Use tofu or tempeh in place of meat and vegan cheese for a delicious plant-based version. A squeeze of lime will add a refreshing zing.
-
Spicy Kick: Add extra gochujang or a dash of sriracha to amp up the heat for those who crave a fiery flavor explosion. Just a little goes a long way!
-
Crispy Veggies: Toss in some diced bell peppers, carrots, or frozen peas for added color and crunch, making every bite more vibrant and nutritious.
-
Sesame Crust: Before serving, sprinkle toasted sesame seeds over the top for a nutty flavor and delightful texture that complements the creamy sauce.
-
Coconut Cream: Swap heavy cream for coconut cream for a tropical twist that marries beautifully with the spiciness of the kimchi—it’ll transport your taste buds!
-
Herb Infusion: Fresh herbs like cilantro or Thai basil can be stirred in at the end to uplift the flavor profile and create a fresh finish that’s simply irresistible.
-
Cheese Blend: Use a mix of cheeses like mozzarella and sharp cheddar for a richer cheese sauce experience. The combination creates layers of flavor you won’t want to miss.
-
Nutty Drizzle: Finish with a swirl of sesame oil for added richness or a drizzle of chili oil for a fragrant, spicy touch that enhances every spoonful.
Let your imagination run wild with these variations, and enjoy your personalized Cheese Sauce Kimchi Fried Rice!
What to Serve with Cheese Sauce Kimchi Fried Rice?
Enhancing your meal experience is as simple as pairing this delightful fried rice with complementary dishes that will tantalize your taste buds.
-
Crispy Spring Rolls: These savory bites add a satisfying crunch and an extra layer of flavor that pairs well with the richness of the fried rice. They are perfect for dipping in soy sauce or sweet chili sauce.
-
Steamed Broccoli: The mildness of this green vegetable adds a fresh, nutritious element to your meal. Plus, its vibrant color contrasts beautifully with the warm hues of the fried rice.
-
Kimchi Salad: Bright and tangy, a light kimchi salad will enhance the flavors of the cheese sauce kimchi fried rice while providing a refreshing, crunchy bite.
-
Egg Drop Soup: This warm, comforting soup is a gentle complement to the bold flavors of the fried rice, creating a well-rounded dining experience that embraces various textures.
-
Sesame Ginger Chicken: The savory, slightly sweet notes of this dish mesh wonderfully with the spicy and creamy elements of the fried rice, creating a delightful culinary balance.
-
Fruit Salad: A vibrant fruit salad brings a touch of sweetness and refreshment, offsetting the rich flavors of your meal with a light, zesty finish.
-
Iced Green Tea: Serve this refreshing drink alongside to cleanse your palate as you enjoy the bold flavors of the fried rice. The subtlety of green tea makes it a perfect pairing for spicy dishes.
-
Chocolate Mousse: A creamy, indulgent dessert, this treat provides a smooth finish to your savory meal, leaving you with a satisfying end to your culinary adventure.
Make Ahead Options
These Cheese Sauce Kimchi Fried Rice bowls are perfect for meal prep enthusiasts! You can prepare the rice base and cook the protein up to 3 days in advance. Simply sauté the protein and mix it with the cooked rice, kimchi, and kimchi juice before refrigerating it in an airtight container. When you’re ready to serve, just heat the mixture in a skillet until warm, scramble in the egg, and finish with the gochujang and sesame oil. For the cheese sauce, prepare it just before serving; this keeps it creamy and delicious. By prepping ahead, you can enjoy delightful, homemade fried rice with minimal effort on busy nights!
Expert Tips for Cheese Sauce Kimchi Fried Rice
- Use Day-Old Rice: Leftover rice works best for this dish; it’s drier and won’t become mushy while frying.
- Watch the Garlic: Sauté the minced garlic until fragrant but not brown, as burnt garlic can add a bitter taste to your dish.
- Adjust Spice Level: Gochujang is spicy; start with a smaller amount and adjust to your preference for the cheese sauce kimchi fried rice.
- Mix Proteins: Feel free to combine different proteins for a more complex flavor; just ensure they’re all fully cooked before adding rice.
- Creamy Consistency: For the cheese sauce, add a splash more heavy cream or evaporated milk if it thickens too much; it should drizzle easily.
How to Store and Freeze Cheese Sauce Kimchi Fried Rice
Fridge: Store any leftover cheese sauce kimchi fried rice in an airtight container for up to 3 days to maintain freshness and flavor.
Freezer: For longer storage, freeze the fried rice in a freezer-safe container for up to 2 months. Ensure it’s well-sealed to prevent freezer burn.
Reheating: When ready to enjoy, thaw in the fridge overnight and reheat on the stovetop or in the microwave until heated through. Add a splash of water to help revive the creamy texture.
Quality Check: For the best taste, consume your frozen cheese sauce kimchi fried rice within one month, as flavors may diminish over time.
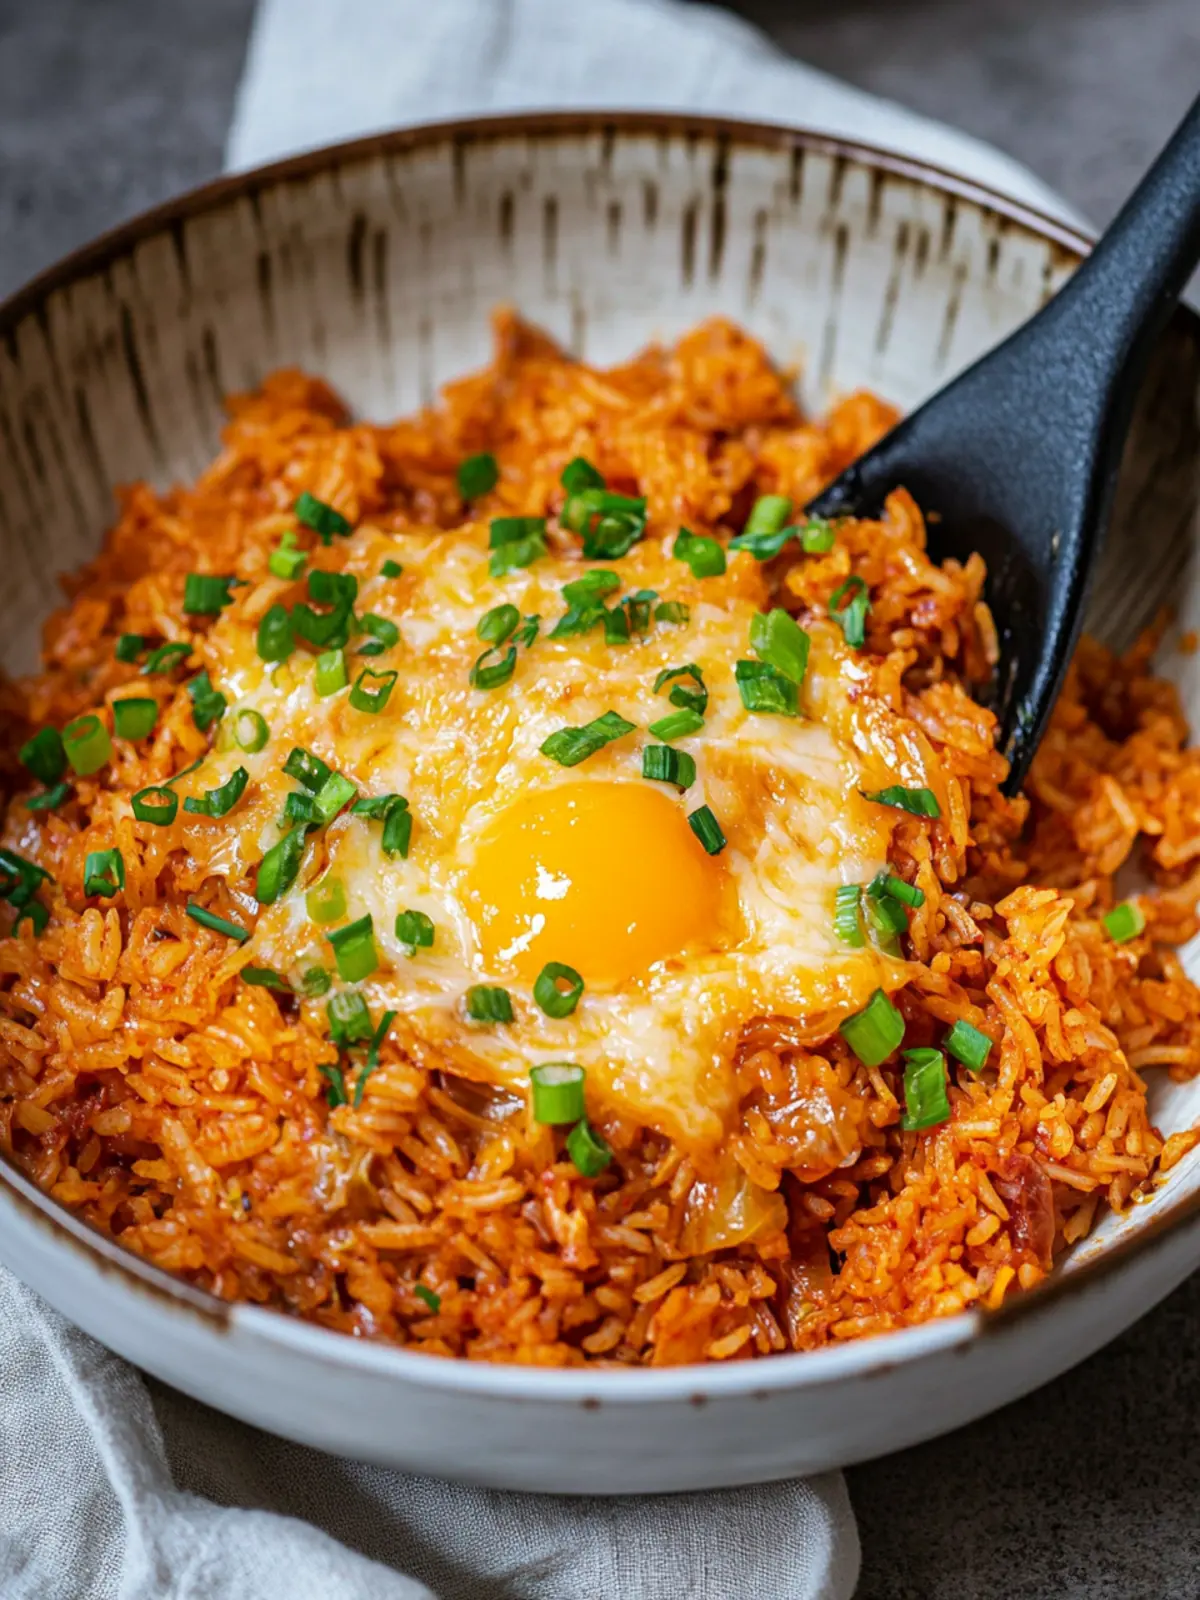
Cheese Sauce Kimchi Fried Rice Recipe FAQs
What type of rice is best for this recipe?
Absolutely! Using day-old cooked rice is ideal for this Cheese Sauce Kimchi Fried Rice. The drier texture of leftover rice helps achieve that perfect chewy consistency and prevents the dish from becoming mushy. If you don’t have leftover rice, you can cook fresh rice, but ensure it’s cooled completely before using.
How should I store leftover Cheese Sauce Kimchi Fried Rice?
You can store any leftovers in an airtight container in the fridge for up to 3 days. To maintain freshness and flavor, it’s crucial to let it cool down to room temperature before sealing it for storage. Just reheat on the stovetop or microwave when you’re ready to enjoy it again!
Can I freeze Cheese Sauce Kimchi Fried Rice?
Yes, you can freeze it! Place your fried rice in a freezer-safe container, sealing it tightly to prevent freezer burn. It can be stored for up to 2 months. When you’re ready to eat, just thaw it in the fridge overnight, and reheat it on the stovetop or in the microwave. You might want to add a splash of water to help bring back that creamy texture.
What if my fried rice turns out too dry?
If you find your Cheese Sauce Kimchi Fried Rice a bit dry, don’t worry! You can simply add a splash of water or broth while reheating and stir well to incorporate moisture throughout. This will help revive the dish’s original texture and flavor. Additionally, make sure to check that your proteins are fully cooked but not overdone in the frying process.
Is this recipe suitable for people with dietary restrictions?
Very! This recipe is quite customizable, allowing you to cater to various dietary needs. You can substitute proteins with plant-based alternatives like tofu for vegetarians or vegans. Just ensure to use kimchi that is vegan, as some brands contain fish sauce. If you or your guests have specific allergies, always review the ingredient labels, particularly for gluten in sauces and cheese.
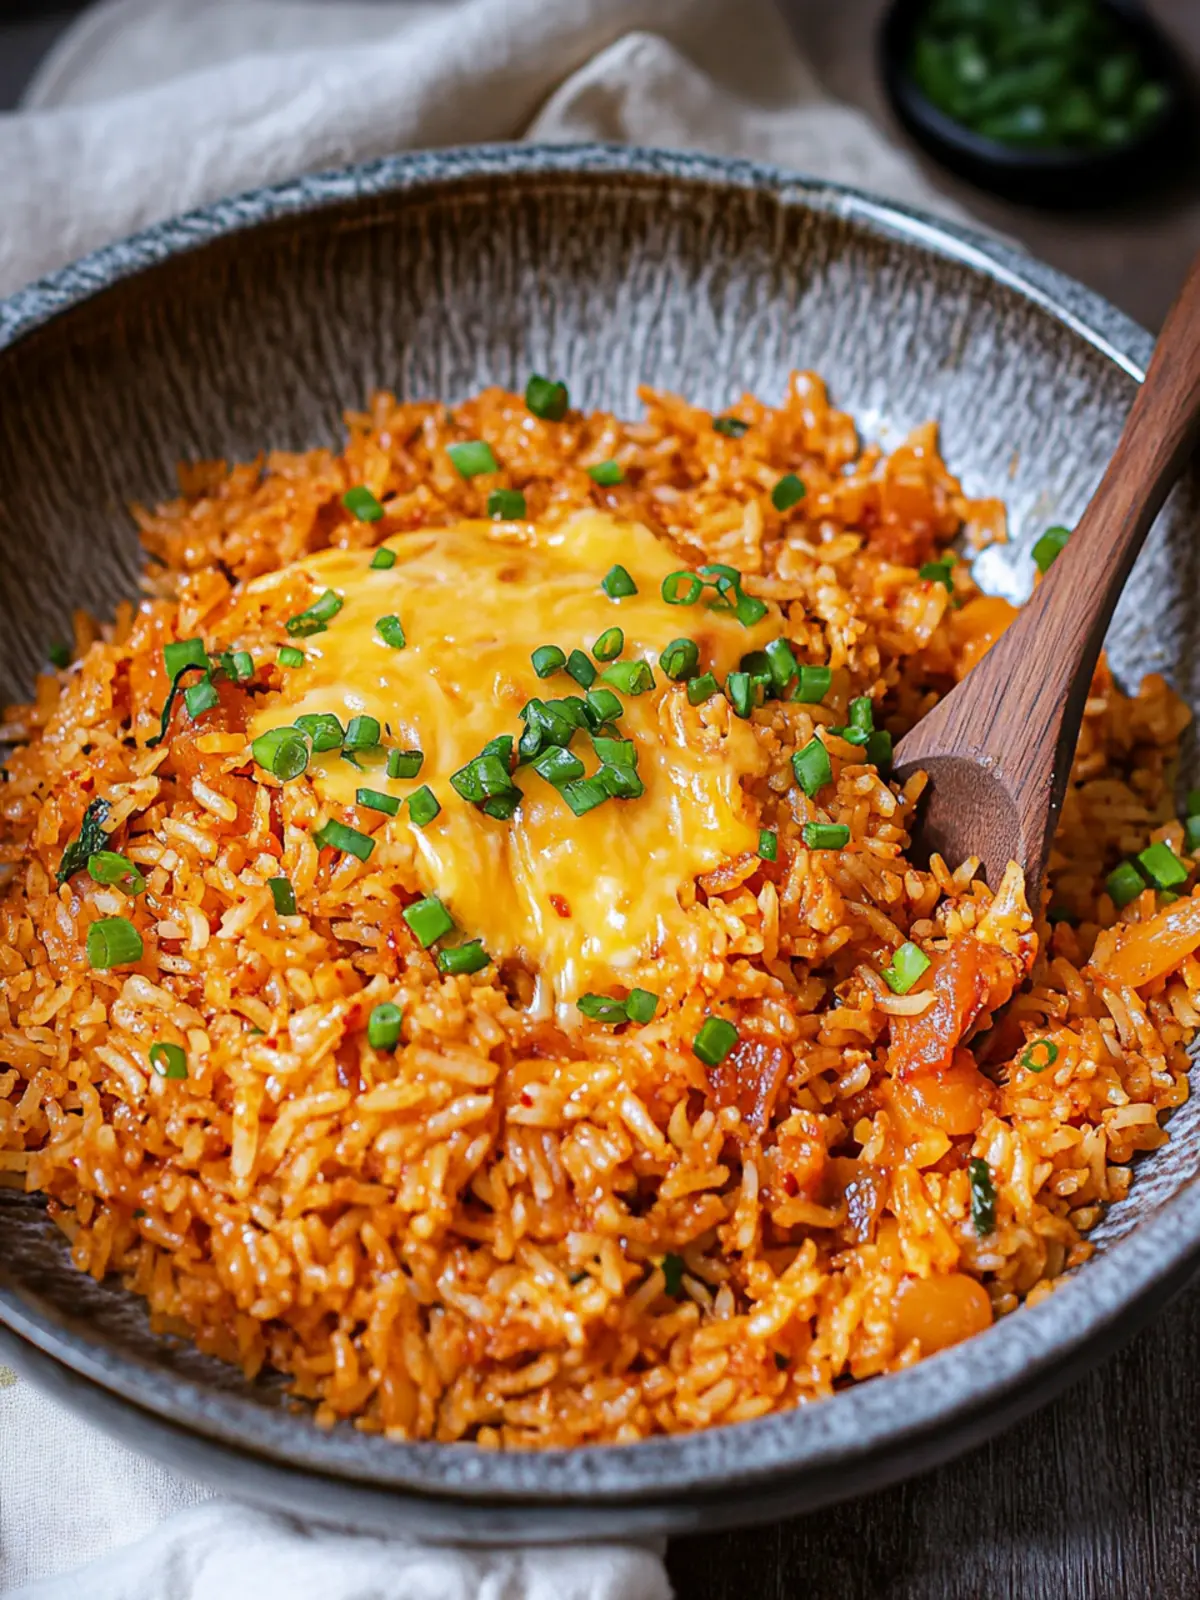
Cheese Sauce Kimchi Fried Rice
Ingredients
Equipment
Method
- Heat the oil in a large skillet over medium heat. Add minced garlic and sauté for about 1-2 minutes until fragrant and golden brown.
- Add your chosen protein to the pan and sauté until fully cooked through and browned, about 3-5 minutes.
- Stir in the cooked rice, chopped kimchi, and kimchi juice if using. Toss until well combined and heated through.
- Create a well in the center of the rice mixture, crack in an egg, and scramble gently until set; mix thoroughly.
- Pour in gochujang, honey, and sesame oil, stirring to combine and let it cook for an additional 2-3 minutes.
- In a separate pot, combine heavy cream or evaporated milk with shredded cheese and heat until melted and creamy, about 2-4 minutes.
- Dish out the fried rice into bowls, drizzle with cheese sauce, and garnish with chopped spring onions and sesame seeds.