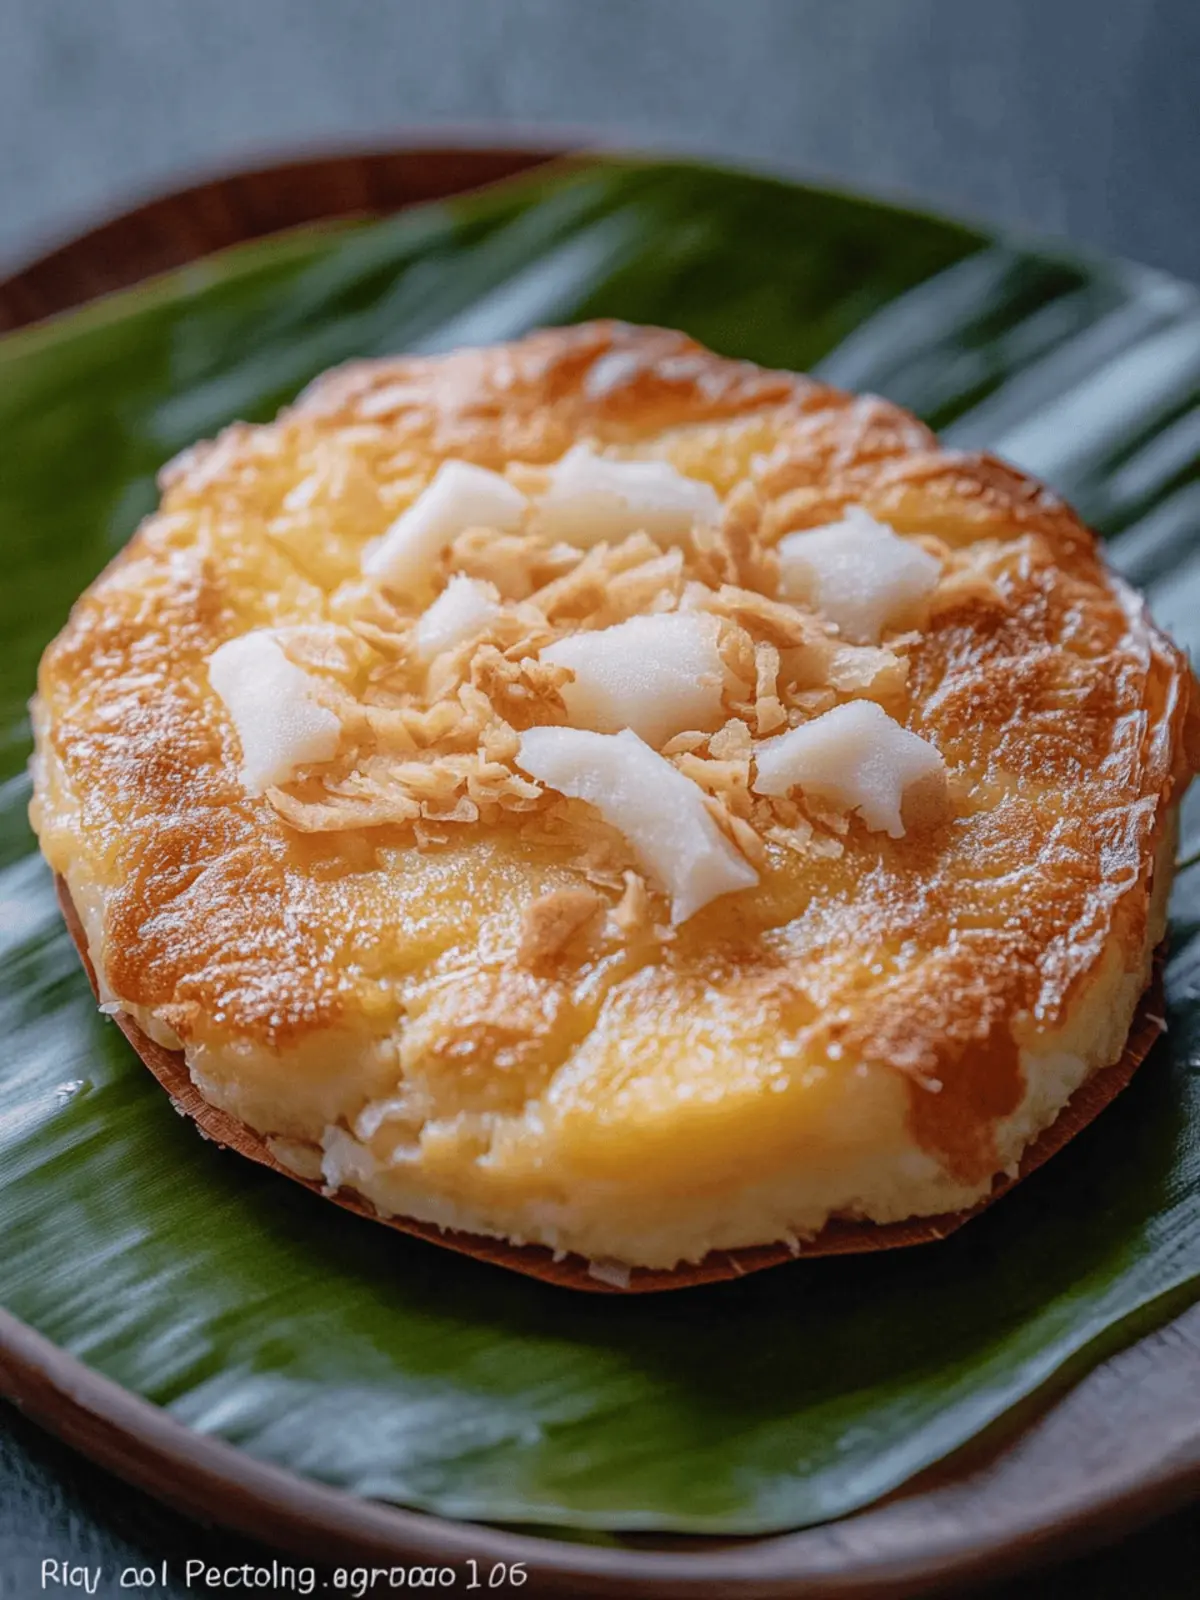
When the holiday season rolls around, my mind drifts to the warm, inviting aroma of freshly baked bibingka. This traditional Filipino rice cake isn’t just a treat; it’s a nostalgic reminder of family gatherings and festive celebrations. The moment you pull this golden brown delight from the oven, the buttery scent mingles with the hint of coconut, evoking memories of laughter and love shared over festive feasts.
The beauty of bibingka lies not just in its flavor but in its versatility. With every bite, you experience a delightful combination of sweet and savory, thanks in part to the luscious coconut milk and the unique topping of salted duck eggs. Whether enjoyed alongside a cup of hot chocolate or as a festive snack, this easy-to-make bibingka recipe brings joy to any occasion.
Join me in creating this delicious holiday classic that will surely impress your loved ones, bringing that taste of the Philippines right into your home kitchen!
Why will you love this Bibingka Recipe?
Warmth and Tradition: The delicious aroma of bibingka brings a comforting nostalgia, perfect for holiday celebrations.
Versatile Toppings: Customize your bibingka with a variety of toppings, from salted eggs to sweet mango, tailoring it to your taste.
Easy Preparation: With straightforward steps and simple ingredients, this recipe invites both novice and experienced cooks to join in.
Gluten-Free Delight: Made with rice flour, this treat is accessible for gluten-sensitive eaters, making it a crowd favorite!
Perfect for Sharing: Whether at parties or family gatherings, bibingka is a delightful dish that sparks conversations and smiles.
Bibingka Recipe Ingredients
• Gather everything you need for this delicious bibingka!
For the Batter
- Rice Flour – Provides structure and is gluten-free for this Bibingka recipe.
- Salt – Enhances flavor; a pinch is sufficient to avoid overpowering the sweetness.
- Baking Powder – Acts as a leavening agent for a light and fluffy texture; make sure it’s fresh!
- Butter – Adds richness and moisture; substitute with vegetable oil for a dairy-free option.
- Granulated Sugar – Sweetens the batter; can be replaced with honey for a natural sweetness.
- Coconut Milk – Contributes a creamy texture and rich coconut flavor; try light coconut milk for a lower-calorie version.
- Fresh Milk – Helps with moisture; evaporated milk can be a tasty alternative.
- Raw Eggs – Binds the ingredients together and adds fluffiness; flaxseed meal can make a great vegan substitute.
For the Toppings
- Salted Duck Egg – Adds a delightful savory contrast to the sweetness; regular salted eggs work just as well, or omit for a vegetarian option.
- Grated Cheese – Provides an extra layer of flavor; consider dairy-free cheese for lactose intolerance.
- Grated Coconut – Enhances texture and flavor as a topping; shredded desiccated coconut is a tasty option.
For the Baking Pans
- Pre-cut Banana Leaf – Lines the baking pan, adding aroma while preventing sticking; if unavailable, use parchment paper as a substitute.
How to Make Bibingka
- Preheat your oven to 375°F (190°C). This ensures the perfect baking environment for your bibingka to rise beautifully.
- Mix together rice flour, baking powder, and salt in a bowl; set aside. This dry mixture forms the foundation of your bibingka.
- Cream the butter in a separate bowl, gradually adding granulated sugar until it’s fluffy and light. This step is key to creating a rich texture.
- Whisk in the raw eggs until well incorporated. This will help bind all your ingredients together.
- Combine the dry mixture with the wet mixture, then whisk in coconut milk and fresh milk until smooth and lump-free. This batter is where the magic begins!
- Line a baking pan with pre-cut banana leaf or parchment paper. Then, pour in your batter, ensuring even distribution.
- Bake for 15 minutes, allowing it to start rising and setting. You’ll smell the sweetness filling your kitchen!
- Top with sliced salted duck egg and grated cheese, then return it to the oven for more baking.
- Bake for an additional 15-20 minutes, or until the top is medium brown and a toothpick comes out clean. This golden brown finish is irresistible!
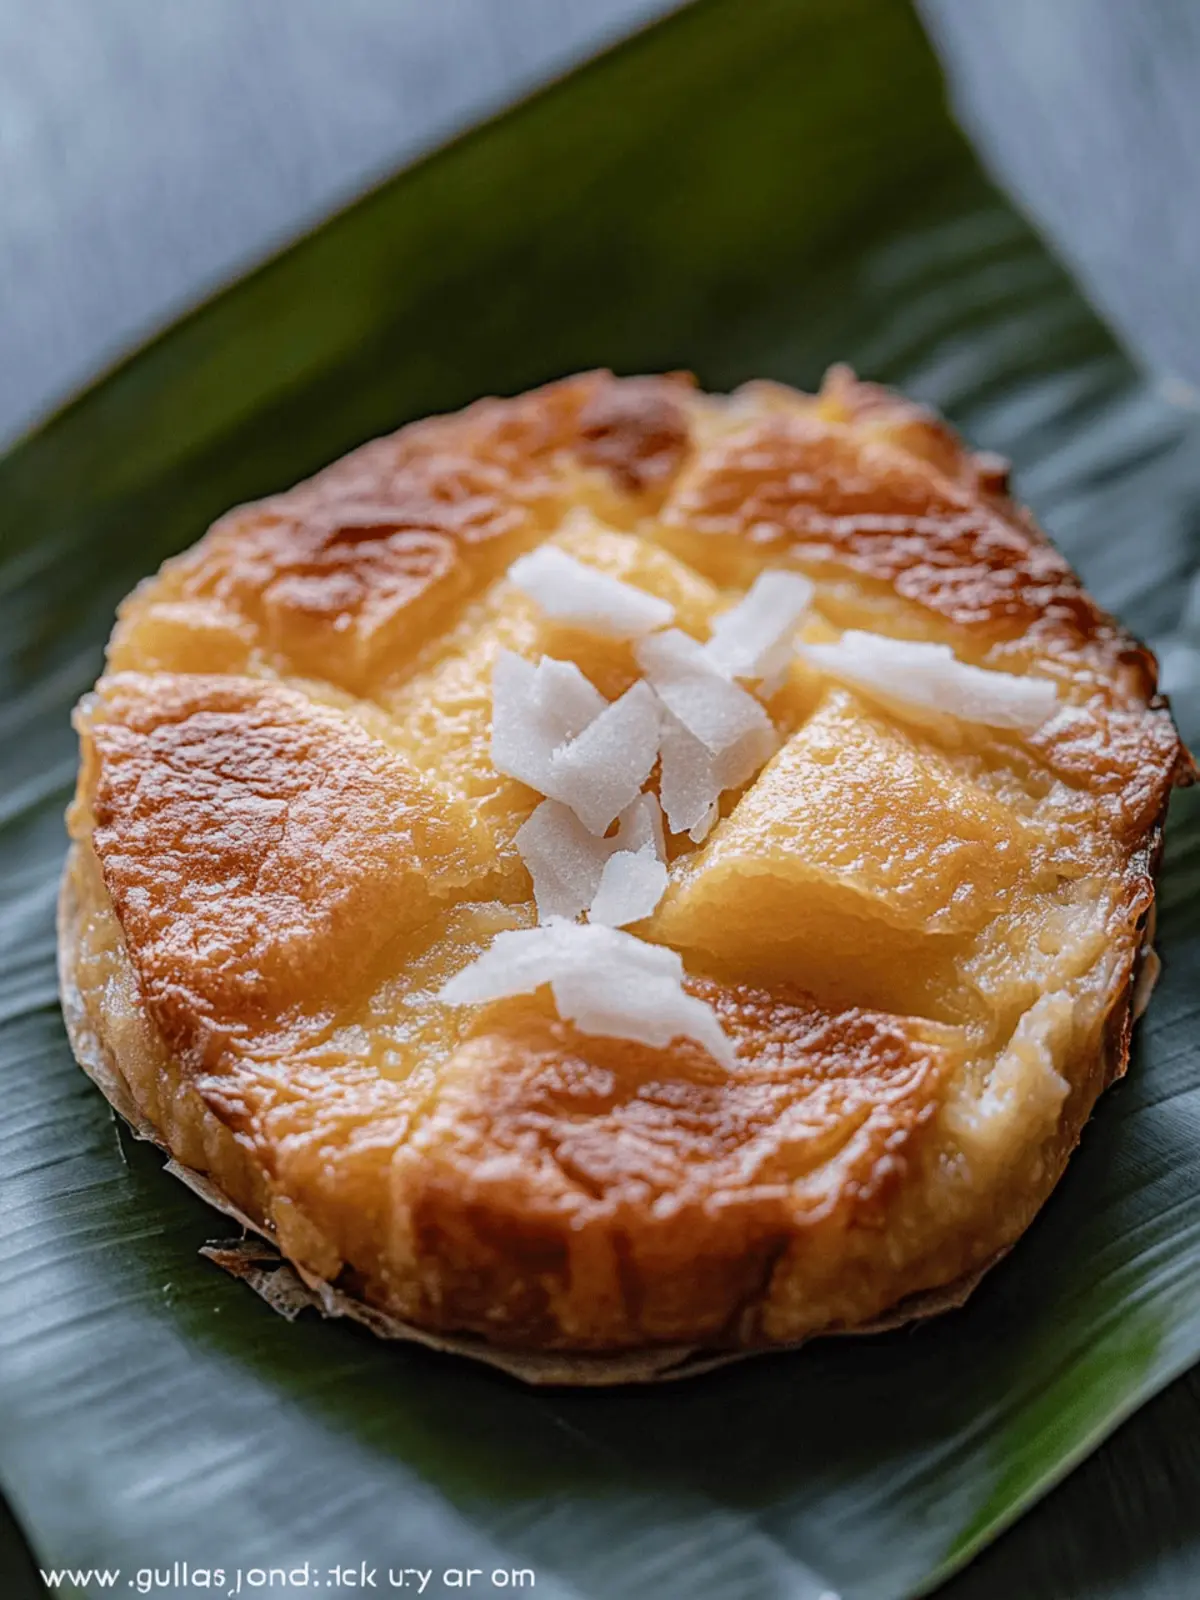
- Cool slightly, then brush with butter and sprinkle with grated coconut for that final festive touch.
Optional: Enjoy with a dusting of powdered sugar for an added sweetness!
Exact quantities are listed in the recipe card below.
How to Store and Freeze Bibingka
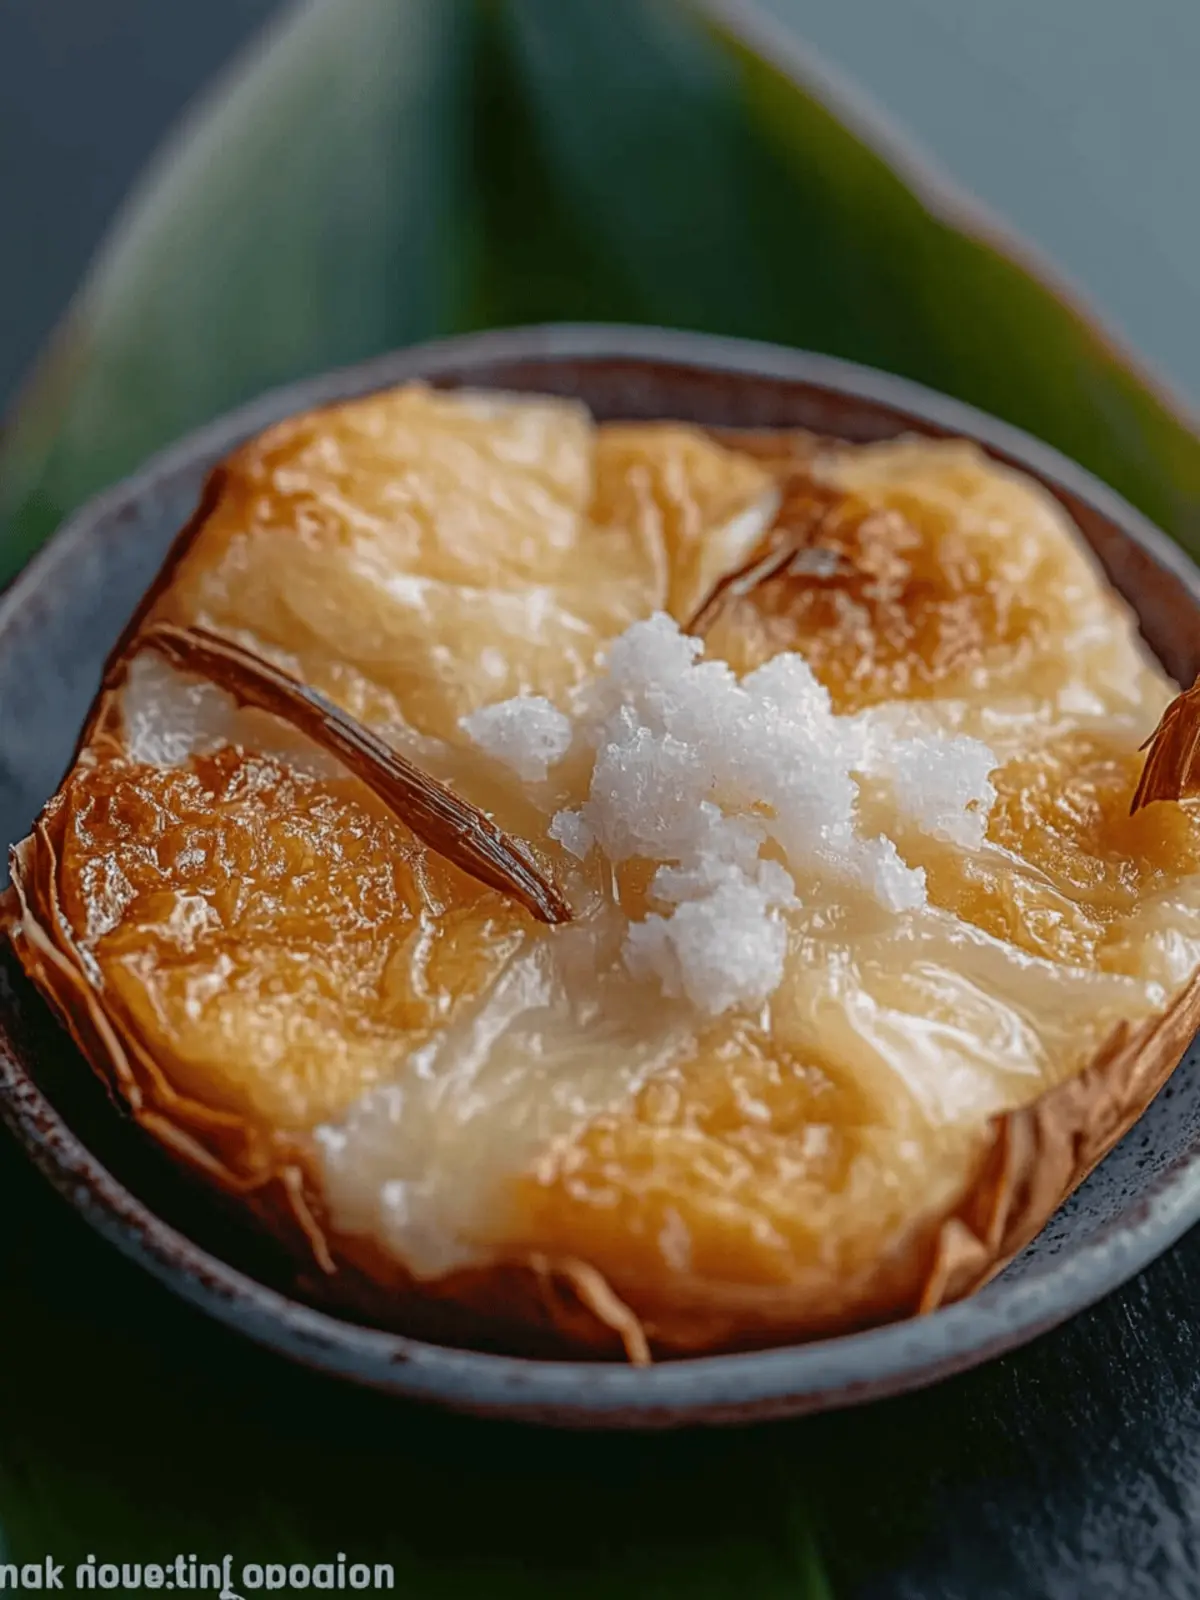
Room Temperature: Store leftover bibingka in an airtight container at room temperature for up to 3 days to maintain its soft texture.
Fridge: For extended freshness, keep bibingka in the fridge, where it will last up to a week. Reheat in the oven to restore its delightful warmth.
Freezer: If you want to save bibingka for later, wrap slices in plastic wrap and place them in a freezer-safe bag. It can be frozen for up to 3 months.
Reheating: To enjoy bibingka again, thaw in the fridge overnight, then reheat in a 350°F (175°C) oven for about 10-15 minutes. This keeps the flavors vibrant and comforting!
Make Ahead Options
Bibingka is ideal for meal prep enthusiasts looking to save time during the busy holiday season! You can prepare the batter up to 24 hours in advance by mixing the dry ingredients (rice flour, baking powder, and salt) with the wet (butter, sugar, eggs, coconut milk, and fresh milk) and storing it in the refrigerator. To maintain its quality and prevent separation, cover it tightly with plastic wrap. When you’re ready to bake, simply give the batter a quick stir, line your pan with banana leaves or parchment paper, and pour in the mixture. After baking, enjoy this delicious bibingka warm, as it’s just as delightful on the second day.
Bibingka Recipe Variations
Dive into the myriad of ways to customize this delightful bibingka, transforming it into your own signature dish!
- Gluten-Free: Substitute regular rice flour with glutinous rice flour for a chewier texture and delightful bite.
- Dairy-Free: Replace butter with vegetable oil and utilize coconut milk exclusively to maintain creaminess without dairy.
- Sugar Swap: Try replacing granulated sugar with maple syrup or honey for a natural sweetness that enhances the coconut essence.
Experimenting with toppings can lead to exciting new flavors and textures. For instance:
- Tropical Twist: Add slices of sweet mango or jackfruit on top, complementing the coconut flavor for a tropical vacation in every bite.
- Chocolate Drizzle: For a modern twist, drizzle melted dark chocolate on top after baking, marrying sweet and savory in the most delicious way.
And if you’re feeling adventurous:
- Spicy Kick: Incorporate a sprinkle of chili flakes as a topping for a surprising burst of heat that beautifully contrasts the sweetness.
- Nutty Addition: Consider adding toasted coconut flakes or chopped nuts for added crunch and a hint of warmth.
With these variations, you can take each baking session in an exciting new direction while still enjoying the heartwarming flavors of traditional bibingka!
What to Serve with Bibingka?
Gather around for a festive feast where this delightful rice cake steals the show, but what should accompany its warm embrace?
- Hot Chocolate: The creamy sweetness of rich hot chocolate balances perfectly with bibingka’s flavors, making it an ideal pairing for cozy evenings.
- Tropical Fruit Salad: Fresh mango, pineapple, and banana create a refreshing contrast, enhancing the tropical essence of this traditional treat.
- Savoury Longganisa: The sweet and garlicky flavors of Filipino sausage add a savory element that pairs beautifully with bibingka’s sweetness, perfect for a festive brunch.
- Steamed Edamame: These tender green beans with a light sprinkle of salt bring a nutty crunch that complements the soft texture of bibingka.
- Coconut Milk Tea: Infused with pandan leaves or jasmine, this aromatic drink mirrors the coconut flavors in bibingka, creating a harmonious sipping experience.
- Spiced Ginger Brew: Warm ginger tea provides a gentle spice that enhances the comforting essence of bibingka while cleansing the palate between bites.
- Flan or Leche Flan: Creamy and decadent, this classic Filipino dessert adds an extra layer of indulgence, making your holiday spread truly irresistible.
- Mango Float Cake: A layered dessert offers a creamy alternative that echoes the tropical flavors while providing a cooling contrast to warm bibingka.
- Chilled Coconut Water: For a refreshing and hydrating option, chilled coconut water provides a natural sweetness, emphasizing the delightful coconut notes in bibingka.
Expert Tips for the Best Bibingka Recipe
- Ingredient Freshness: Use fresh baking powder for the best rise. Stale ingredients can lead to a dense bibingka.
- Banana Leaf Technique: Soften banana leaves by briefly passing them over the flame or steaming them. This makes them pliable and prevents tearing.
- Cooling Time: Allow bibingka to cool for easier slicing. Cutting too soon may result in a messy presentation.
- Topping Variations: Feel free to experiment with toppings! Sweetened mango and grated cheese offer delightful twists on this traditional bibingka recipe.
- Avoid Overbaking: Keep a close eye during the last minutes of baking to prevent over-browning. A golden top is what you want!
Bibingka Recipe FAQs
What type of rice flour should I use for bibingka?
Absolutely! For a traditional bibingka, glutinous rice flour is often preferred as it gives a unique texture, making the cake wonderfully chewy. If you’re looking for a gluten-free option, regular rice flour works nicely too, just note that the texture might be slightly different.
How should I store leftover bibingka?
You can store any leftover bibingka in an airtight container at room temperature for up to 3 days. If you want to extend its freshness, consider refrigerating it for up to a week. Just remember to reheat it in the oven to restore that delightful softness before serving!
Can I freeze bibingka? If so, how?
Yes, absolutely! To freeze your bibingka, first let it cool completely. Then wrap slices individually in plastic wrap and place them in a freezer-safe bag. It can be frozen for up to 3 months. When you’re ready to enjoy, simply thaw it overnight in the fridge and reheat it in a preheated oven at 350°F (175°C) for about 10-15 minutes.
What should I do if my bibingka doesn’t rise?
If your bibingka doesn’t rise properly, check to see if your baking powder was fresh, as stale leavening agents can hinder the rise. Make sure to cream the butter and sugar well for aeration, and don’t skip the whisking step with eggs. Each step is important to build that fluffy texture!
Are there any common allergies to consider with this recipe?
Yes, since this bibingka recipe contains eggs, dairy (butter and milk), and possibly allergens from toppings like cheese, it’s essential to check with guests who may have allergies. For a dairy-free version, you can substitute the butter with vegetable oil and use non-dairy milk. For a vegan alternative, feel free to replace the eggs with flaxseed meal mixed with water.
Can I customize toppings on my bibingka?
Very! The beauty of bibingka lies in its versatility. Aside from salted duck eggs, you can experiment with different toppings like sweetened mango, jackfruit, or even chocolate chips for a modern twist. The more, the merrier, right?
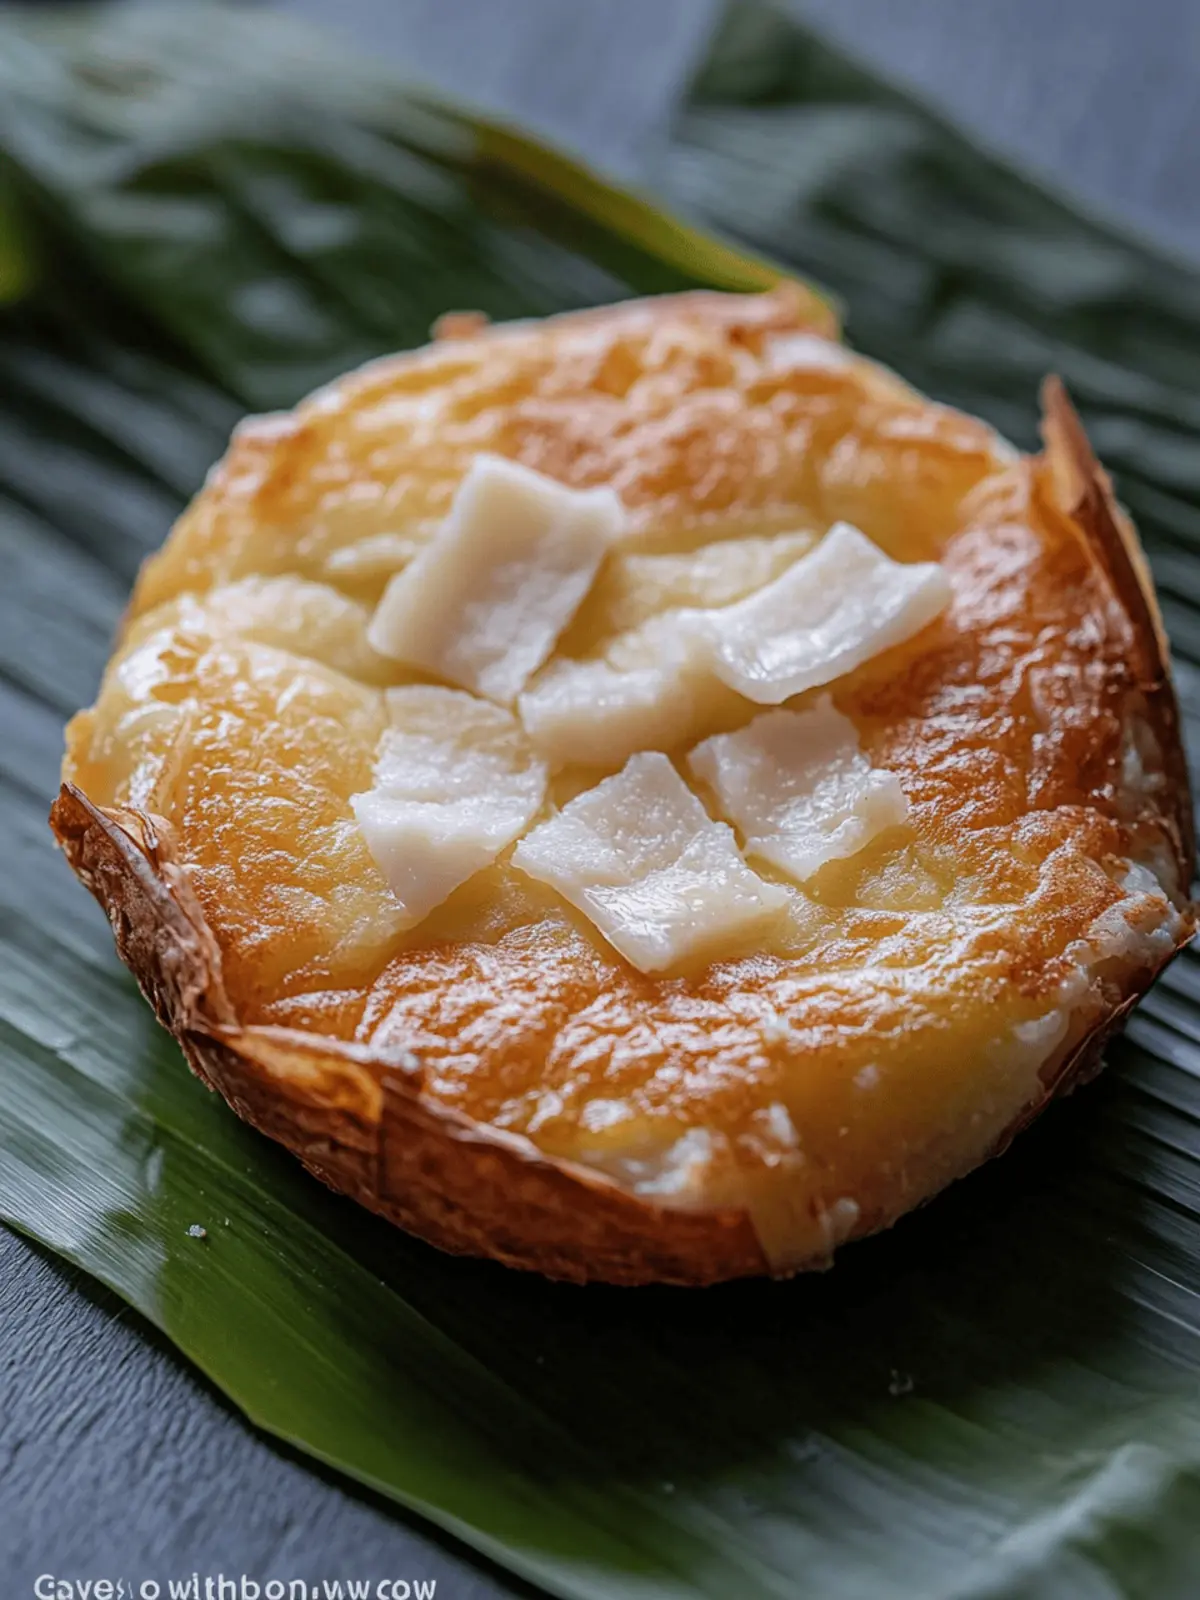
Delicious Bibingka Recipe: Your New Favorite Holiday Treat
Ingredients
Equipment
Method
- Preheat your oven to 375°F (190°C).
- Mix together rice flour, baking powder, and salt in a bowl; set aside.
- Cream the butter in a separate bowl, gradually adding granulated sugar until fluffy.
- Whisk in the raw eggs until well incorporated.
- Combine the dry mixture with the wet mixture, then whisk in coconut milk and fresh milk until smooth.
- Line a baking pan with pre-cut banana leaf or parchment paper, and pour in the batter.
- Bake for 15 minutes.
- Top with sliced salted duck egg and grated cheese, then return it to the oven.
- Bake for an additional 15-20 minutes, or until the top is medium brown.
- Cool slightly, then brush with butter and sprinkle with grated coconut.


