The moment I first tasted a dessert made with an Oreo pie crust, I was hooked. The rich crunch of crushed Oreos paired with a hint of melted butter is the perfect foundation for any filling you can dream up. It’s a bit of magic you can create at home, transforming an ordinary pie into a stand-out treat that will have everyone asking for seconds.
Whether you’re hosting a gathering or simply satisfying a late-night sweet tooth, this Oreo Pie Crust Recipe is your ticket to impressing friends and family without the fuss. With just three ingredients and minimal effort, you can whip up a delicious dessert that delivers big flavor and a delightful texture. It’s the ultimate crowd-pleaser, and trust me, once you try this crust, you’ll never reach for a store-bought option again! Let’s dive into this easy recipe and unlock a world of delicious possibilities.
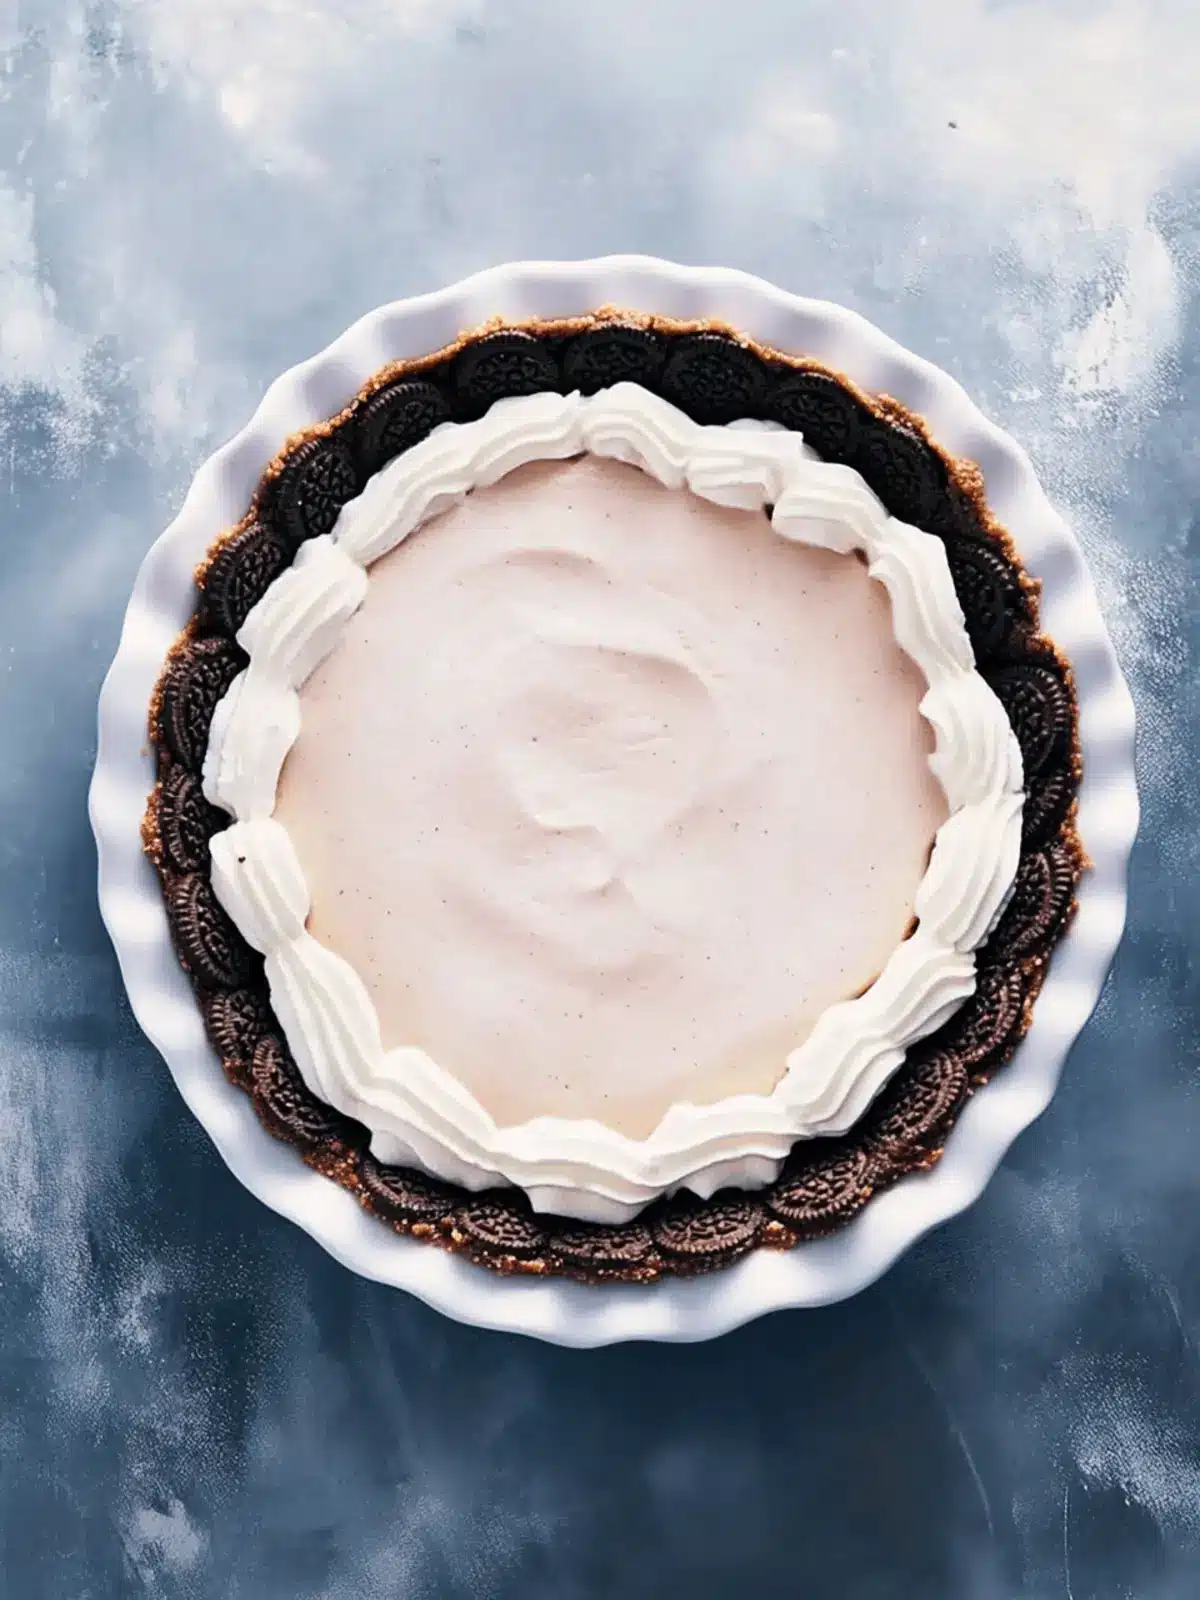
Why is this Oreo Pie Crust Recipe a Must-Try?
Simplicity at its Finest: With just three ingredients, you can create a stunning crust that will elevate any dessert.
Irresistible Flavor: The combination of buttery Oreos offers a delightful contrast to rich fillings, making it a perfect partner for cheesecakes, mousses, or even ice cream pies.
Quick Prep Time: In just 15 minutes, you can have this crust prepped and ready to go, allowing you to focus on creating the filling.
Bake or Chill: Whether you prefer a baked crust for added crispiness or a chilled version for a softer bite, this recipe gives you the freedom to choose.
Crowd-Pleasing Delight: Serve this delicious crust at your next gathering, and watch it disappear in seconds—everyone loves the nostalgic taste of Oreos!
Oreo Pie Crust Ingredients
Gather these essentials for your Oreo Pie Crust Recipe!
For the Crust
• Unsalted butter – 4 tablespoons – Melted butter binds the crumbs and adds richness to your crust.
• Oreo crumbs – 1 and 3/4 cups – Use crushed Oreos to infuse that classic chocolate flavor.
• Salt (optional) – 1/8 teaspoon – A pinch enhances the sweetness and balances flavors perfectly.
How to Make Oreo Pie Crust
-
Melt the Butter: Begin by melting the butter in a microwave-safe bowl. Let it cool for about 5 minutes; this will keep the crust from becoming too greasy.
-
Preheat Oven (if needed): If you’re opting for a baked crust, preheat your oven to 350°F (175°C). This step is crucial for achieving that perfect crunch!
-
Crush the Oreos: In a blender or food processor, blend full Oreo cookies until they form fine crumbs. Measure out 1 and 3/4 cups of these delightful crumbs for your crust.
-
Combine Ingredients: In your mixing bowl, add a pinch of salt to the Oreo crumbs. Pour in the melted butter, and stir everything together with a wooden spoon until it’s fully combined and resembles wet sand.
-
Press into Pie Pan: Using your fingers and a measuring cup, firmly press the mixture into the bottom and up the sides of a pie pan. This gives your crust the sturdy structure needed for your sweet fillings.
-
Bake (optional): If you’re baking the crust, place it in the preheated oven and bake for 10 minutes. Afterward, allow it to cool before adding your favorite filling!
-
Chill (if preferred): If you’d rather chill the crust, cover it and pop it in the freezer for 10 minutes or refrigerate for 20 minutes. This will give you a softer bite!
Optional: Add a scoop of whipped cream as a topping for an extra touch of indulgence.
Exact quantities are listed in the recipe card below.
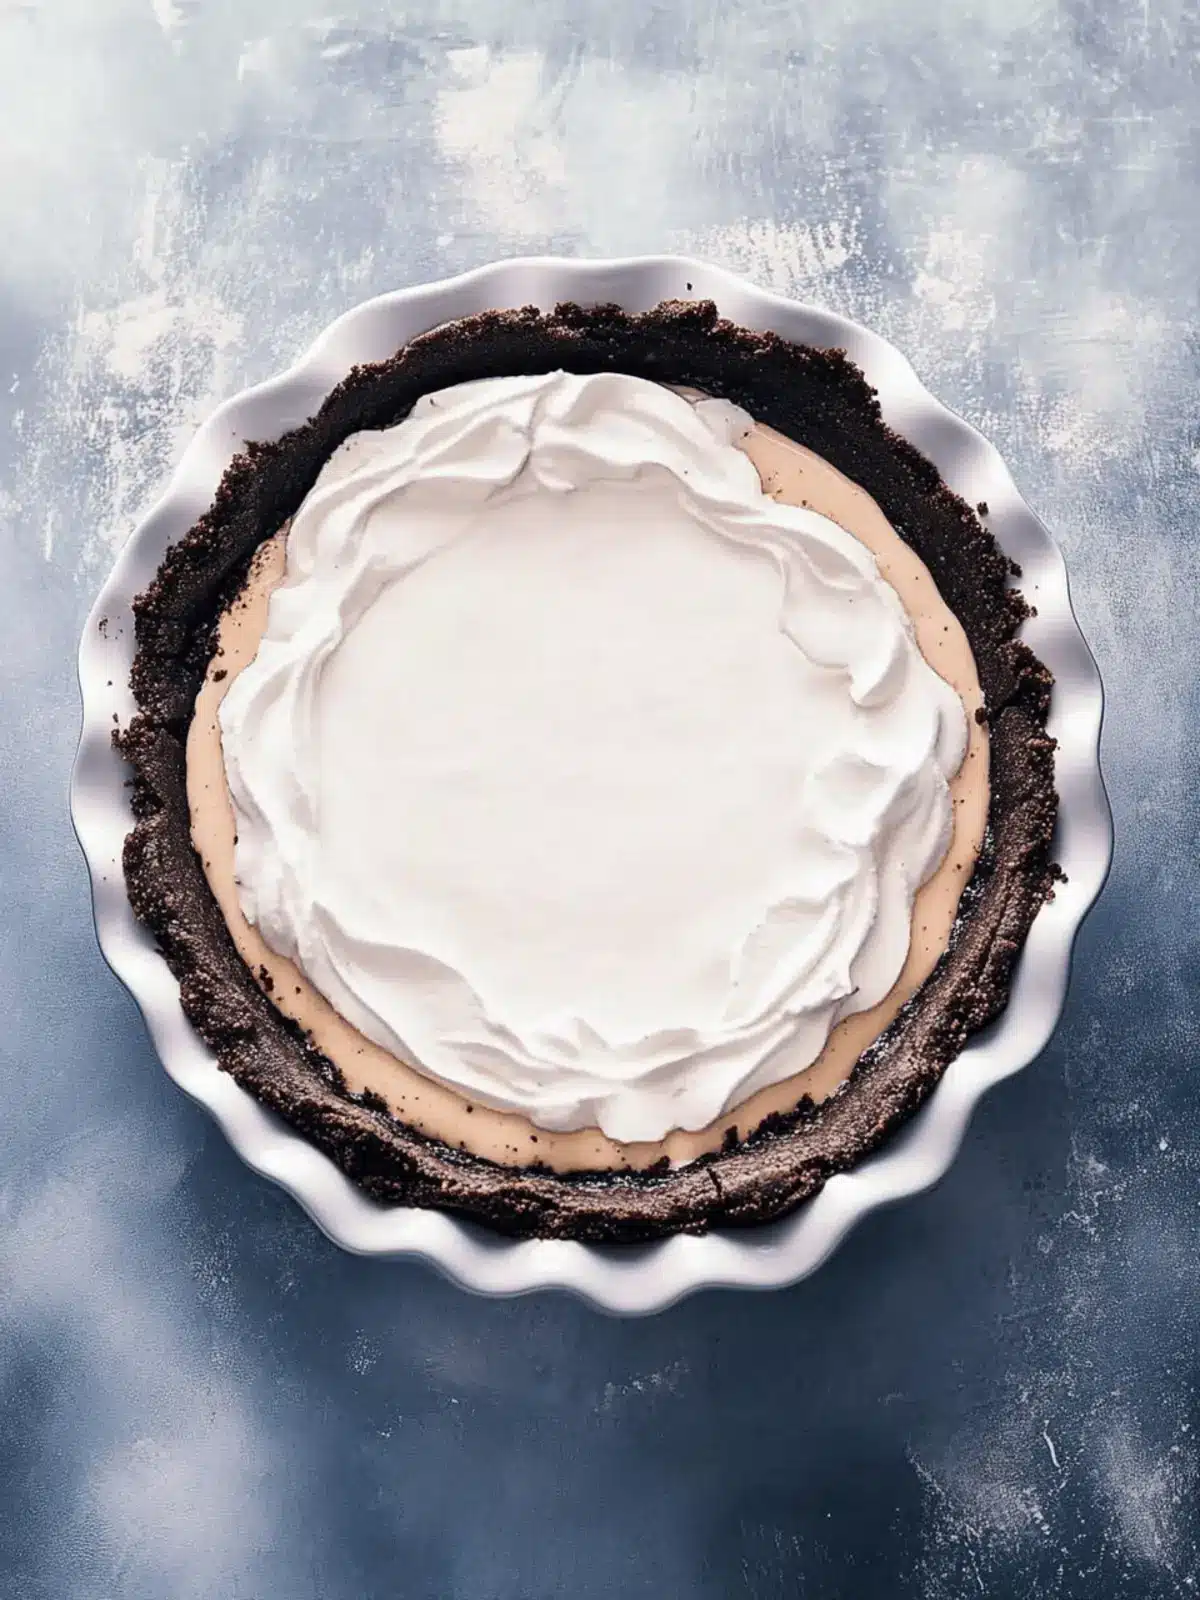
Oreo Pie Crust Recipe Variations
Get ready to play with flavors and make this Oreo pie crust truly your own!
- Gluten-Free: Swap standard Oreos for gluten-free Oreos to enjoy the same delicious crust without the gluten.
- Nutty Twist: Add 1/2 cup of finely crushed almonds or hazelnuts to the crumb mixture for a delightful texture and extra flavor.
- Minty Fresh: Use mint-flavored Oreo cookies to create a refreshing crust that adds a fun twist to your favorite fillings.
- Spicy Kick: Sprinkle in a pinch of cayenne pepper or ground cinnamon to the butter and crumb mix for a zingy surprise.
- Chocolate Lover’s Dream: Substitute half of the Oreos with chocolate graham crackers for an indulgent, double chocolate crust.
- Caramel Swirl: Drizzle some caramel sauce over the pressed crust before adding your filling to add sweet, gooey layers.
- Biscoff Blend: Mix in crushed Biscoff cookies with the Oreos for a hint of caramelized flavor that beautifully complements the chocolate.
- Coconut Delight: Incorporate 1/2 cup of toasted coconut flakes for a tropical twist that enhances the richness of your pie crust.
Let your imagination flow, and soon you’ll have an Oreo pie crust that perfectly fits every mood and celebration!
Make Ahead Options
This Oreo Pie Crust Recipe is a perfect solution for busy home cooks looking to streamline their dessert prep! You can easily prepare the crust mixture up to 24 hours in advance by combining the Oreo crumbs and melted butter, then pressing it into the pie pan. Cover it tightly with plastic wrap and refrigerate to keep it fresh. When you’re ready to serve, simply bake it for 10 minutes if you prefer a crispy texture, or chill it in the freezer for 10 minutes for a softer bite. This way, you’ll have a delicious crust ready to go, saving you precious time on dessert night without sacrificing flavor!
Tips for the Best Oreo Pie Crust
Butter Temperature: Make sure your melted butter has cooled slightly before mixing with crumbs to prevent a greasy crust.
Crush Evenly: Use a blender or food processor for uniform crumbs; uneven pieces can lead to a crumbly crust that falls apart.
Press Firmly: Take your time pressing the mixture into the pan. A firm base ensures your Oreo pie crust holds together beautifully when sliced.
Baking vs. Chilling: Decide if you want a crispy or soft crust. Baking creates a firmer texture, while chilling results in a softer bite—both delicious!
Storage Tips: If you’re not filling your crust immediately, wrap it tightly and store it in the fridge to keep it fresh; an unfilled crust can last for a few days.
Storage Tips for Oreo Pie Crust
Fridge: Store unfilled Oreo pie crust in the fridge for up to 3 days, tightly wrapped or in an airtight container to maintain freshness.
Freezer: If you have leftover crust, freeze it for up to 2 months. Make sure it’s well wrapped to prevent freezer burn, and simply thaw before using.
Reheating: For a warm, crispy crust, reheat it in a preheated oven at 350°F (175°C) for about 5-7 minutes after thawing.
Filled Crust: If your crust is already filled, it can be stored in the fridge for up to 3 days; cover it to protect against odors from other foods.
What to Serve with Oreo Pie Crust?
Crafting the perfect dessert doesn’t stop at the pie crust; it’s just the beginning of your delightful journey!
-
Cheesecake Filling: A rich cheesecake perfectly complements the chocolatey crunch of the Oreo crust, creating a luscious contrast. The creaminess of the cheesecake beautifully balances the texture, making every bite a celebration.
-
Chocolate Mousse: Dive into decadence with a silky chocolate mousse that pairs exquisitely with the sweet crust. The light, airy mousse enhances the chocolate flavors, offering a delightful, melt-in-your-mouth experience.
-
Vanilla Ice Cream: Vanilla ice cream brings a cooling touch to the pie, creating a gorgeous contrast of warm and cold. Its subtle sweetness highlights the rich flavors of the crust while adding creaminess to each slice.
-
Peanut Butter Filling: For a nutty twist, opt for a creamy peanut butter filling. The rich, salty notes of peanut butter create a delightful harmony with the sweetness of the Oreo crust, making for a truly indulgent dessert.
-
Fresh Berries: Serve with a side of fresh strawberries, raspberries, or blueberries. Their bright acidity cuts through the richness of the dessert while adding a pop of color and freshness.
-
Whipped Cream Topping: A dollop of freshly whipped cream adds lightness and an airy finish to your dessert. The sweet cream complements the crunchy crust, and you can even fold in some crushed Oreos for a fun texture!
-
Coffee Pairing: Enhance the experience with a rich cup of coffee or espresso. The deep, bold flavors of coffee elevate the sweetness of the dessert, providing a perfect balance and enhancing your indulgent moment.
-
Chocolate Ganache Drizzle: A warm, rich chocolate ganache adds another layer of decadence to your pie. Drizzling some on top or alongside enhances the flavor and takes your dessert to a whole new level.
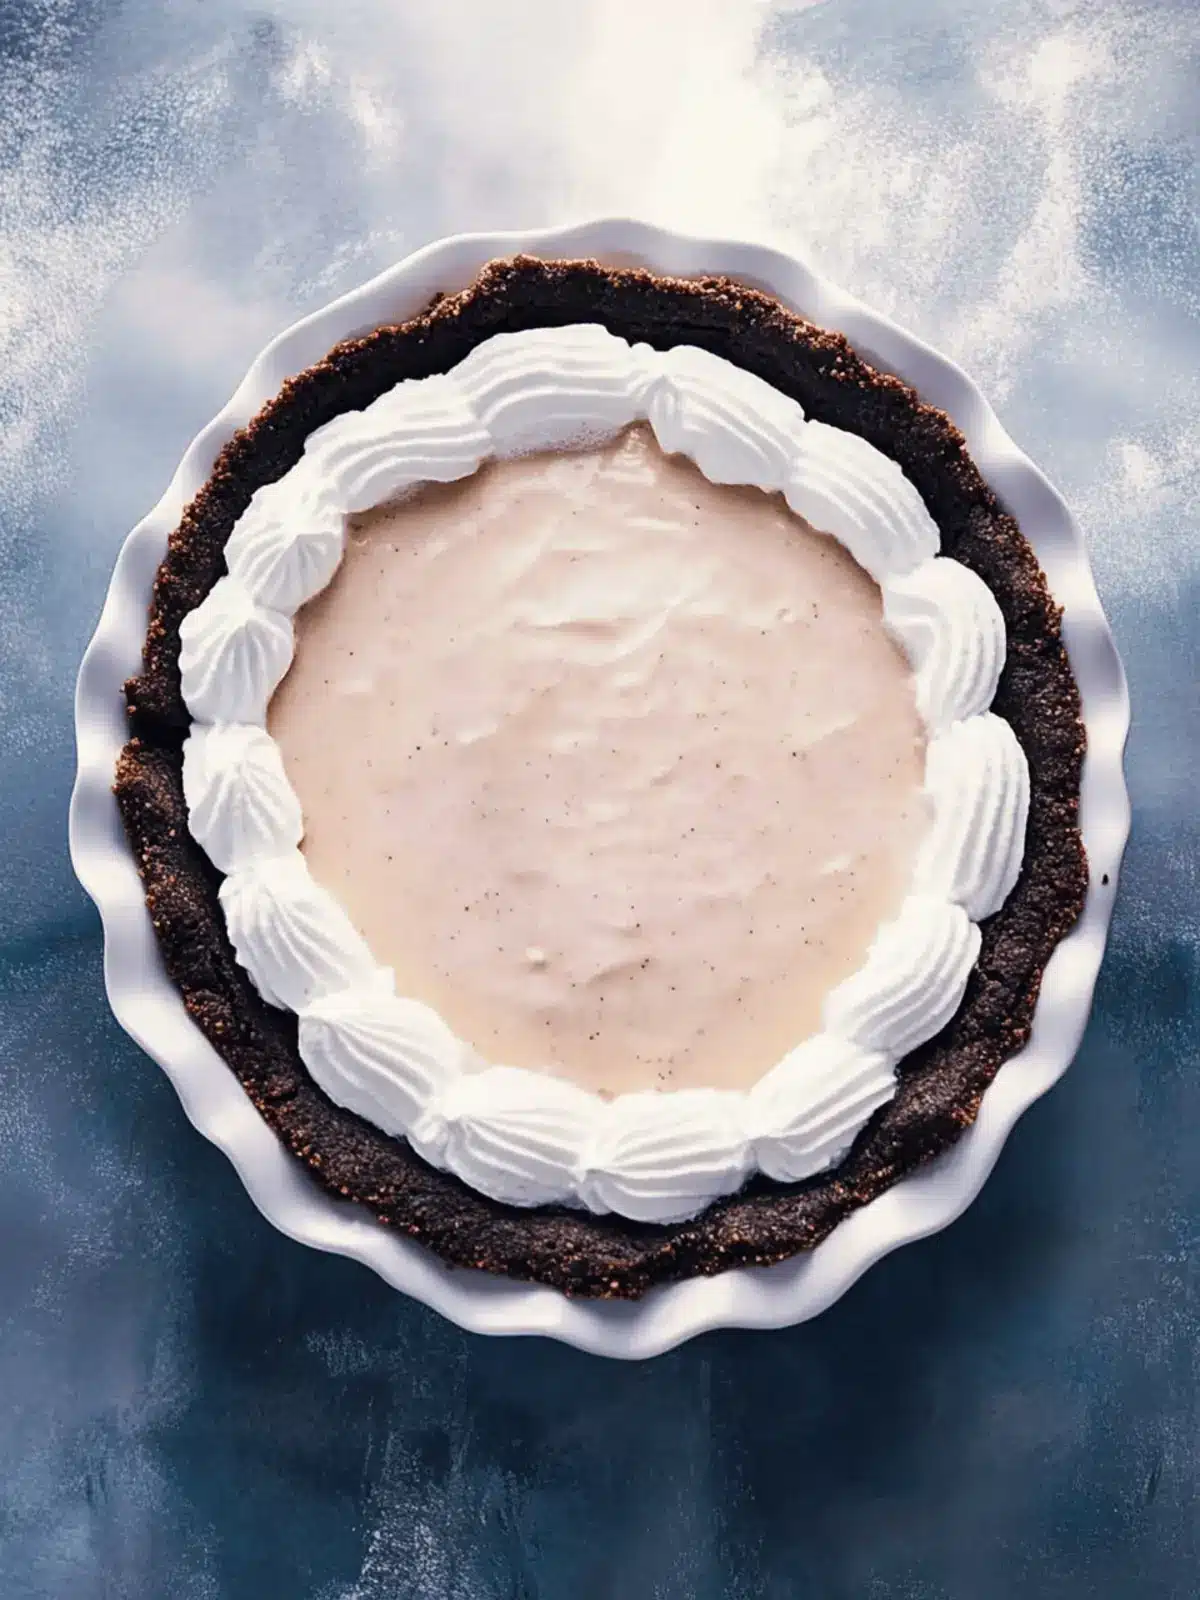
Oreo Pie Crust Recipe FAQs
What type of Oreos should I use for the crust?
Absolutely! Any variety of Oreos works beautifully for this crust. Classic, double-stuffed, or even seasonal flavors like mint or pumpkin spice can add a unique twist. Just make sure they are crushed into fine crumbs for the best texture.
How long can I store the unfilled Oreo pie crust?
You can store an unfilled Oreo pie crust in the fridge for up to 3 days. To keep it fresh, wrap it tightly in plastic wrap or store it in an airtight container. If you plan to use it later, consider freezing it!
Can I freeze the Oreo pie crust?
Very! To freeze your Oreo pie crust, wrap it tightly in plastic wrap followed by aluminum foil to prevent freezer burn. It will be good for up to 2 months. When you’re ready to use it, just thaw in the fridge overnight and it’s ready to fill!
What should I do if my crust is too crumbly?
If you find the crust crumbling, it usually means it needs a bit more moisture or it wasn’t pressed down firmly enough. Try adding a teaspoon of melted butter, mix well, and then press it back into the pan more firmly. Ensure that you pack the crumbs tightly for a more cohesive crust!
Is this recipe safe for those with allergies?
Great question! Be aware that Oreos contain wheat and may be processed in facilities that handle nuts, so if you or your guests have allergies, check the packaging to be safe. Don’t hesitate to switch out the butter for a vegan alternative if dairy is a concern. Enjoy baking!
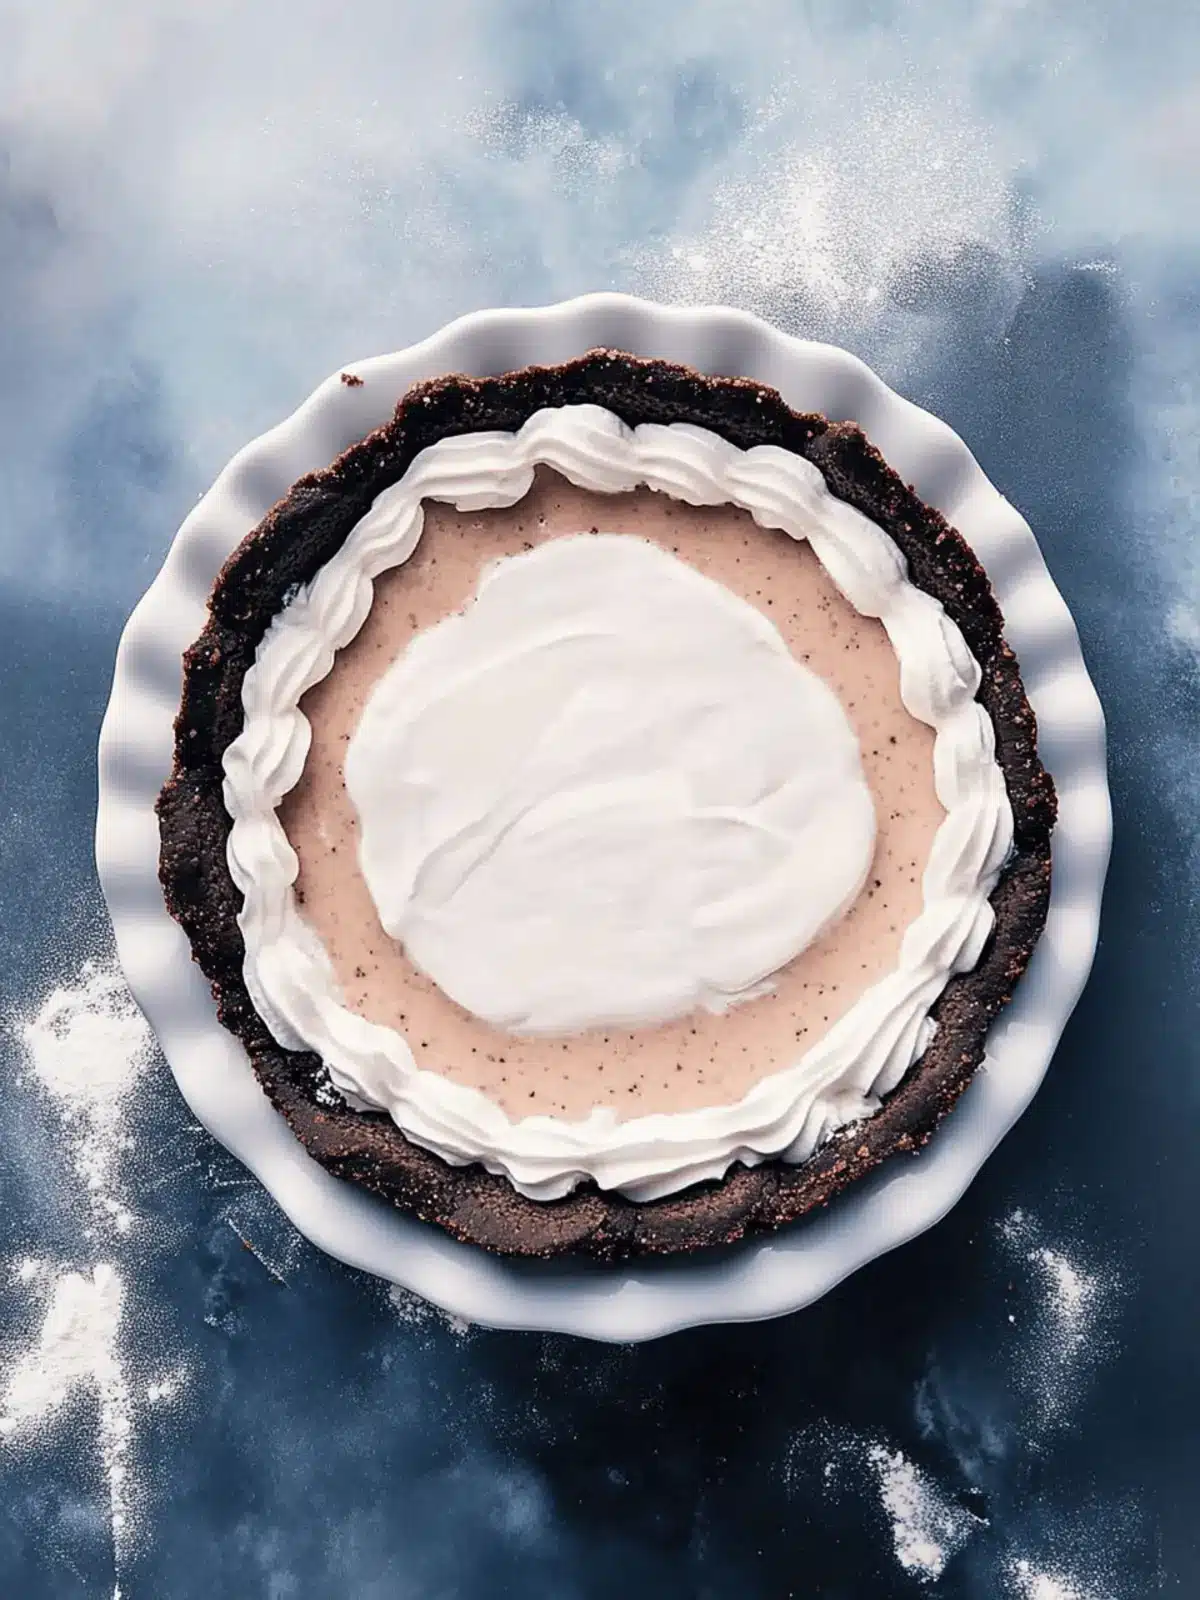
Decadent Oreo Pie Crust Recipe for Your Sweetest Treats
Ingredients
Equipment
Method
- Melt the butter in a microwave-safe bowl and let it cool for about 5 minutes.
- Preheat your oven to 350°F (175°C) if you're opting for a baked crust.
- Blend full Oreo cookies in a blender or food processor until they form fine crumbs.
- Add a pinch of salt to the Oreo crumbs in a mixing bowl, pour in the melted butter, and stir until fully combined.
- Press the mixture firmly into the bottom and up the sides of a pie pan.
- If baking, place it in the preheated oven and bake for 10 minutes, then cool before adding filling.
- If chilling, cover and refrigerate for 20 minutes or freeze for 10 minutes.




I went over this internet site and I think you have a lot of superb information, bookmarked (:.