When I first decided to make an Oreo pie crust, I was simply looking for a way to elevate my favorite dessert with minimal effort. Little did I know, this effortless recipe would become my secret weapon for impressing friends and family. The rich, chocolatey flavor and the crunch of crushed Oreos blend together in the most delightful way, resulting in a crust that’s as versatile as it is delicious.
Picture this: a pie crust that requires no rolling, no fancy techniques, and yet brings that unmistakable wow factor to any dessert table. Whether you’re crafting a creamy no-bake cheesecake or a luscious chocolate mousse pie, this Oreo Pie Crust Recipe is your go-to foundation. With just a handful of ingredients often found in your pantry, you can whip up a crust that not only saves time but also adds a unique twist to your homemade desserts. Let’s dive into crafting this scrumptious crust that promises to be a crowd-pleaser!
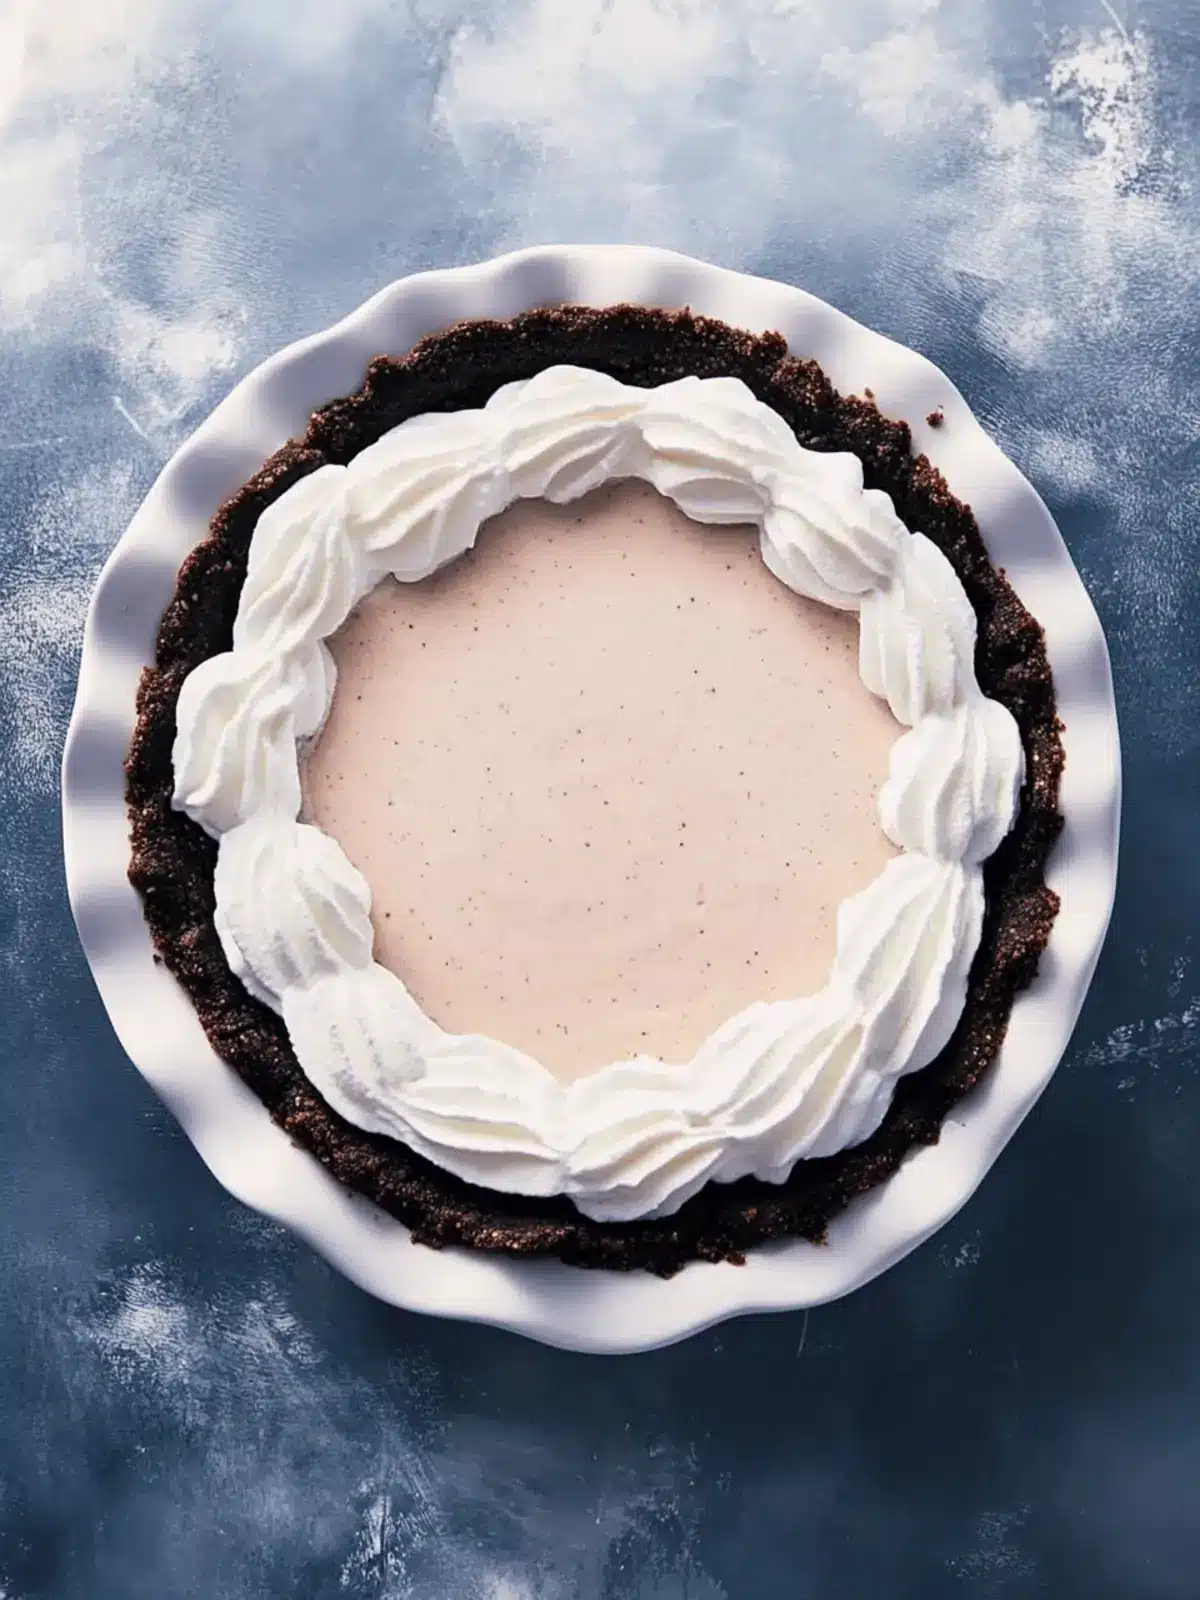
Why is this Oreo Pie Crust Recipe a must-try?
Effortless Creation: This recipe simplifies pie-making with an easy process that anyone can master.
Indulgent Flavor: The rich taste of Oreos combined with buttery goodness elevates any dessert.
No-Fuss: Say goodbye to traditional, labor-intensive pie crusts—just mix, press, and go!
Versatile Base: Perfect for cheesecakes, mousse pies, and more—unleash your creativity in the kitchen.
Time-Saving: Ready in just 25 minutes, it’s ideal for busy bakers craving a quick treat.
Crowd Favorite: Impress friends and family with a dessert that brings smiles to the table!
Oreo Pie Crust Ingredients
Get ready to create a delicious foundation for your desserts!
For the Crust
• Unsalted butter – 4 tablespoons, melted to bind the crumbs beautifully.
• Oreo crumbs – 1 and 3/4 cups, finely crushed to provide that iconic chocolate flavor.
• Salt (optional) – 1/8 teaspoon, enhancing the sweetness for a perfect balance.
This simple Oreo Pie Crust Recipe will quickly become a staple in your dessert arsenal!
How to Make Oreo Pie Crust
-
Melt the unsalted butter in a microwave-safe bowl, then allow it to cool for about 5 minutes. This step brings out the buttery richness while ensuring your mixture doesn’t become too hot.
-
Preheat your oven to 350°F (175°C) if you plan to bake the crust. This ensures the crust is crispy and perfectly set, a great foundation for rich fillings.
-
Process the whole Oreo cookies in a blender or food processor until they reach fine crumbs. Aim for a sandy texture that combines well with the melted butter.
-
Measure out 1 and 3/4 cups of the Oreo crumbs and place them into a large mixing bowl. This ensures you have just the right amount for a deliciously thick crust.
-
Add the optional salt to the bowl, balancing the sweetness of the Oreos beautifully. A pinch goes a long way in enhancing flavor!
-
Combine the cooled melted butter with the Oreo crumbs and salt. Gently stir until everything is well mixed; this is where the magic happens!
-
Spread the mixture evenly in your prepared pie pan. A nice even layer will lead to a consistent texture throughout.
-
Press the mixture firmly into the bottom and up the sides of the pie pan using your fingers. Aim for a smooth, compact layer that will hold together beautifully.
-
Compact the crust further using the bottom of a flat 1-cup measuring cup, which helps create a firm, ready-to-fill foundation for your desserts.
-
Bake the crust in the preheated oven for 10 minutes. Let it cool completely afterward to ensure it retains its shape when filled.
-
Chill the formed crust by covering it tightly and placing in the freezer for 10 minutes, or refrigerate for 20 minutes before filling, ensuring a cool treat awaits!
Optional: For an extra touch, sprinkle chopped Oreos over the top before filling!
Exact quantities are listed in the recipe card below.
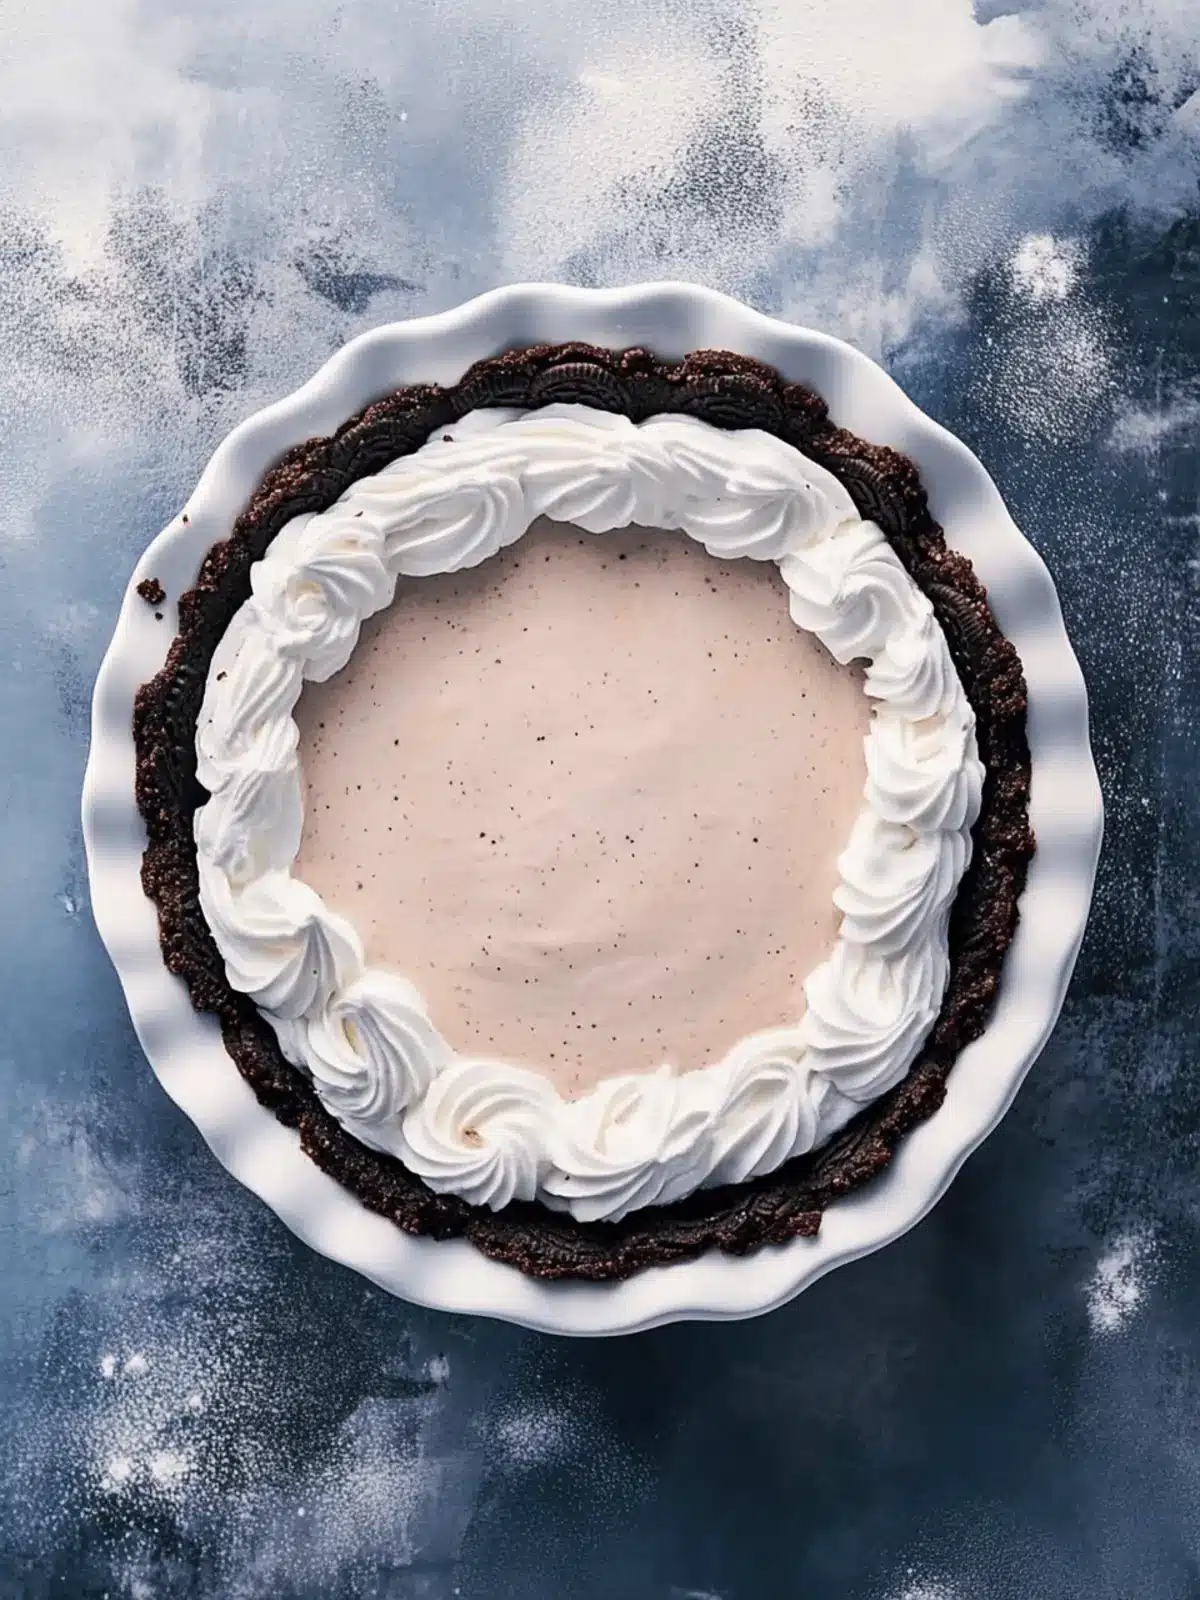
Oreo Pie Crust Variations
Feel free to get creative and customize your pie crust with these tempting options!
-
Gluten-Free: Swap regular Oreos for gluten-free Oreos to make this crust suitable for gluten-sensitive friends and family.
-
Add Spice: Mix in 1/2 teaspoon of cinnamon for a warm, comforting flavor that pairs beautifully with chocolate fillings.
-
Nutty Twist: Fold in 1/2 cup of finely chopped nuts like pecans or almonds for added texture and a delightful crunch.
-
Minty Fresh: Use Mint Oreos instead of classic ones for a refreshing spin that works wonderfully with chocolate mousse.
-
Cookie Dough Layer: Crumble some Edible Cookie Dough over the base before filling it to add another delicious layer of flavor!
-
Sweet and Salty: Add a sprinkle of sea salt on top of the crust after pressing for a balance of sweet and savory in your dessert.
-
Chili Heat: For those who love a kick, add a pinch of cayenne pepper to the crumb mixture for a surprising flavor contrast.
-
Flavor Infusion: Drizzle melted chocolate over the crust while it’s still warm, creating a delightful chocolate layer that enhances the Oreo flavor!
Make Ahead Options
These Oreo Pie Crust Recipe components are perfect for meal prep, allowing you to save valuable time for busy weeknights or last-minute gatherings. You can prepare the Oreo crumbs up to 3 days in advance; simply store them in an airtight container at room temperature to maintain their crunch. Additionally, once the crust is formed, it can be covered tightly and refrigerated for up to 24 hours—this allows the flavors to meld beautifully without losing quality. When you’re ready to bake or fill, just proceed with your desired instructions. This way, you can enjoy a delicious dessert with minimal effort, perfectly crafted for any occasion!
What to Serve with Oreo Pie Crust?
Creating the perfect treat doesn’t stop at that delightful Oreo pie crust—pair it with flavors that will tantalize your taste buds!
- Creamy Cheesecake: The richness of cheesecake beautifully contrasts the crisp, chocolatey crust, creating a decadent dessert experience.
- Silky Chocolate Mousse: A light chocolate mousse complements the dense crust, providing a delightful textural balance that will impress your guests.
- Fresh Berries: Succulent strawberries or raspberries add a burst of color and freshness, cutting through the sweetness of the pie for a refreshing finish.
- Custard Filling: Try a vanilla or caramel custard that adds smoothness and pairs wonderfully with the crunch of the Oreo. It’s a delightful surprise!
- Whipped Cream: A swirl of freshly whipped cream on top adds a light, fluffy texture that elevates the entire dessert experience.
- Coffee or Espresso: A rich coffee served alongside enhances the chocolate flavor, creating a gourmet pairing that coffee lovers will adore.
- Mint Chocolate Ice Cream: The cool mint flavors are a refreshing contrast to the sweet, buttery crust, making it a dreamy combination for dessert lovers.
- Salted Caramel Sauce: Drizzling warm caramel on top adds an indulgent sweetness, complemented by a hint of saltiness that amplifies every bite.
- Chocolate Ganache: Pouring a glossy ganache over the crust adds a luxurious touch, marrying beautifully with the Oreo flavor for extra decadence.
- Strawberry Sauce: A tangy strawberry sauce provides a delightful sweetness that harmonizes perfectly with the cookie flavor, adding a pop of color to your dessert table!
Expert Tips for Making Oreo Pie Crust
• Butter Temperature: Use cooled melted butter to prevent the Oreo crumbs from getting too soggy and maintain a perfect crust texture.
• Crumb Consistency: Ensure the Oreo crumbs are finely processed. Larger chunks can lead to a crumbly crust that won’t hold together well.
• Even Compression: When pressing the crumb mixture into the pan, use even pressure to create a compact crust. Uneven spots can lead to cracks when baked.
• Baking vs. Chilling: Decide whether to bake or chill your crust based on your filling. A baked crust is crispier and works well with custards, while a chilled crust is perfect for no-bake desserts.
• Salt Usage: Adding just a pinch of salt can dramatically enhance the sweetness of your Oreo pie crust recipe, balancing flavors beautifully.
• Storage Tips: If making ahead, store the unfilled crust tightly wrapped in plastic. This keeps it fresh and ready for your next delicious creation!
Storage Tips for Oreo Pie Crust
Room Temperature: Store unfilled crust at room temperature for up to 1 day, keeping it covered to prevent it from becoming stale.
Fridge: An unfilled Oreo pie crust can be kept in the refrigerator for up to 3 days if tightly wrapped. This helps maintain its texture and flavor.
Freezer: For longer storage, freeze the crust for up to 2 months. Wrap it tightly in plastic wrap and then in aluminum foil to prevent freezer burn.
Reheating: If using a frozen crust, thaw it in the fridge overnight before filling. For baked crusts, warm briefly in the oven to restore crispness, if needed.
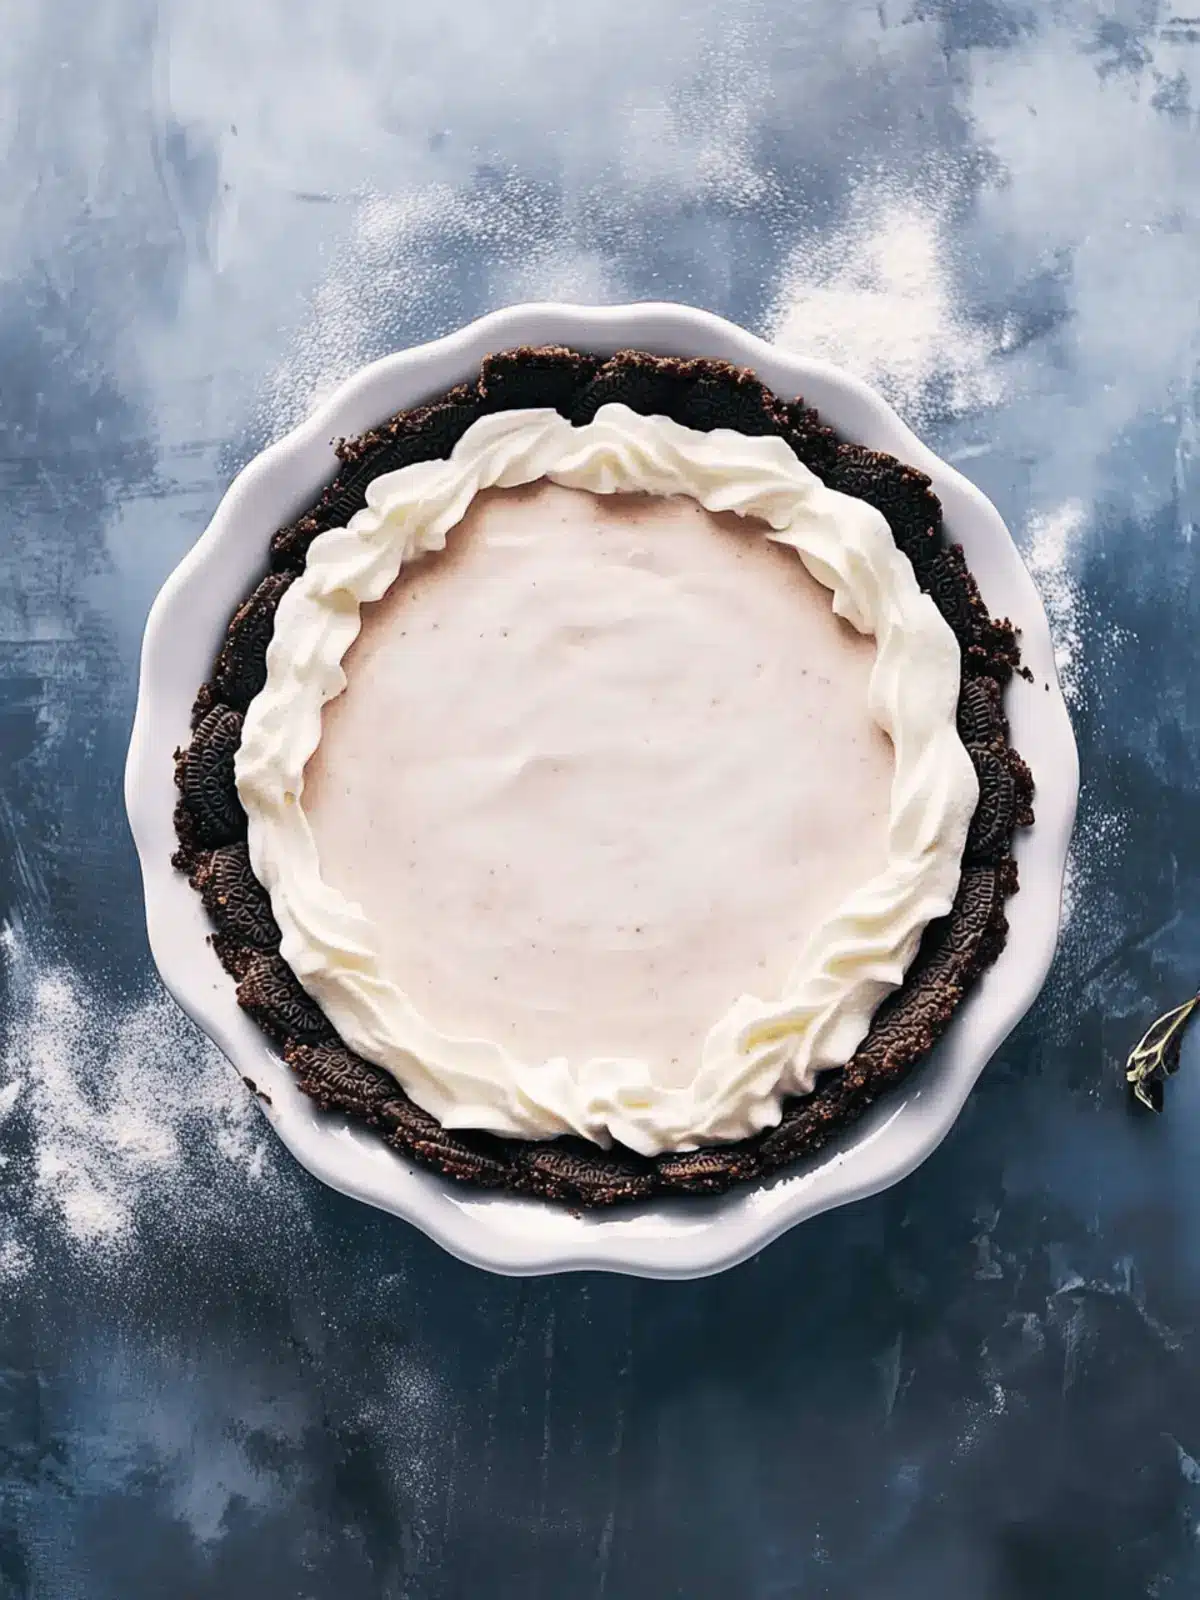
Oreo Pie Crust Recipe FAQs
What is the best way to select Oreos for this recipe?
Absolutely! The best Oreos for this recipe are the classic chocolate sandwich cookies. Ensure they are fresh and free from any visible damage. I recommend checking for any dark spots or stale edges, which can affect the final flavor and texture of your pie crust.
How should I store my Oreo Pie Crust?
You can store an unfilled Oreo pie crust at room temperature for up to 1 day if it’s covered to prevent staleness. For longer preservation, wrap it tightly in plastic wrap and keep it in the refrigerator for up to 3 days. This way, it maintains its flavors and texture until you’re ready to fill it!
Can I freeze the Oreo Pie Crust?
Yes, you can freeze your crust for up to 2 months! To do this, tightly wrap the cooled crust in plastic wrap, followed by a layer of aluminum foil to prevent freezer burn. When you’re ready to use it, simply thaw it in the fridge overnight before filling it with your favorite sweet creation.
What should I do if my crust crumbles?
If your crust starts to crumble, don’t worry! This can happen if the Oreo crumbs are too large or if not enough butter was added. For a firmer crust, try adding a tablespoon of melted butter to the crumb mixture and re-compressing it into the pan with an even pressure. This should help it stick together beautifully!
Is this recipe suitable for people with allergies?
While this Oreo pie crust recipe contains Oreos that typically include wheat, soy, and may contain traces of nuts, I recommend checking the packaging for specific allergy information. If you’re looking for gluten-free options, there are gluten-free Oreos available that you can use to make a perfect, allergy-friendly crust!
Can I use other types of cookies instead of Oreos?
Very! While Oreos provide that signature chocolatey flavor, you can experiment with other cookies like graham crackers or even chocolate chip cookies. Just follow the same ratio—4 tablespoons of melted butter for every 1 and 3/4 cups of cookie crumbs. Adjust the salt to maintain the flavor balance according to your choice of cookie!
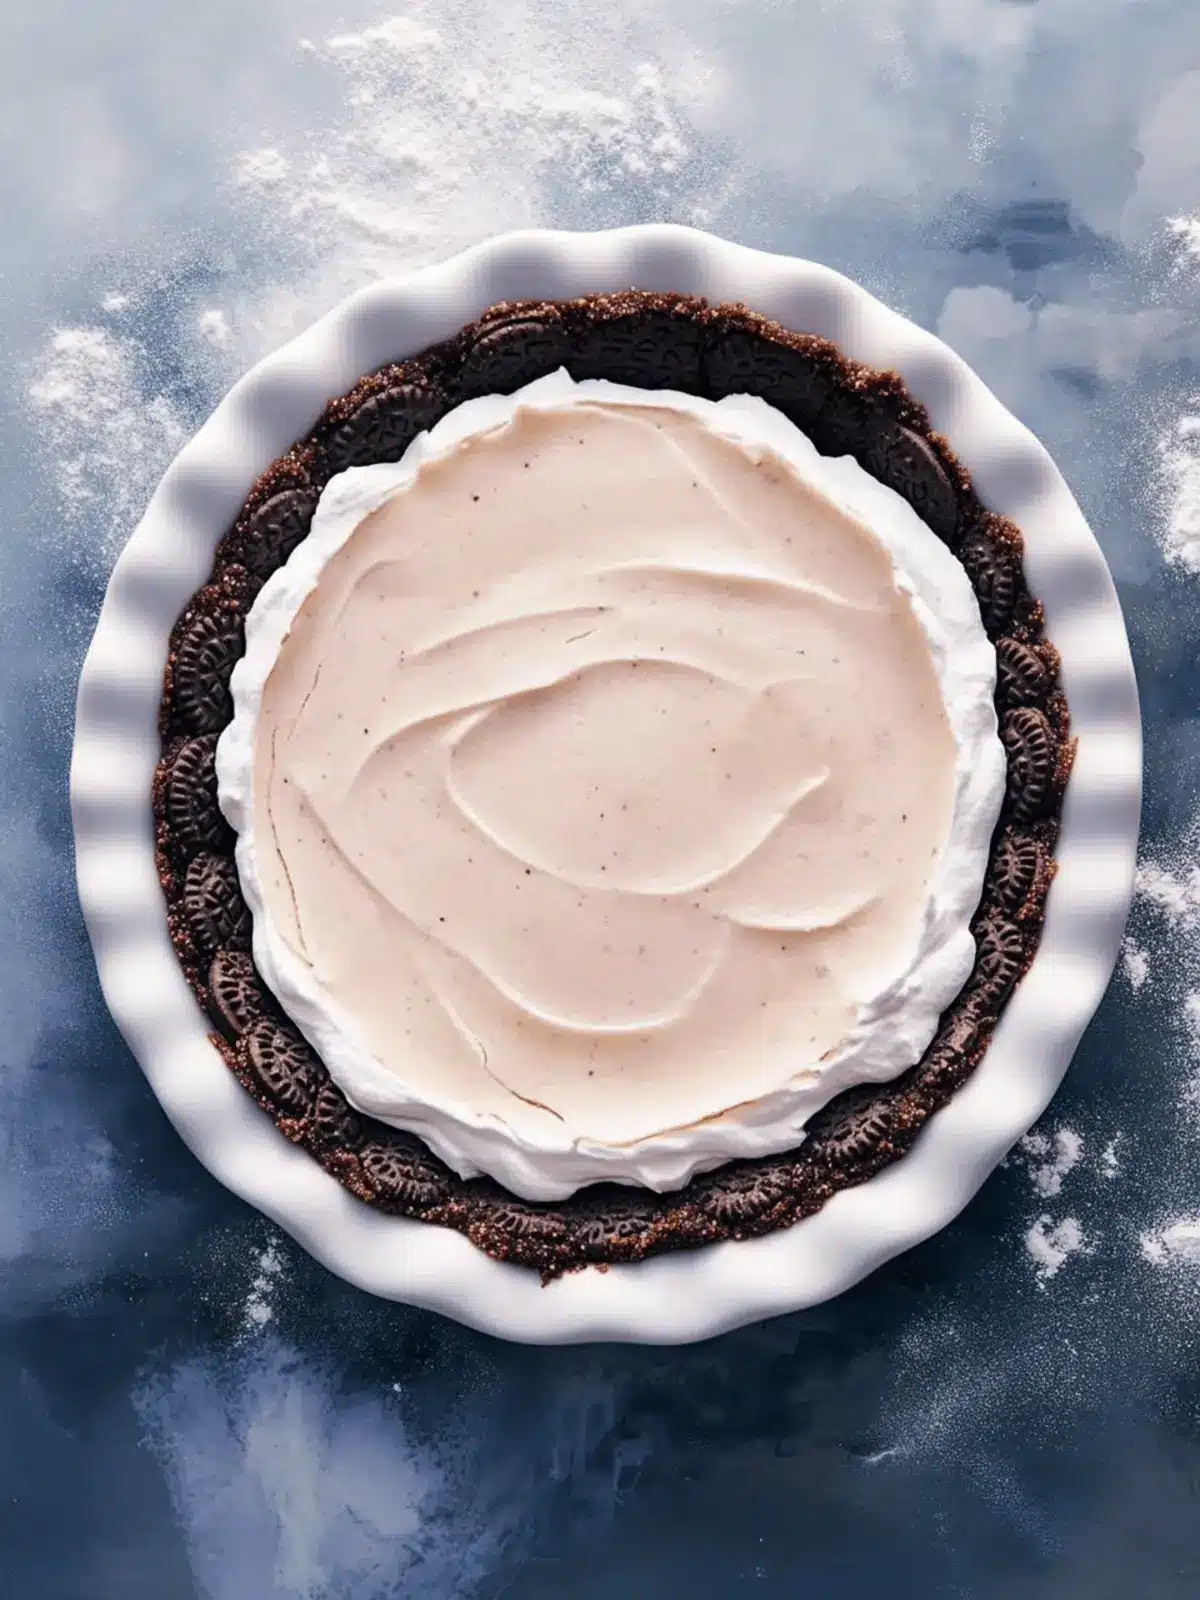
Irresistible Oreo Pie Crust Recipe You’ll Love to Make
Ingredients
Equipment
Method
- Melt the unsalted butter in a microwave-safe bowl, then allow it to cool for about 5 minutes.
- Preheat your oven to 350°F (175°C) if you plan to bake the crust.
- Process the whole Oreo cookies in a blender or food processor until they reach fine crumbs.
- Measure out 1 and 3/4 cups of the Oreo crumbs and place them into a large mixing bowl.
- Add the optional salt to the bowl.
- Combine the cooled melted butter with the Oreo crumbs and salt.
- Spread the mixture evenly in your prepared pie pan.
- Press the mixture firmly into the bottom and up the sides of the pie pan.
- Compact the crust further using the bottom of a flat 1-cup measuring cup.
- Bake the crust in the preheated oven for 10 minutes.
- Chill the formed crust by covering it tightly and placing in the freezer for 10 minutes.


