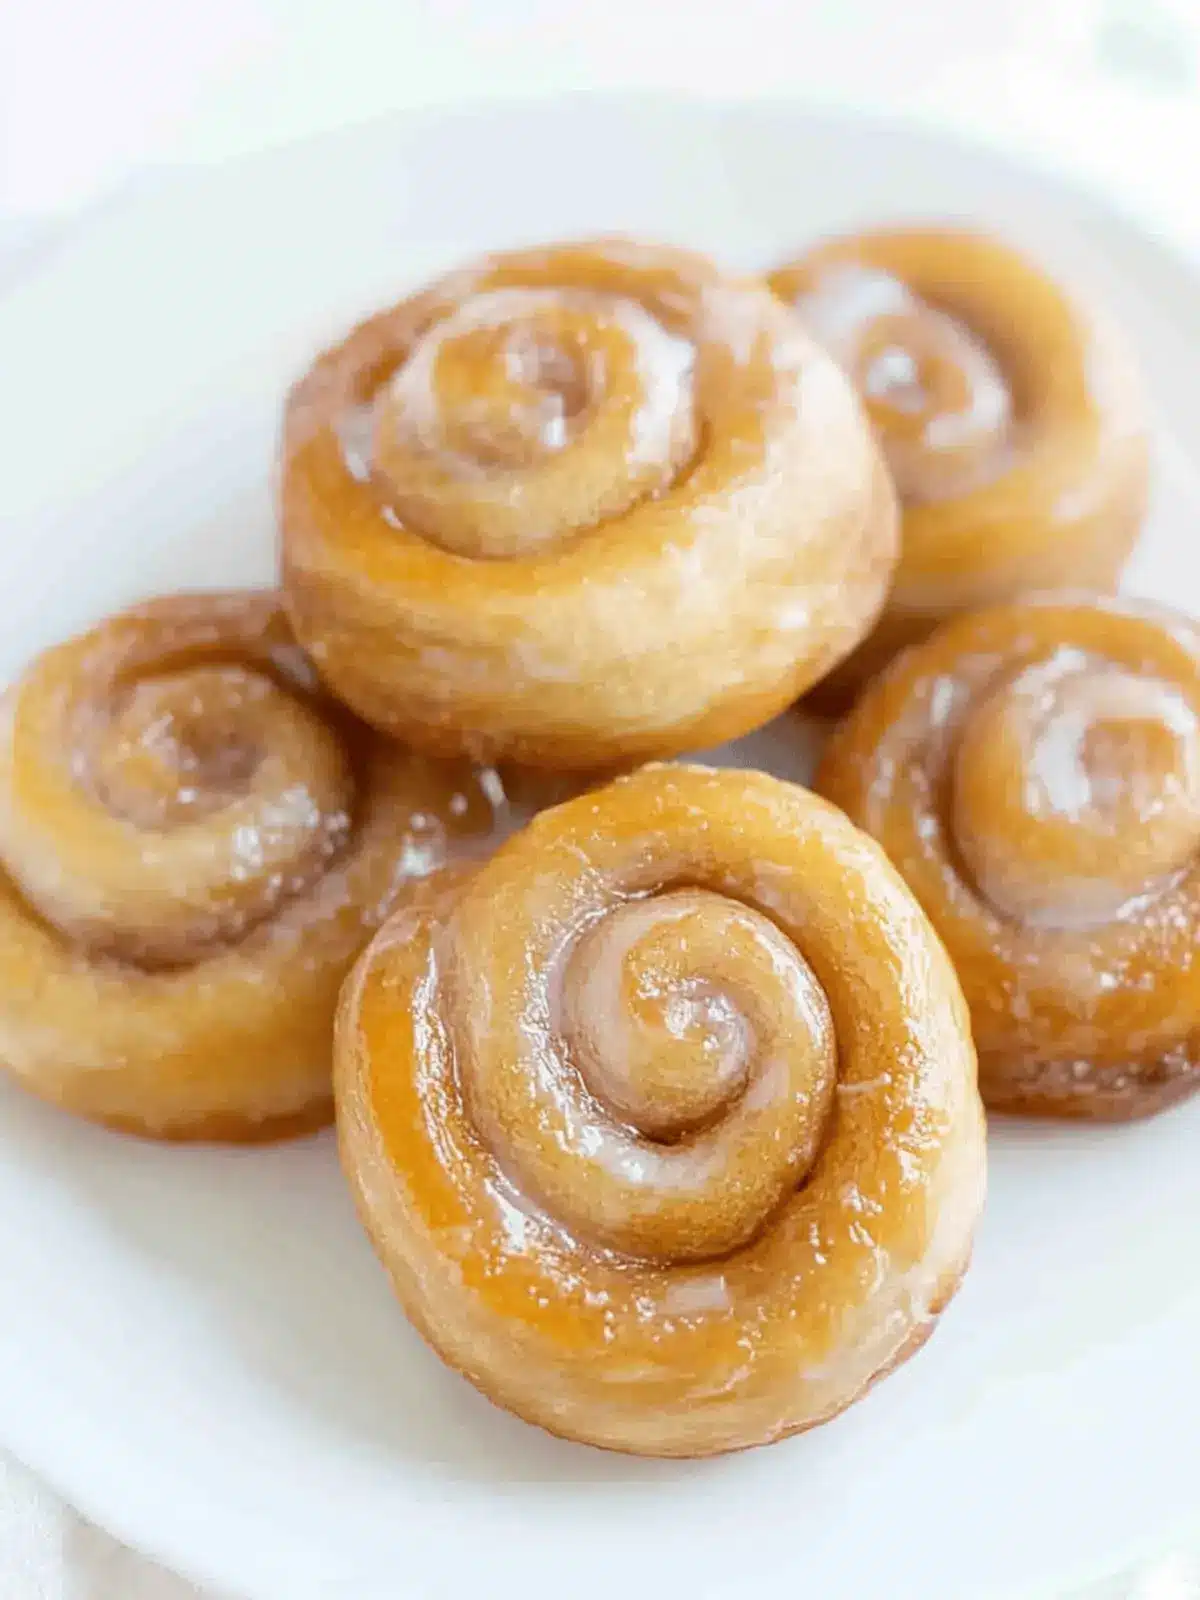
There’s something nostalgic about the scent of fresh-baked Honey Buns wafting through the kitchen, isn’t there? Each delightful bite transports you back to cozy mornings with warm pastries and sweet conversations. I found myself daydreaming about these golden, cinnamon-swirled treats while sitting through yet another fast-food lunch how bland and uninspiring it was!
So, I decided to recreate those soft, pillowy buns that made my heart sing with comfort. The beauty of making Honey Buns from scratch lies not just in the satisfaction of baking, but also in their incredible versatility. Whether you choose to fry them to golden perfection or bake them for a lighter version, this recipe delivers a rich flavor with an irresistible hint of sweetness that will have everyone asking for seconds.
Perfect for weekend brunches or just a simple treat after a long day, my Honey Buns are sure to bring joy to your table and trust me, making them is easier than you might think. So, let’s roll up our sleeves and create something magical together!
Why Will You Love These Honey Buns?
Irresistible Aroma: The moment these honey buns begin to bake, your kitchen will fill with a warm, inviting scent that evokes happy memories.
Soft and Pillowy: Each bite boasts a fluffy texture, making them the epitome of comfort food.
Versatile Options: Whether you prefer baked or fried, this recipe delivers both delicious options.
Perfect for Sharing: These sweet treats are ideal for gatherings, ensuring everyone at the table will be cravings seconds.
Easy to Make: Even novice bakers will find joy in crafting these delightful buns from scratch.
Quick Glaze: The simple glaze takes only minutes to prepare, adding an extra layer of sweetness without the fuss.
Honey Buns Ingredients
• Get ready to create these delightful, homemade honey buns!
For the Dough
- All-purpose flour – provides the structure needed for a fluffy bun.
- Granulated sugar – adds sweetness and helps with browning.
- Salt – enhances the overall flavor, balancing the sweetness.
- Milk – warm milk helps activate the yeast for a delightful rise.
- Instant or active dry yeast – the magic ingredient that makes your honey buns fluffy and light!
- Butter, melted – enriches the dough, resulting in a soft texture.
- Large egg – binds the ingredients together and adds moisture.
- Cinnamon – infuses a warm, aromatic flavor throughout the buns.
- Vanilla extract – imparts a subtle sweetness, making these honey buns unforgettable.
For Frying (optional)
- Vegetable oil – necessary for frying, giving those honey buns a crispy finish.
For the Glaze
- Butter, melted – adds richness and helps the glaze adhere to the buns.
- Powdered sugar – sweetens the glaze, giving it a smooth texture.
- Milk – fine-tunes the consistency of the glaze for perfect drizzling.
- Vanilla extract – enriches the glaze with an extra layer of wonderful flavor.
How to Make Honey Buns
- Combine ingredients: In a stand mixer fitted with the dough hook, add the flour, sugar, and salt, mixing them well to create a solid base for your honey buns.
- Heat the milk: In a microwave-safe bowl, heat the milk for 30 seconds until it reaches 105 – 110 degrees F, which is just right for activating the yeast.
- Mix wet ingredients: Add the yeast, cooled melted butter, and the egg to the warm milk. Whisk the egg into the mixture with a fork, ensuring everything blends smoothly.
- Knead the dough: Pour the wet mixture into the stand mixer and mix on medium speed for 10 minutes until the dough turns sticky and elastic, perfect for rising.
- Prepare for rising: Grease your hands and a large bowl with vegetable oil. Shape the dough into a ball, place it in the bowl, and coat it in oil. Cover with plastic wrap and let rise until doubled, about 1 to 2 hours.
- Prepare cookie sheet: Line a cookie sheet with parchment paper and spray it with nonstick baking spray to ensure your buns slide off easily once baked or fried.
- Shape the dough: Once the dough has doubled, press it down gently and place it on a lightly floured work surface, getting ready for rolling and cutting.
- Roll it out: Roll the dough into a 6-inch by 14-inch rectangle, then sprinkle cinnamon on top to infuse each bun with that warm, cozy flavor.
- Form the buns: Roll the dough from the long side and seal the edge with a little water, pinching firmly to create a seam that holds in all that goodness.
- Slice the dough: Measure out 1/2-inch thick slices for thinner honey buns or 1-inch for thicker ones, ensuring you get the perfect bite every time.
- Cut and arrange: Use dental floss to cut the dough slices, placing them cut side up on the prepared cookie sheet, keeping them spaced 2 inches apart for baking or 1/2 inch for frying.
- Second rise: Spray the slices with nonstick baking spray, cover them with plastic wrap, and let rise for another 30 minutes in a warm place until they puff up beautifully.
- Preheat the oven: If baking, preheat the oven to 350 degrees F. Bake the honey buns for 15 to 18 minutes until the edges become golden brown and enticing.
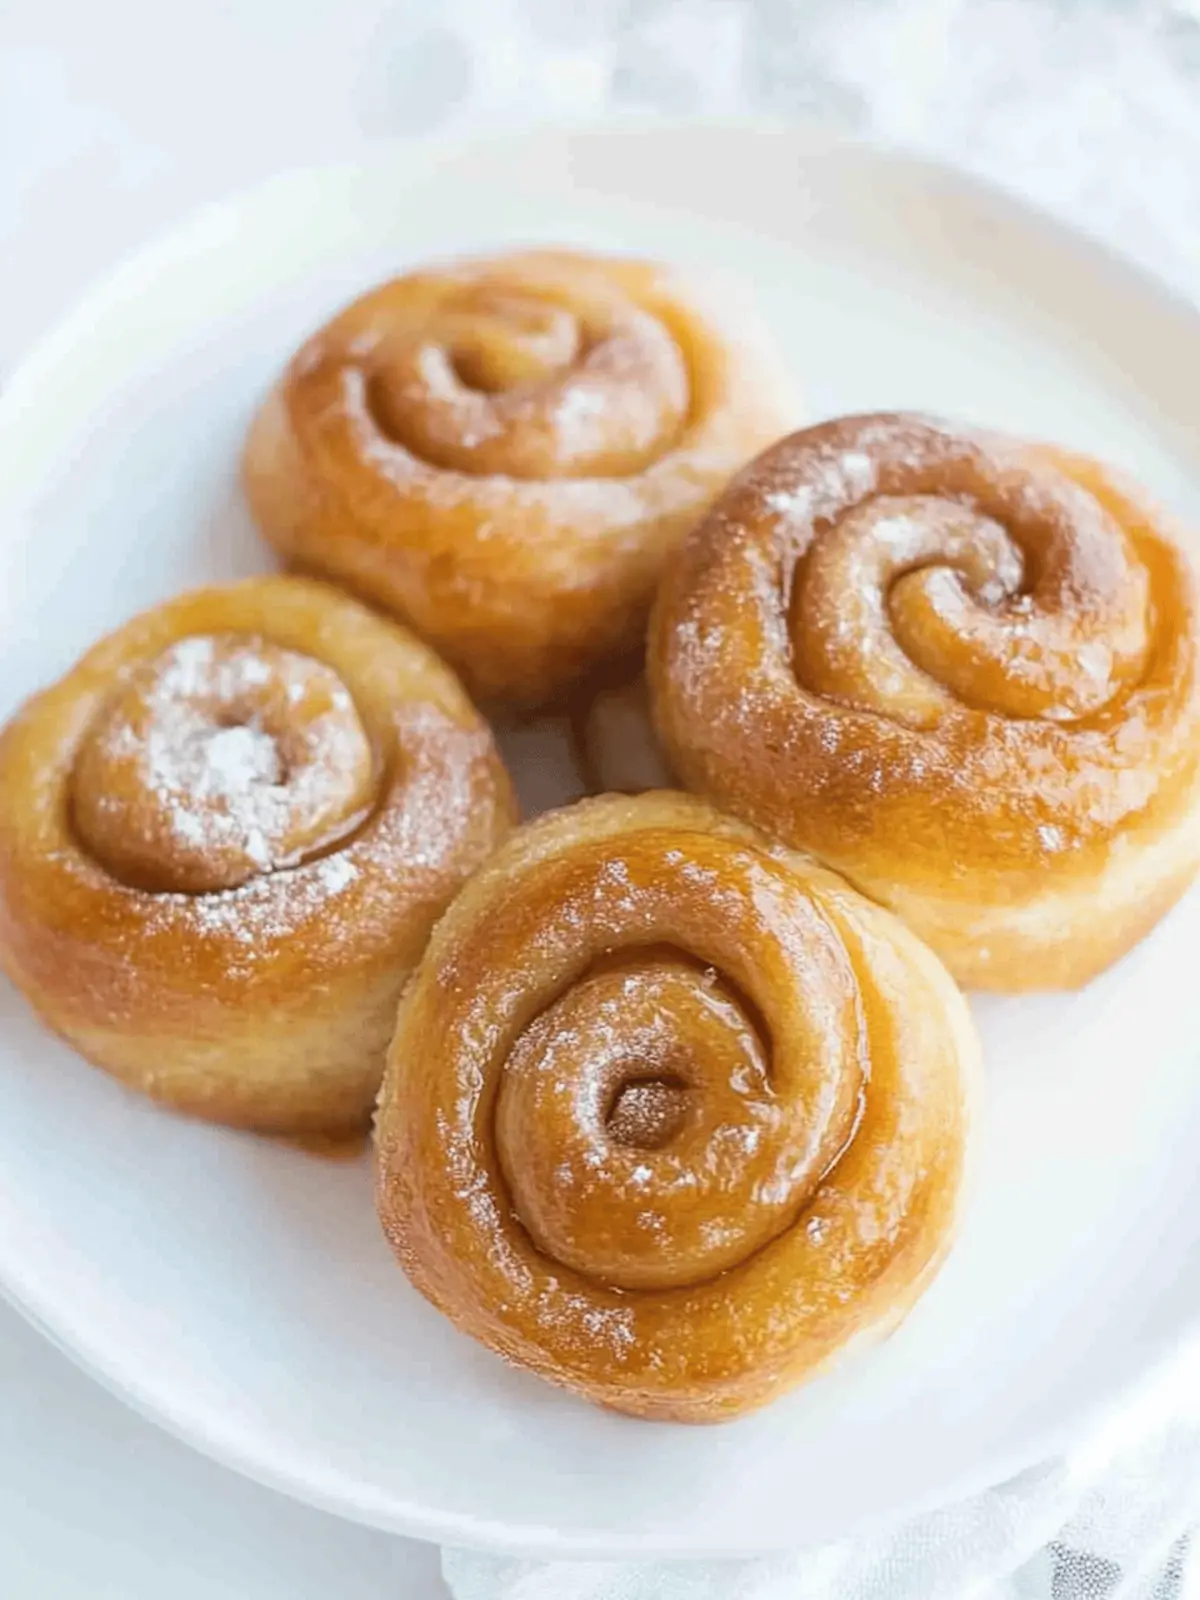
- Cool and glaze: Once baked, cool the honey buns for 10 to 20 minutes. Dip the tops in the glaze and let them set on wax paper for a perfect finish!
- Fry option: For fried honey buns, heat 3 cups of vegetable oil to 320 degrees F. Fry each honey bun one at a time until they are golden brown on both sides, then cool on a paper towel before glazing.
- Make the glaze: For the glaze, whisk together the melted butter, powdered sugar, milk, and vanilla extract until smooth and delightful, adding that extra charm to your buns.
Optional: Sprinkle with additional cinnamon for a delightful finish!
Exact quantities are listed in the recipe card below.
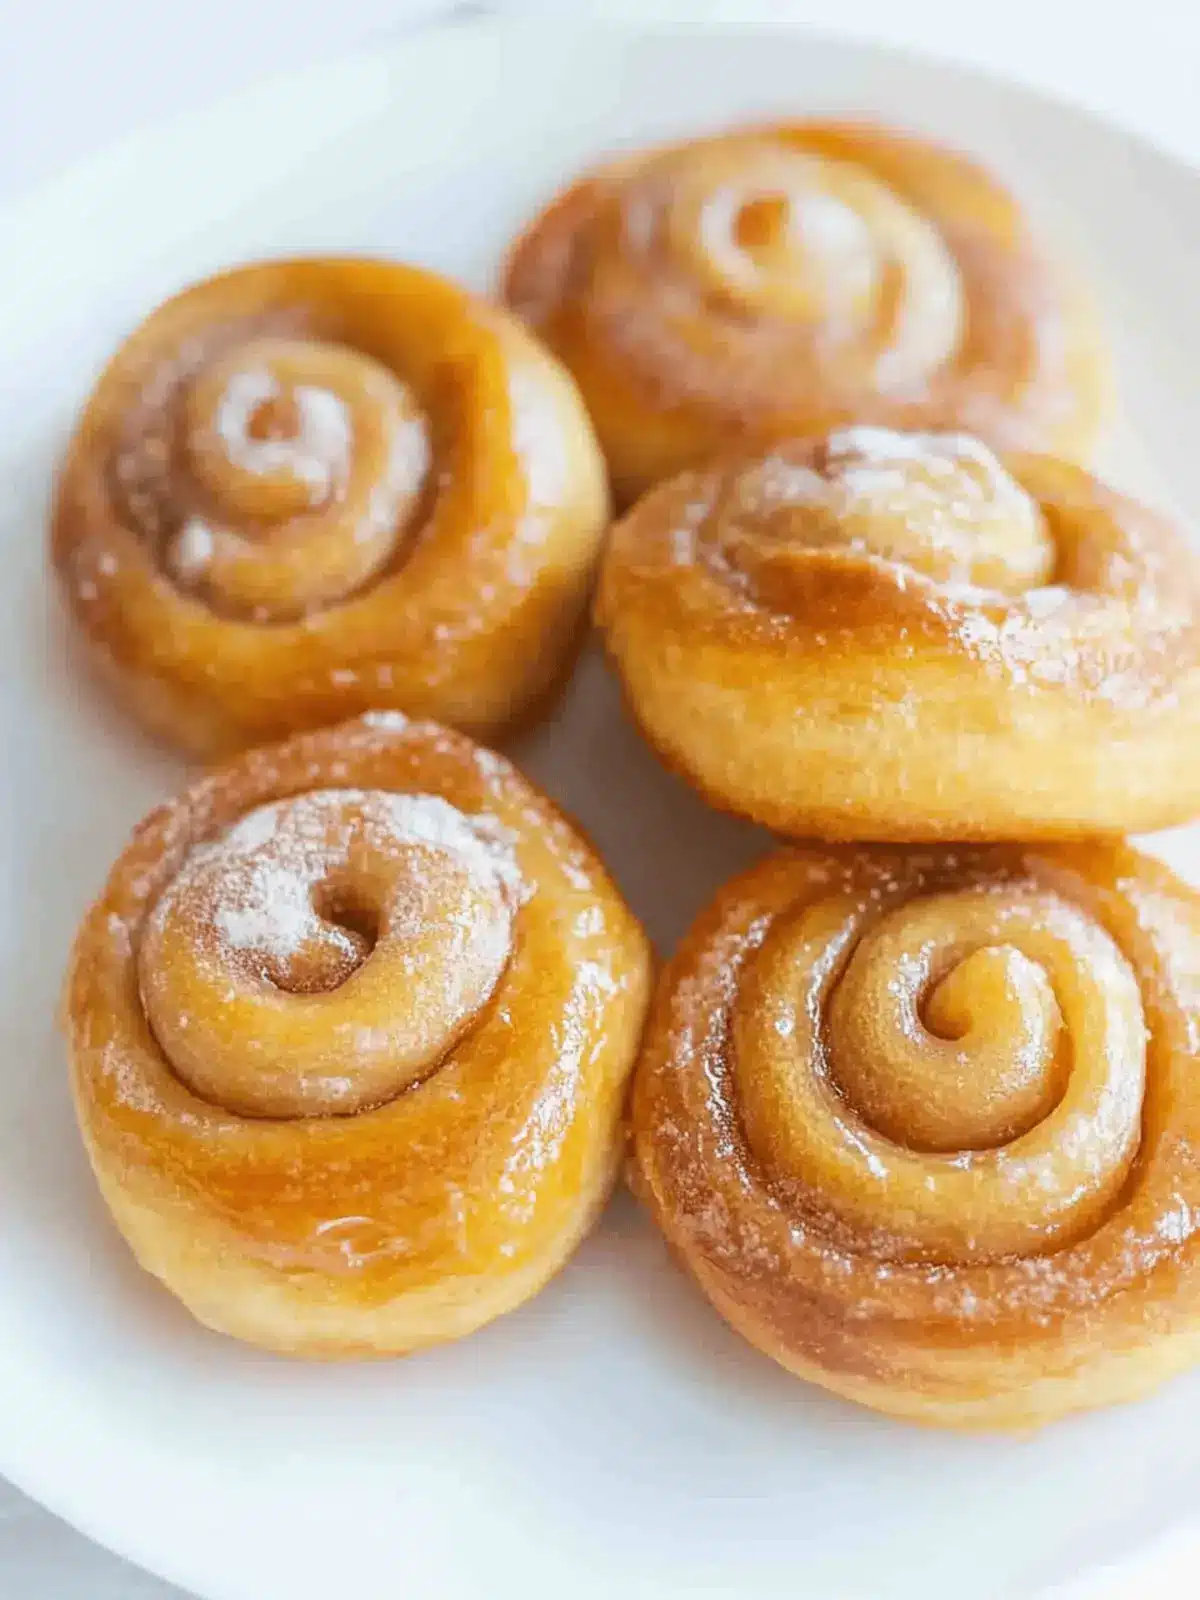
Honey Buns Variations
Feel free to let your creativity shine as you customize these delicious honey buns!
- Dairy-Free: Substitute almond or soy milk for a lactose-free option while keeping the texture deliciously soft.
- Gluten-Free: Use a 1:1 gluten-free flour blend for a safe and equally delightful version of these honey buns. Just make sure to check your flour blend for best results!
- Spiced Up: Add nutmeg or cardamom to the dough for an aromatic twist that elevates the flavor profile. These spices complement cinnamon beautifully, creating even more warmth.
- Chocolate Chip Explosion: Fold in mini chocolate chips before rolling the dough for a sweet, gooey surprise that pairs wonderfully with the cinnamon. Each bite will be a delightful treat!
- Fruity Additions: Toss in chopped dried fruits like raisins or cranberries to the dough for a fruity burst of flavor. These additions not only add sweetness but also a lovely chewy texture, making every bite unforgettable.
- Coconut Cream Glaze: For a tropical flair, use coconut milk instead of regular milk in your glaze, and sprinkle shredded coconut on top after glazing them. It provides a refreshing change that’s sure to impress!
- Maple Pecan: Use maple syrup in your glaze and toss in chopped pecans for crunch. This nutty addition creates a perfect harmony with the sweet maple flavor, leading to a truly decadent experience.
- Lemon Zest Boost: Introduce a hint of lemon zest in your glaze for a bright and tangy contrast to the sweetness. This refreshing touch will leave your taste buds dancing!
Expert Tips for the Best Honey Buns
- Perfect Yeast Activation: Warm your milk to 105 – 110°F for optimal yeast activation. Too hot will kill the yeast, and too cold won’t wake it up.
- Dough Consistency: Don’t fear a sticky dough! It should be soft and elastic; this will yield those fluffy honey buns everyone loves.
- Cutting with Floss: Use unflavored dental floss to slice the dough gently. This minimizes squishing and keeps your buns perfectly shaped.
- Avoid Overcrowding: Space the buns 2 inches apart when baking. This helps them rise properly and ensures they cook evenly without sticking.
- Glaze Timing: Dip the honey buns in the glaze while they’re still warm for better adherence and a glossy finish that adds to their appeal!
Storage Tips for Honey Buns
- Room Temperature: Store honey buns in an airtight container at room temperature for up to 3 days. This helps maintain their soft texture and delightful flavor.
- Fridge: If you need to extend their shelf life, honey buns can be refrigerated for up to 5 days, though this may slightly change their texture.
- Freezer: For longer storage, freeze honey buns in a single layer on a baking sheet, then transfer to a freezer-safe bag. They can last up to 3 months.
- Reheating: To enjoy them warm, reheat frozen or refrigerated honey buns in the oven at 350°F for about 10 minutes, or microwave for 15-20 seconds.
What to Serve with Honey Buns?
Elevate your honey buns experience by pairing them with delicious sides and accompaniments that enhance their sweet, comforting nature.
- Fresh Fruit Salad: A bright mix of seasonal fruits offers a refreshing contrast to the rich sweetness of honey buns. The natural acidity helps balance flavors beautifully.
- Scrambled Eggs: Fluffy, buttery scrambled eggs bring protein to your meal, creating a delightful sweet and savory combination that rounds out your breakfast or brunch table.
- Maple Syrup: Drizzle some warm maple syrup on your honey buns for an extra layer of sweetness. This adds a cherished breakfast flavor that will elevate the entire dish.
- Creamy Yogurt: Serve a side of vanilla yogurt for a creamy, tangy counterpoint to the sweet buns. It provides a light, airy texture that enhances the overall experience.
- Coffee or Tea: A warm cup of coffee or a soothing herbal tea complements the warm spices in honey buns, making every bite even more enjoyable during your morning routine.
- Cinnamon Butter: Whip up a quick cinnamon butter to spread on your honey buns. This buttery blend of cinnamon and sugar takes flavor to the next level and creates an indulgent treat.
- Almonds or Pecans: Crunchy nuts add an unexpected texture and a nutty flavor that deepens the overall experience, making your honey buns even more delightful.
- Homemade Jam: A dollop of your favorite jam offers a fruity kick and beautiful color, creating a perfect balance with the soft sweetness of honey buns.
- Chocolate Milk: For a nostalgic touch, pair your honey buns with a creamy glass of chocolate milk. It’s a fun and indulgent combination that everyone will love!
Make Ahead Options
These Honey Buns are perfect for meal prep, allowing you to enjoy warm, fluffy treats with minimal effort during busy weeknights! You can prepare the dough up to 24 hours in advance; simply follow the recipe up to the second rise (step 12), then cover tightly and refrigerate. For best results, bring the dough back to room temperature for about 30 minutes before baking or frying. You can also pre-slice the buns (step 10) and store them on your prepared cookie sheet, covered with plastic wrap, in the fridge; they’ll be ready to rise and bake at your convenience. By prepping ahead, you’ll have delightful honey buns waiting to bring warmth and sweetness to your table!
Honey Buns Recipe FAQs
What kind of flour is best for Honey Buns?
I recommend using all-purpose flour for a wonderful balance of softness and structure. It will help achieve that fluffy texture we all love in honey buns!
How should I store leftover Honey Buns?
Store your honey buns in an airtight container at room temperature for up to 3 days. This keeps them soft and delectable. If you want to extend their shelf life, refrigerate them for 5 days though this might slightly alter their texture.
Can I freeze Honey Buns?
Absolutely! To freeze honey buns, place them in a single layer on a baking sheet and freeze until solid. Then transfer to a freezer-safe bag or container. They can last up to 3 months. When you’re ready to enjoy them, simply reheat in the oven at 350°F for about 10 minutes, or microwave for 15-20 seconds.
What should I do if my dough doesn’t rise?
If your dough isn’t rising, it may be due to improper yeast activation. Ensure your milk is warmed to 105-110°F before adding the yeast; too hot or too cold can kill the yeast. Also, make sure your yeast isn’t expired! You want that bubbly, foam-like reaction before mixing it in.
Can I substitute ingredients for dietary restrictions?
Yes, you can! For a dairy-free version, replace the milk with almond or oat milk and use coconut oil instead of butter. If you’re avoiding gluten, try a 1:1 gluten-free baking flour. Keep in mind that the texture may differ slightly, but they’ll still be delicious!
How can I tell when the Honey Buns are baked perfectly?
You’ll know your honey buns are perfectly baked when they are golden brown on the edges and have risen beautifully. A toothpick inserted in the center should come out clean. You could also check that they bounce back when gently pressed!
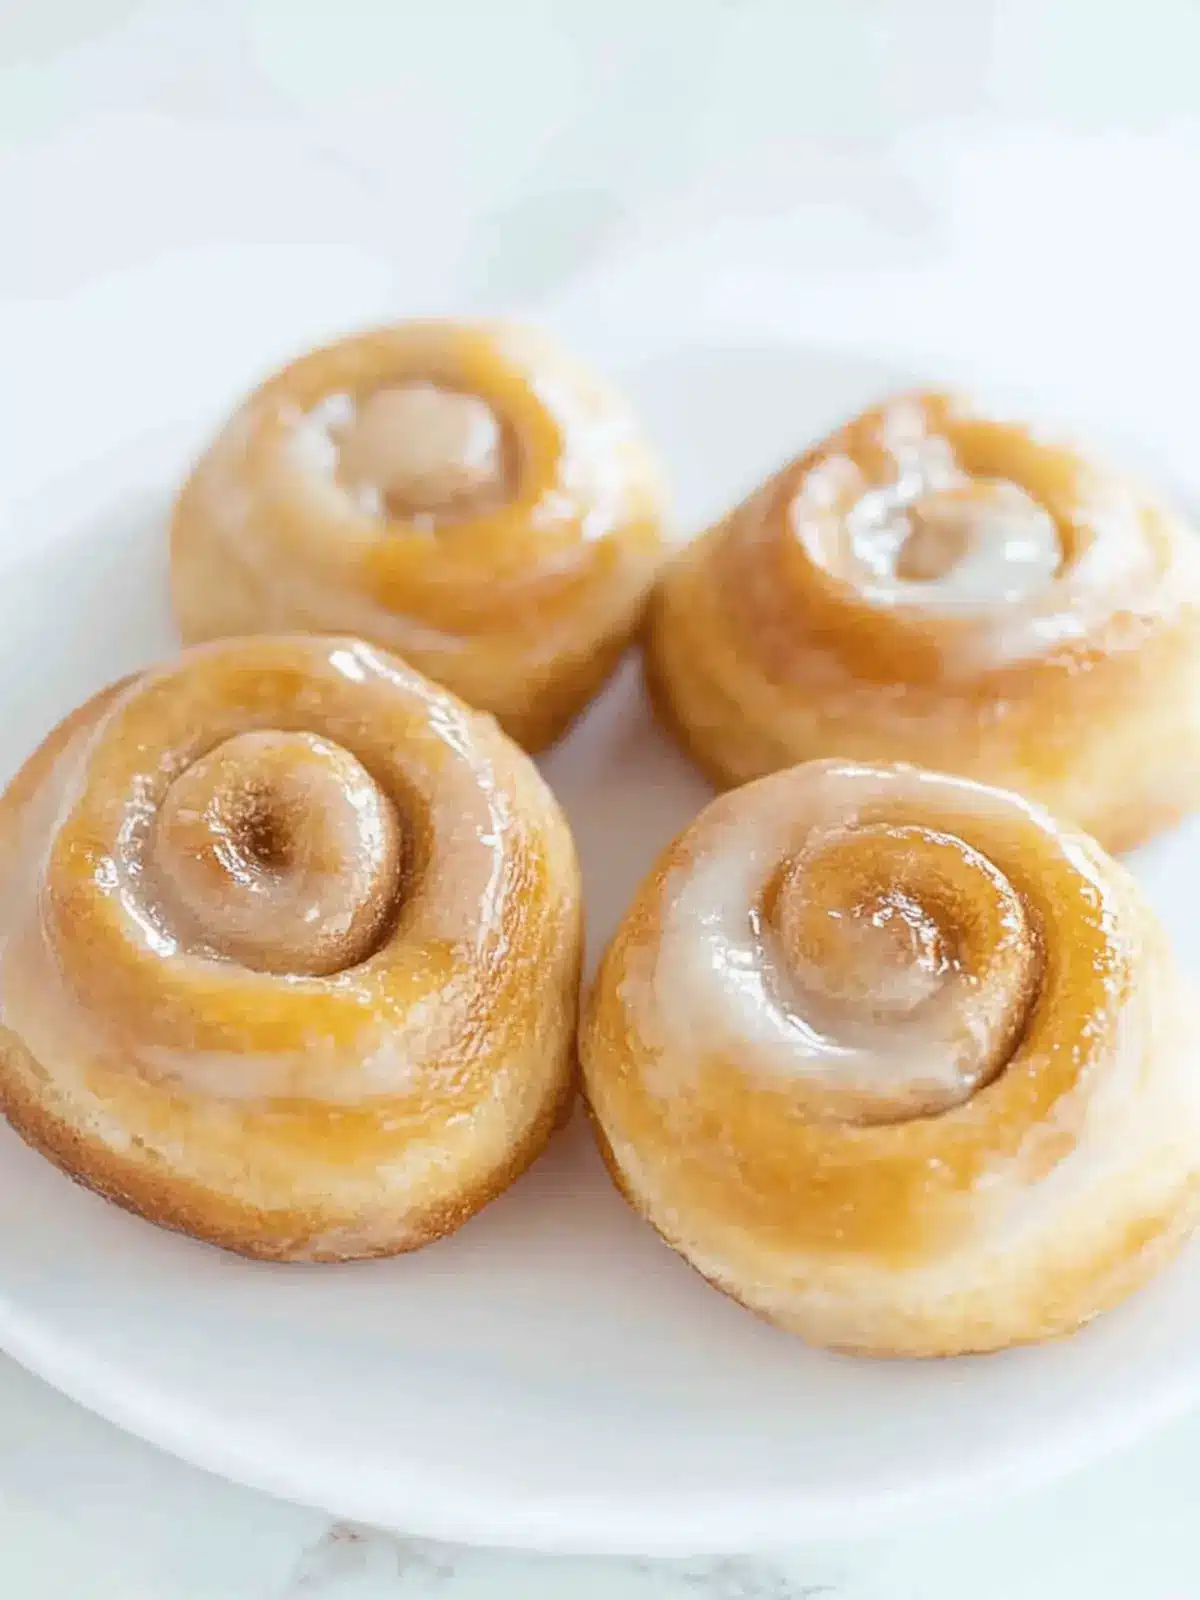
Irresistible Honey Buns Recipe That’ll Melt Your Heart
Ingredients
Equipment
Method
- Combine ingredients: In a stand mixer fitted with the dough hook, add the flour, sugar, and salt, mixing them well to create a solid base for your honey buns.
- Heat the milk: In a microwave-safe bowl, heat the milk for 30 seconds until it reaches 105 – 110 degrees F, which is just right for activating the yeast.
- Mix wet ingredients: Add the yeast, cooled melted butter, and the egg to the warm milk. Whisk the egg into the mixture with a fork, ensuring everything blends smoothly.
- Knead the dough: Pour the wet mixture into the stand mixer and mix on medium speed for 10 minutes until the dough turns sticky and elastic, perfect for rising.
- Prepare for rising: Grease your hands and a large bowl with vegetable oil. Shape the dough into a ball, place it in the bowl, and coat it in oil. Cover with plastic wrap and let rise until doubled, about 1 to 2 hours.
- Prepare cookie sheet: Line a cookie sheet with parchment paper and spray it with nonstick baking spray to ensure your buns slide off easily once baked or fried.
- Shape the dough: Once the dough has doubled, press it down gently and place it on a lightly floured work surface, getting ready for rolling and cutting.
- Roll it out: Roll the dough into a 6-inch by 14-inch rectangle, then sprinkle cinnamon on top to infuse each bun with that warm, cozy flavor.
- Form the buns: Roll the dough from the long side and seal the edge with a little water, pinching firmly to create a seam that holds in all that goodness.
- Slice the dough: Measure out 1/2-inch thick slices for thinner honey buns or 1-inch for thicker ones, ensuring you get the perfect bite every time.
- Cut and arrange: Use dental floss to cut the dough slices, placing them cut side up on the prepared cookie sheet, keeping them spaced 2 inches apart for baking or 1/2 inch for frying.
- Second rise: Spray the slices with nonstick baking spray, cover them with plastic wrap, and let rise for another 30 minutes in a warm place until they puff up beautifully.
- Preheat the oven: If baking, preheat the oven to 350 degrees F. Bake the honey buns for 15 to 18 minutes until the edges become golden brown and enticing.
- Cool and glaze: Once baked, cool the honey buns for 10 to 20 minutes. Dip the tops in the glaze and let them set on wax paper for a perfect finish!
- Fry option: For fried honey buns, heat 3 cups of vegetable oil to 320 degrees F. Fry each honey bun one at a time until they are golden brown on both sides, then cool on a paper towel before glazing.
- Make the glaze: For the glaze, whisk together the melted butter, powdered sugar, milk, and vanilla extract until smooth and delightful, adding that extra charm to your buns.

