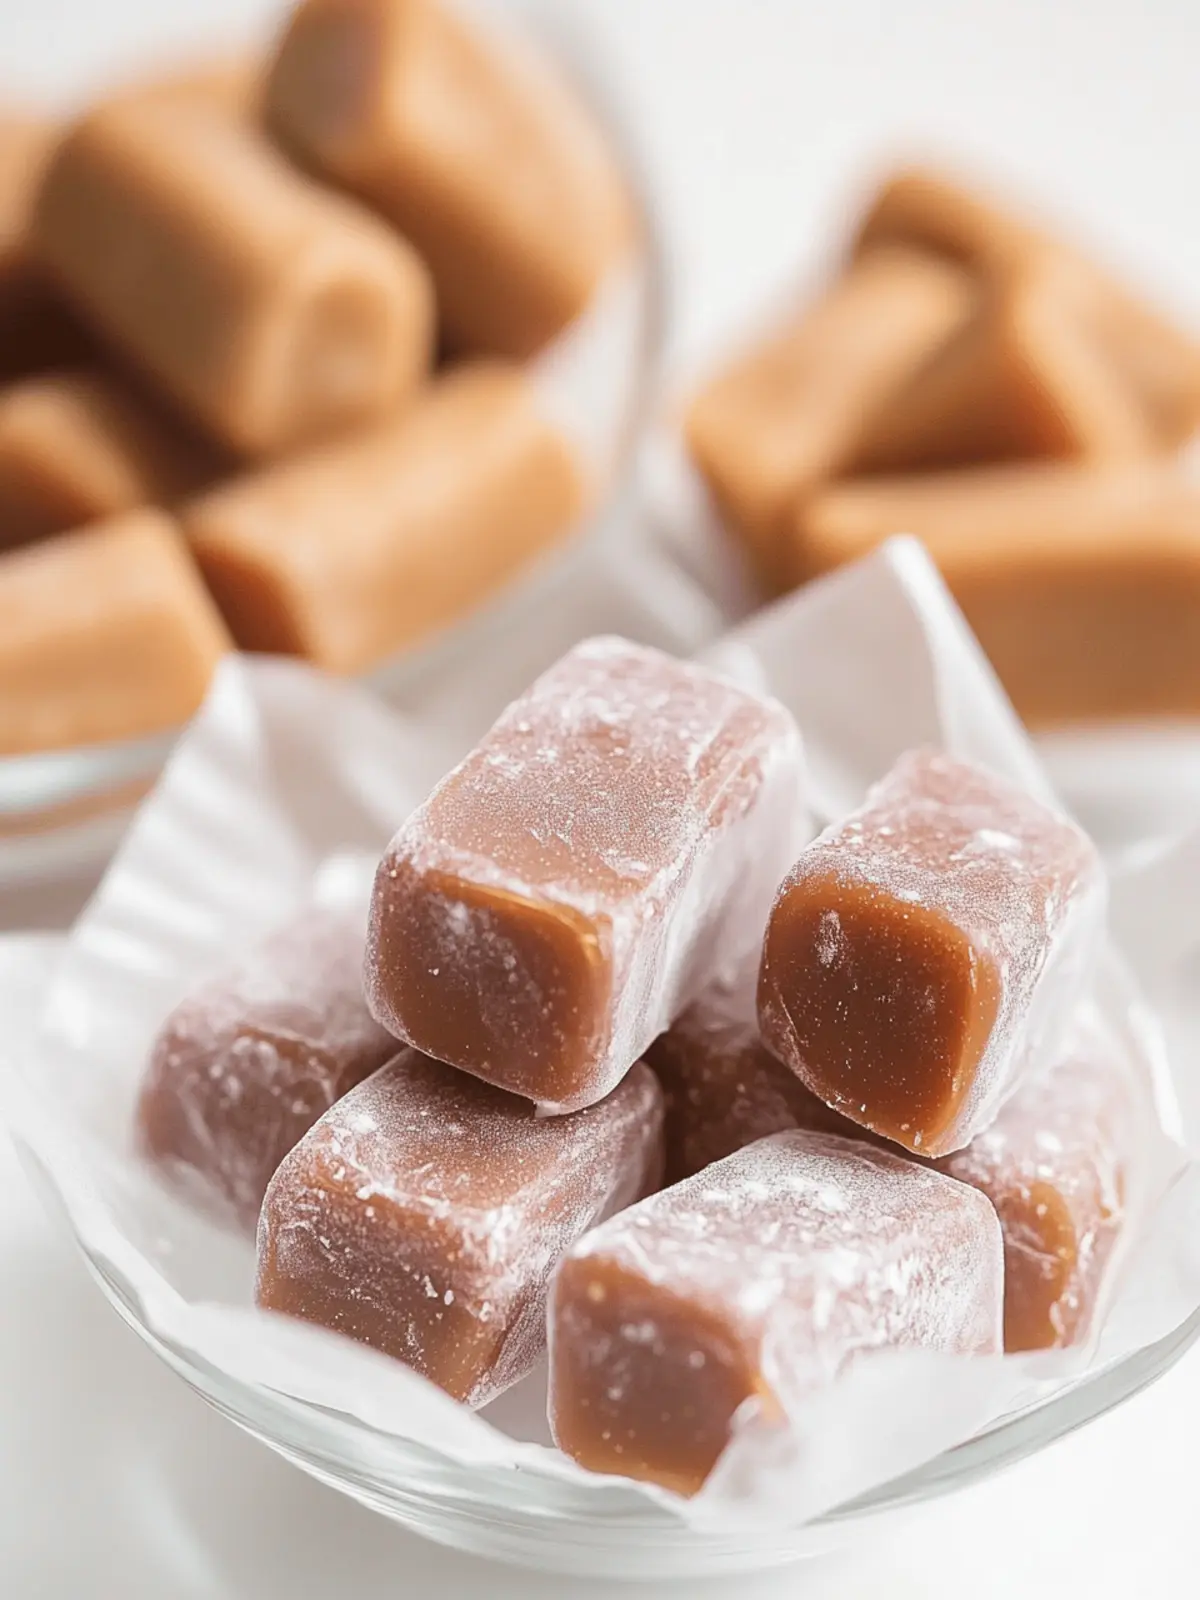
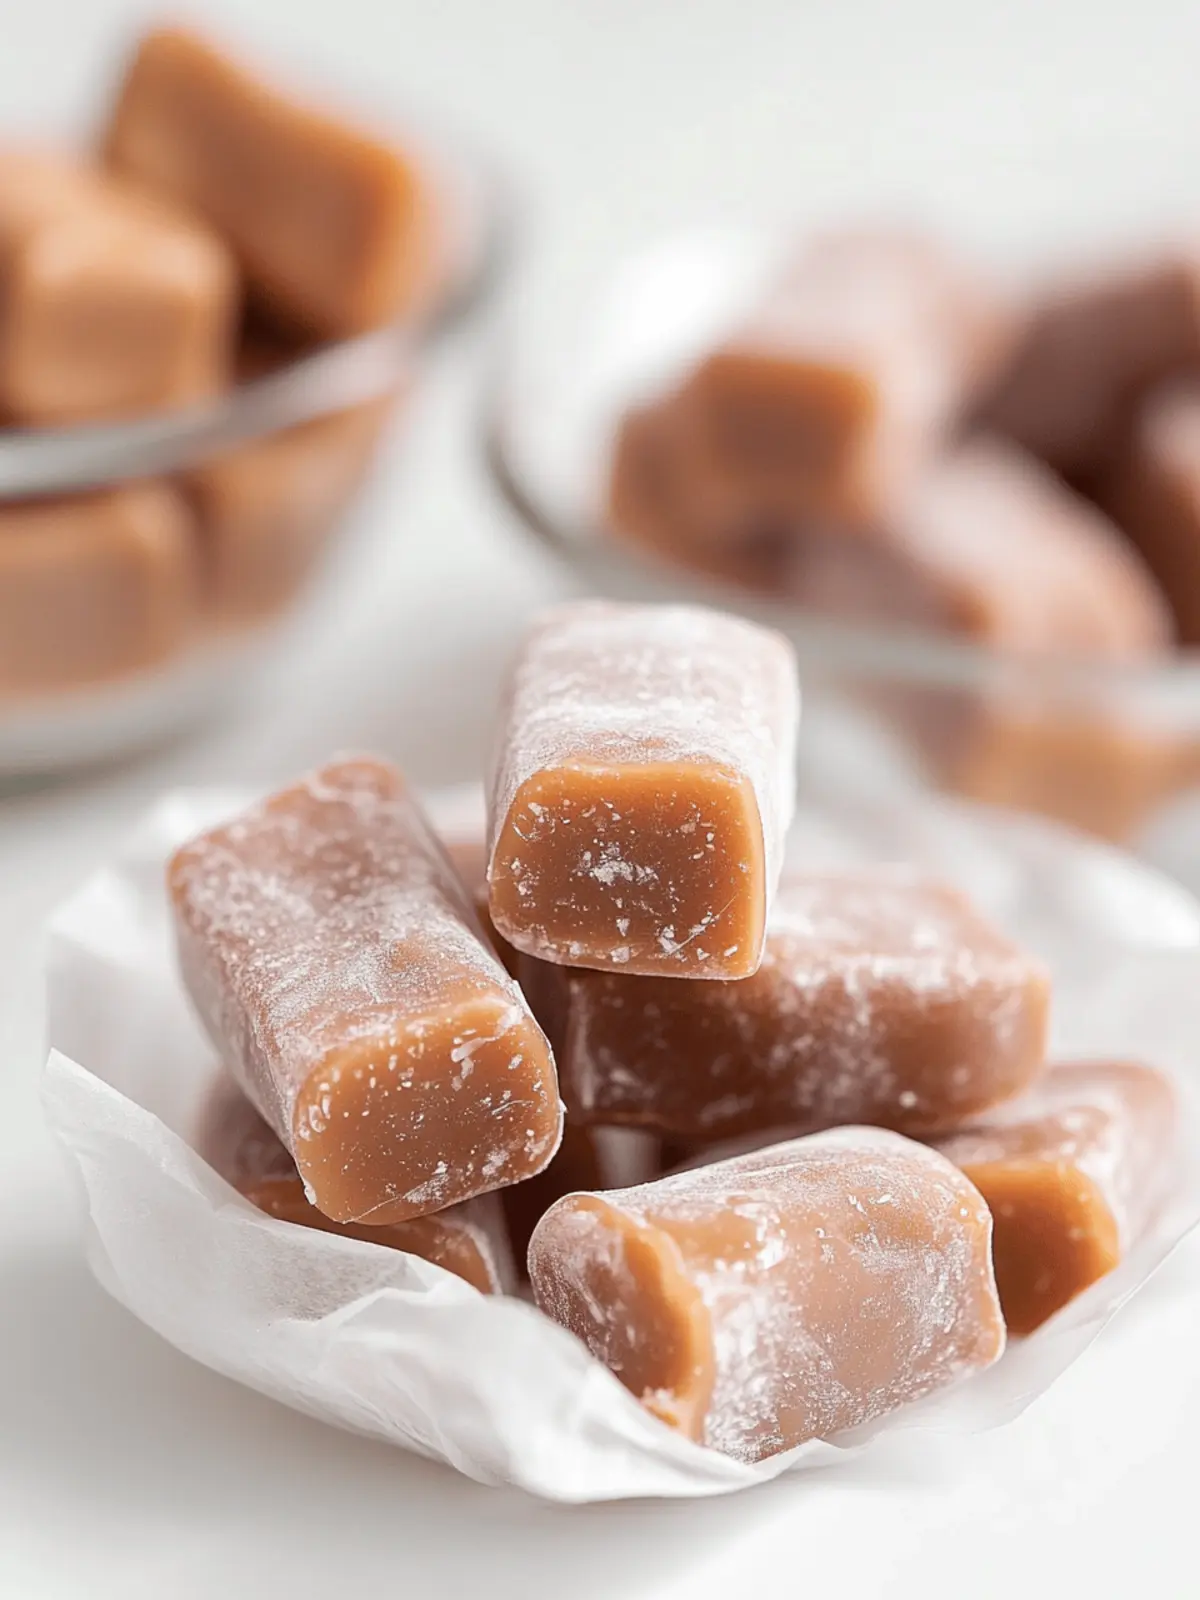
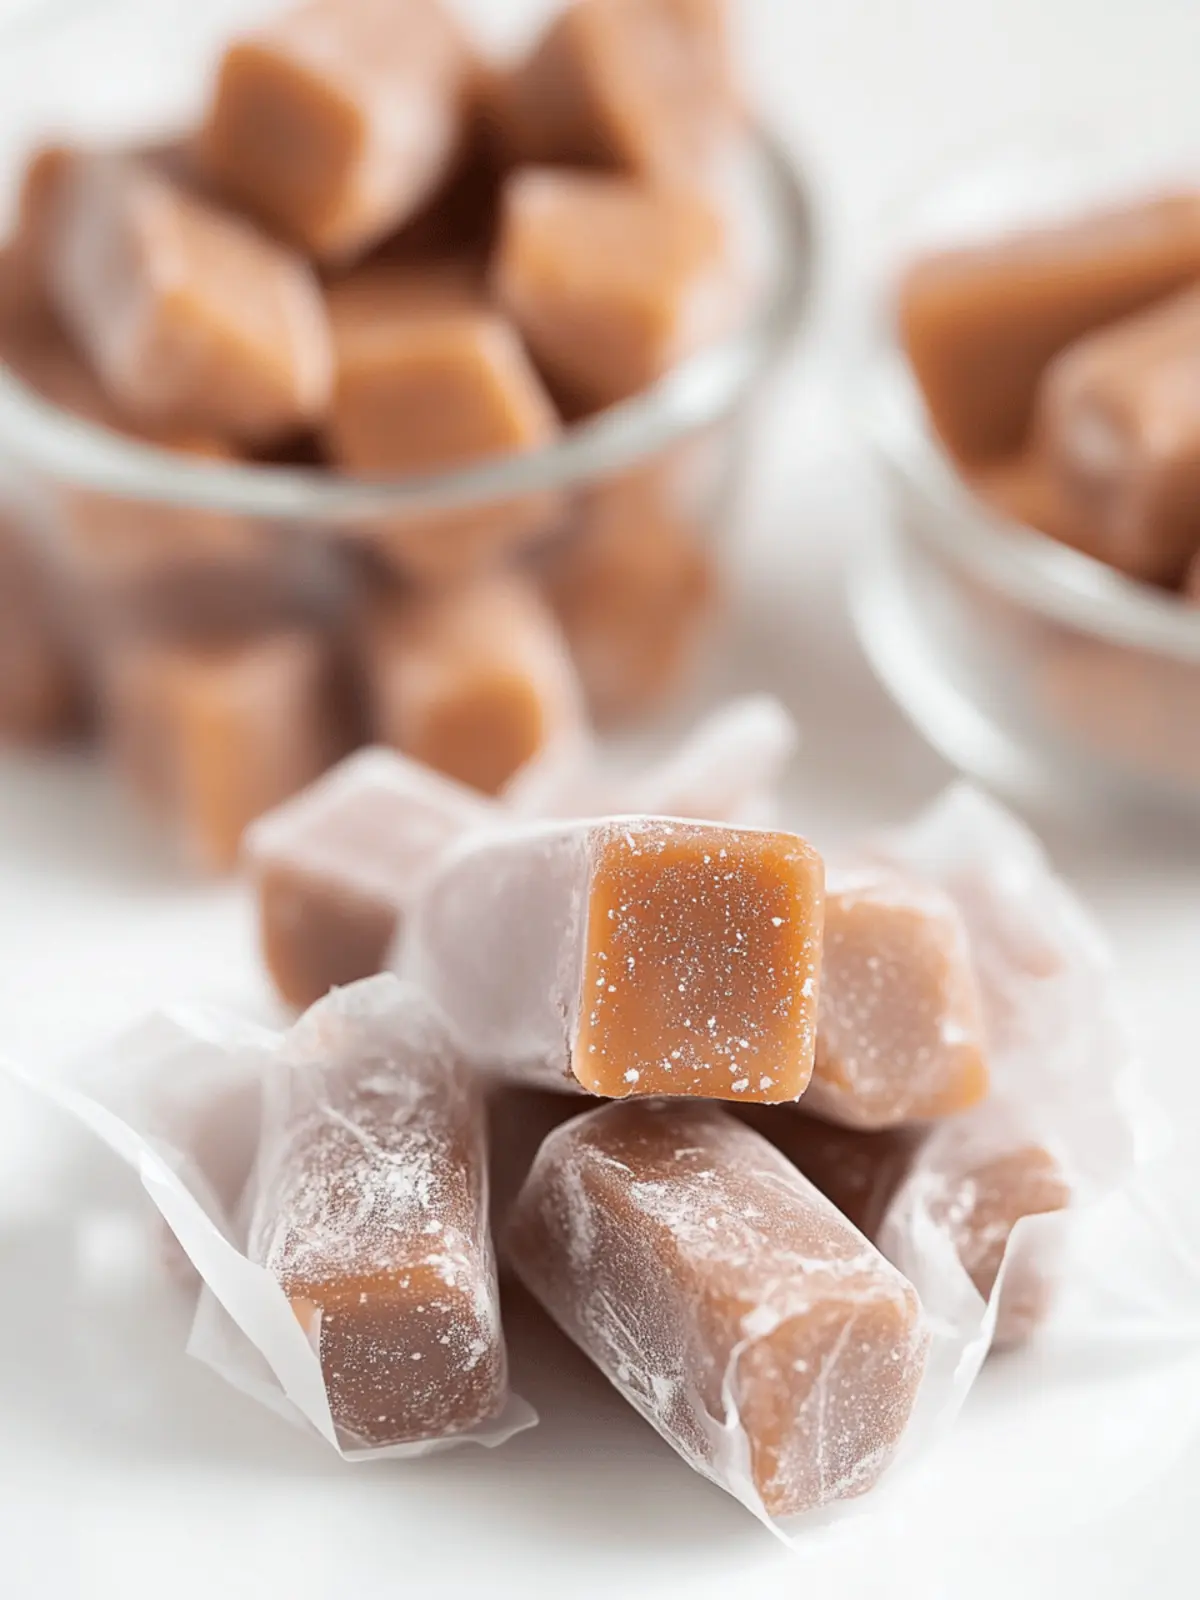
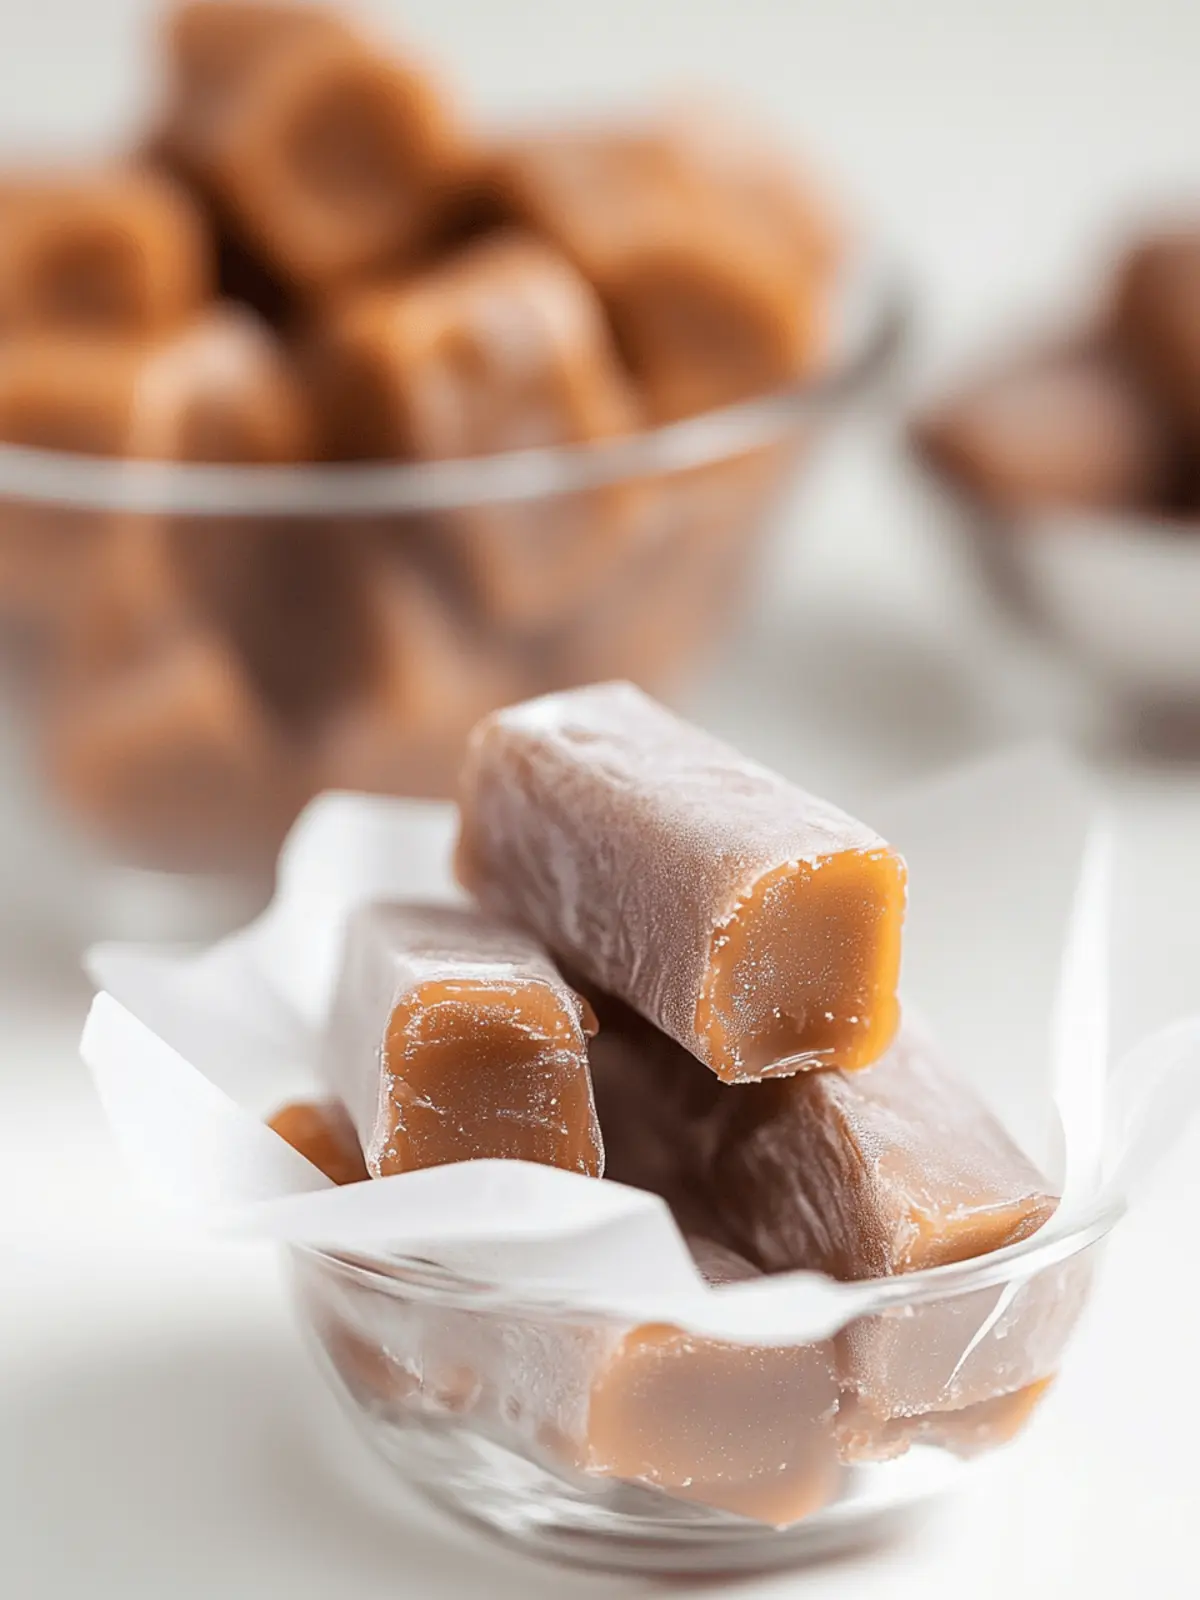
There’s something irresistibly charming about the process of making homemade caramels. As the sweet aroma of melting butter and brown sugar fills your kitchen, you’ll find yourself transported to a cozy candy shop, where each bite offers a nostalgic reminder of childhood treats. On a chilly afternoon, I decided to swap out the usual store-bought snacks for something more meaningful caramels crafted with love right from my own stovetop.
With a handful of simple ingredients like salted butter and sweetened condensed milk this homemade treat offers an old-fashioned sweetness that effortlessly beats any fast-food fix. Not to mention, the satisfaction of cutting into a pan of perfectly cooked caramels and dipping them in rich chocolate makes it all the more rewarding. Whether you’re preparing for a gathering or simply craving a delightful snack, these caramels are not only easy to make but also a sure way to impress friends and family alike. Are you ready to indulge in a little homemade magic? Let’s get started!

Why love Homemade Caramels so much?
Decadent and creamy, these homemade caramels deliver a melt-in-your-mouth experience that’s simply unforgettable. Simple ingredients allow anyone to whip up this nostalgic treat without needing fancy tools or skills. Versatile indulgence — customize with nuts, flavored extracts, or fun sprinkles. Time-saving yet impressive, they’re perfect for surprising guests or simply enjoying on a cozy night in. Kid-friendly fun: get the little ones involved for a sweet family activity! You’ll find that these caramels linger in your heart (and on your taste buds) long after they’ve disappeared.
Homemade Caramel Ingredients
Here’s everything you need for your delightful homemade caramels!
For the Caramel Base
- Salted butter – adds richness and a balanced flavor.
- Packed brown sugar – brings the deep sweetness and smooth texture.
- Light corn syrup – helps achieve that perfect chewy consistency.
- Sweetened condensed milk – gives creaminess and a delightful sweetness.
For the Chocolate Coating
- Chocolate almond bark – makes for a deliciously smooth and dreamy chocolate dip.
- Shortening – ensures the chocolate melts perfectly and coats evenly.
For the Final Touch
- Sprinkles – add a pop of color and fun to your beautifully dipped caramels.
Enjoy crafting these homemade caramels that are sure to become a family favorite!
How to Make Homemade Caramels
- Prepare the Pan: Line an 8×8-inch pan with parchment paper or aluminum foil, using binder clips to hold it in place if necessary. Grease it with nonstick cooking spray for easy removal later.
- Combine Ingredients: In a medium saucepan, mix the salted butter, brown sugar, corn syrup, and sweetened condensed milk. Heat over medium-low, stirring constantly with a spatula to blend everything smoothly.
- Heat the Mixture: Once the mixture begins to boil, attach a candy thermometer. Keep stirring steadily until the caramel reaches 245°F; it should be thick and bubbly.
- Cool the Caramel: Turn off the heat and spoon the caramel into the prepared pan. Allow it to cool completely at room temperature it should firm up nicely.
- Melt the Chocolate: In a microwave-safe bowl, add the chocolate almond bark and shortening. Microwave in 30-second intervals, stirring after each, until the chocolate is melted and smooth (about 1 minute).
- Slice the Caramels: Once the caramels are cool, carefully slice them into 35 squares, or cut them smaller for 70 bite-sized pieces.
- Dip in Chocolate: Dip each caramel into the melted chocolate, letting the excess drip off before placing it on parchment paper. Sprinkle with colorful toppings while the chocolate is still wet.
- Store the Caramels: Store your delightful treats in an airtight container, arranging them slightly apart or wrapped in parchment paper to keep them fresh.
Optional: Drizzle melted white chocolate on top for an extra touch!
Exact quantities are listed in the recipe card below.

Homemade Caramel Variations
Feel free to get creative and elevate your dessert experience with these delightful twists on classic homemade caramels!
- Nutty Delight: Stir in 1/2 cup of chopped nuts, like pecans or walnuts, into the caramel mixture for a crunchy surprise. The added texture complements the softness beautifully.
- Sea Salt Sprinkles: Finish with a sprinkle of flaky sea salt on top of the chocolate-dipped caramels to enhance their sweetness and add a touch of sophistication. That contrast makes each bite even more heavenly!
- Coconut Bliss: Fold in 1/2 cup of shredded coconut before pouring the caramel into the pan. The tropical flavor adds a wonderful depth and nostalgia for summer treats.
- Spicy Kick: Add a pinch of cayenne pepper or a few drops of hot sauce to the caramel mixture for a surprising heat that contrasts with the sweetness wonderfully. It’s a fun twist for adventurous taste buds!
- Vanilla Bean Infusion: Replace the chocolate almond bark with white chocolate and add the seeds of one vanilla bean into the caramel mixture. This aromatic upgrade gives a lovely depth to the flavor.
- Coffee Lovers: Mix 2 tablespoons of instant coffee granules into the caramel while it cooks for a caffeinated kick that’s sure to energize your day. It’s like a sweet cup of coffee in candy form!
- Fruit Fusion: Incorporate 1/2 cup of dried fruit pieces, such as cranberries or apricots, into the caramel for a fruity twist. The sweetness of the fruit balances the rich flavors of the caramel delightfully.
- Minty Fresh: Try adding a teaspoon of peppermint extract to the caramel near the end of cooking for a refreshing mint flavor. Perfect for holiday treats and an unexpected taste sensation!
Make Ahead Options
Making homemade caramels is a delightful way to save time in your busy schedule! You can prepare the caramel base up to 24 hours in advance by following the first four steps of the recipe and then allowing it to cool completely before storing it in an airtight container at room temperature. This way, you can enjoy a stress-free candy-making day! When you’re ready to finish, simply reheat the caramel slightly if needed, slice them into squares, and proceed to dip them in melted chocolate. Keeping the caramels slightly spaced apart in storage will help maintain their quality, ensuring each bite remains just as delicious as when freshly made!
What to Serve with Homemade Caramels?
These delightful treats can be the star of your dessert table, but pairing them well elevates the entire experience.
- Rich Hot Chocolate: The warmth and richness of hot chocolate create a cozy complement that enhances the sweetness of the caramels.
- Crunchy Pretzels: The salty crunch of pretzels provides a satisfying contrast, balancing the caramels’ sweetness while adding an enjoyable texture.
- Fresh Fruit Salad: Juicy berries and crisp apples lighten the palate, offering a refreshing burst of flavor that beautifully contrasts with the creamy caramels.
- Vanilla Ice Cream: Creamy ice cream brings a classic pairing that melts delightfully with warm caramels, turning every bite into a decadent dessert experience.
- Espresso: A bold shot of espresso pairs perfectly with the caramels, enhancing their flavor while providing a delightful caffeine kick for adults.
- Chocolate-Covered Almonds: These crunchy, nutty treats echo the chocolate coating of the caramels while introducing a wholesome crunch with every bite.
- Whipped Cream: A dollop of fresh whipped cream adds lightness and a cloud-like texture that perfectly complements your rich caramels.
- Gingerbread Cookies: The spiced flavors of gingerbread cookies can create a festive harmony with the sweet and creamy essence of caramels.
- Chilled Almond Milk: Smooth almond milk offers a refreshing sip that not only cleanses the palate but also enhances the overall flavor profile of the dessert.
How to Store and Freeze Homemade Caramels
- Room Temperature: Store homemade caramels in an airtight container at room temperature for up to 1 week to maintain their chewy texture.
- Fridge: For longer storage, refrigerate the caramels in an airtight container for up to 2 weeks. This will help them stay fresh while also preventing sticking.
- Freezer: To extend their life, freeze the caramels in a single layer on a baking sheet, then transfer to a freezer-safe bag. They can last up to 3 months.
- Reheating: If chilled, allow caramels to come to room temperature before enjoying, or briefly microwave them for a few seconds to soften slightly, keeping their delicious flavor intact.
Expert Tips for Homemade Caramels
- Ingredient Quality: Use high-quality salted butter and sweetened condensed milk for richer flavors; this makes a huge difference in homemade caramels.
- Temperature Alert: Keep a close eye on the candy thermometer while cooking. Overheating can result in hard caramels, while undercooking yields a gooey mess.
- Stir Constantly: Ensure even consistency by constantly stirring the mixture while it heats, preventing burning at the bottom of the pan.
- Cool Completely: Allow the caramels to cool for at least an hour before slicing. Cutting too early may cause them to lose shape.
- Chocolate Dipping: Make sure the chocolate coating isn’t too hot when dipping; it should be warm enough to melt but cool enough to not affect the caramel.
- Decorative Touch: Experiment with different sprinkles or crushed nuts as toppings to give your homemade caramels a unique flair!

Homemade Caramels Recipe FAQs
What is the best way to select ingredients for homemade caramels?
Absolutely! For the best results, use high-quality salted butter, as it enhances the flavor and creaminess. Opt for packed brown sugar, which gives your caramels that rich, sweet taste. When selecting sweetened condensed milk, make sure it is fresh and not expired for the creamiest texture. Look for light corn syrup rather than dark, as it provides the perfect chewy consistency without overpowering flavors.
How should I store homemade caramels?
To keep your homemade caramels fresh, store them in an airtight container at room temperature for up to 1 week. If you’d like to prolong their sweetness, transfer them to the refrigerator where they’ll last up to 2 weeks, helping to prevent any stickiness. Just remember to allow them to warm up a bit before enjoying, so they maintain that delightful chewiness!
Can I freeze homemade caramels?
Yes, indeed! Freezing is a fantastic option if you want to save some for later. First, line a baking sheet with parchment paper and arrange the cut caramels in a single layer. Freeze them until solid, then transfer the caramels to a freezer-safe bag. They can last up to 3 months in the freezer! When ready to eat, allow them to thaw at room temperature for a few hours, or microwave them for a few seconds for a bit of warmth.
What should I do if my caramels turn out too hard or too soft?
Good question! If your caramels are too hard, perhaps they were cooked beyond the desired 245°F. To fix this in the future, try reducing cooking time slightly or monitoring the thermometer closely. If they end up too soft, they may have been taken off the heat too soon. To remedy this, you can reheat the mixture and take it back up to temperature. Just be sure to stir constantly for even cooking!
Are homemade caramels safe for pets, and what about allergies?
The more the merrier! However, it’s essential to note that homemade caramels aren’t suitable for pets, as the sugar and dairy can cause digestive issues. Additionally, if you have allergies, take care to check ingredient labels, especially for butter and any chocolate coatings, as they may contain allergens like nuts or soy. Always consult your healthcare professional if you’re unsure!
Can I customize the toppings for my caramels?
Very much so! You can get creative with the toppings when dipping your homemade caramels in chocolate. Whether it’s crushed nuts, flavored sprinkles, sea salt, or even a drizzle of white chocolate, there are no limits! I often experiment with seasonal sprinkles for a festive touch, making them visually appealing and a fun treat to share during gatherings.

Divine Homemade Caramels That Melt in Your Mouth
Ingredients
Equipment
Method
- Line an 8×8-inch pan with parchment paper or aluminum foil, using binder clips to hold it in place if necessary. Grease it with nonstick cooking spray.
- In a medium saucepan, mix the salted butter, brown sugar, corn syrup, and sweetened condensed milk. Heat over medium-low, stirring constantly to blend smoothly.
- Once boiling, attach a candy thermometer and stir steadily until caramel reaches 245°F; it should thicken and bubble.
- Turn off heat and spoon the caramel into the prepared pan. Allow it to cool completely at room temperature.
- In a microwave-safe bowl, add chocolate almond bark and shortening. Microwave in 30-second intervals, stirring after each until melted and smooth.
- Once cool, slice the caramels into 35 squares or smaller for 70 bite-sized pieces.
- Dip each caramel into melted chocolate, letting excess drip off, then place on parchment paper. Sprinkle with toppings while chocolate is still wet.
- Store in an airtight container, slightly apart or wrapped in parchment paper.


