As the nights grow longer and the leaves start to crunch underfoot, excitement fills the air for all things Halloween. Picture this: a festive gathering with family and friends, laughter echoing around the room, and a stunning Halloween Layer Cake taking center stage on the dessert table. This delightful creation combines rich chocolate and fluffy vanilla flavors, all dressed up with whimsical Ghost Peeps and crunchy Milano cookies. Each layer is a taste of autumn, inviting both the young and the young-at-heart to indulge in its sweet allure.
This cake isn’t just a feast for the taste buds; it’s a playful nod to the season, transforming a simple gathering into a spirited celebration. Whether it’s a Halloween party or a cozy family dinner, this Spooky Halloween Layer Cake is sure to impress and bring smiles all around. So, let’s roll up our sleeves and dive into this simple yet spectacular recipe that promises to capture the festive spirit of Halloween!
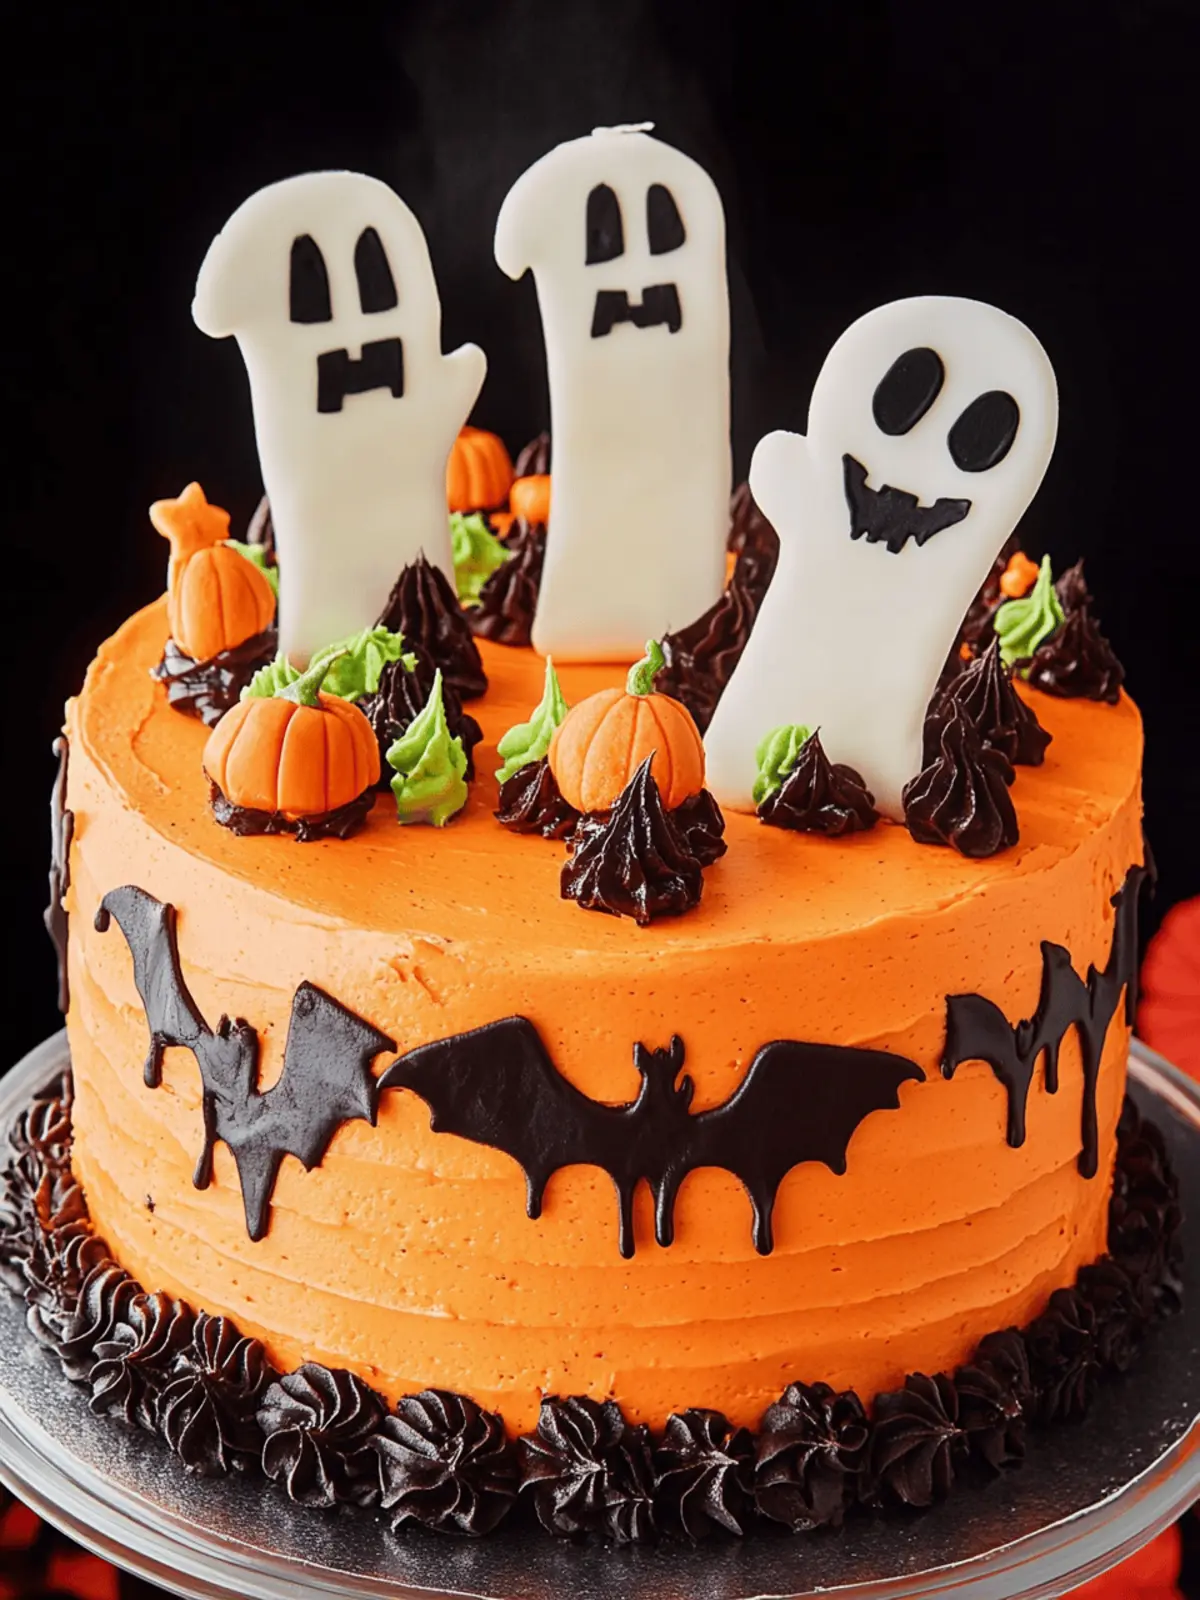
Why will you love this Halloween Layer Cake?
Deliciously Festive: This cake beautifully merges the classic flavors of chocolate and vanilla, creating an irresistible dessert for Halloween gatherings.
Visually Stunning: Topped with charming Ghost Peeps and colorful sprinkles, it’s sure to be the star of any spooky soirée.
Simple to Make: With easy-to-follow steps and accessible ingredients, even novice bakers can whip up this treat with confidence.
Versatile Options: Feel free to adapt it for dietary preferences, making it gluten-free or switching up the cake flavors for a personal touch.
Crowd-Pleasing Appeal: Perfect for both kids and adults, this cake caters to all ages, sparking joy and laughter, making it a memorable choice for festive celebrations!
Halloween Layer Cake Ingredients
For the Cake
- Cooking Spray – Prevents sticking; for extra assurance, line pans with parchment paper.
- Devil’s Food Cake Mix – The rich base flavor; homemade chocolate cake can be substituted if desired.
- Vanilla Cake Mix – Adds a light, fluffy contrast; consider lemon cake mix for a fun twist.
For the Frosting
- Butter (4 sticks, softened) – Ensures a moist, rich texture; margarine can be used for a dairy-free alternative.
- Powdered Sugar (7 cups, divided) – Provides sweetness and structure; remember to sift to avoid lumps.
- Whole Milk (1/2 cup) – Necessary for achieving the right frosting consistency; almond milk can be used as a substitute.
- Pure Vanilla Extract (2 tsp) – Enhances the frosting flavor; vanilla bean paste offers a gourmet option.
- Pumpkin Spice (2 tsp) – Introduces warmth and seasonal cheer; cinnamon can be a simpler substitute.
- Orange Food Coloring – Brightens the frosting for a festive look; natural colorings like turmeric are also an option.
For the Decoration
- Semisweet Chocolate Chips (1 1/2 cups) – Adds deep chocolate flavor to the frosting; dark chocolate chips deepen the richness.
- Heavy Cream (3/4 cup) – Essential for a luscious chocolate ganache; milk can be a lighter alternative.
- Ghost Peeps, Milano Cookies, Crushed Oreos, Candy Corn, Candy Pumpkins, Sprinkles, Candy Eyeballs – Fun decorations that enhance the spooky theme; feel free to use any seasonal candies that inspire you!
This Halloween Layer Cake is sure to be a festive centerpiece that everyone will adore, so gather your ingredients and get ready to create something sweetly magical!
How to Make Halloween Layer Cake
-
Preheat the Oven: Start by preheating your oven according to the instructions on the cake mixes. Don’t forget to prepare your cake pans with cooking spray for easy release!
-
Mix the Batters: In separate bowls, prepare the Devil’s Food and vanilla cake mixes according to the package instructions. Stir until just combined for fluffy cakes.
-
Pour and Bake: Divide the batters evenly between the prepared pans. Bake according to the package directions, or until a toothpick inserted comes out clean—usually around 25-30 minutes.
-
Cool the Cakes: Once baked, allow the cakes to cool completely in their pans for about 15 minutes. Then, gently transfer them to wire racks to cool fully.
-
Make the Frosting: In a large bowl, cream the softened butter until smooth. Gradually add in the sifted powdered sugar, whole milk, vanilla extract, and pumpkin spice while mixing, until well blended and creamy.
-
Color the Frosting: Once your frosting is ready, add the orange food coloring a few drops at a time until you achieve your desired festive hue.
-
Assemble the Cake: Layer the chocolate and vanilla cakes, spreading a generous amount of frosting between each layer. After stacking, cover the entire cake in frosting for a smooth finish.
-
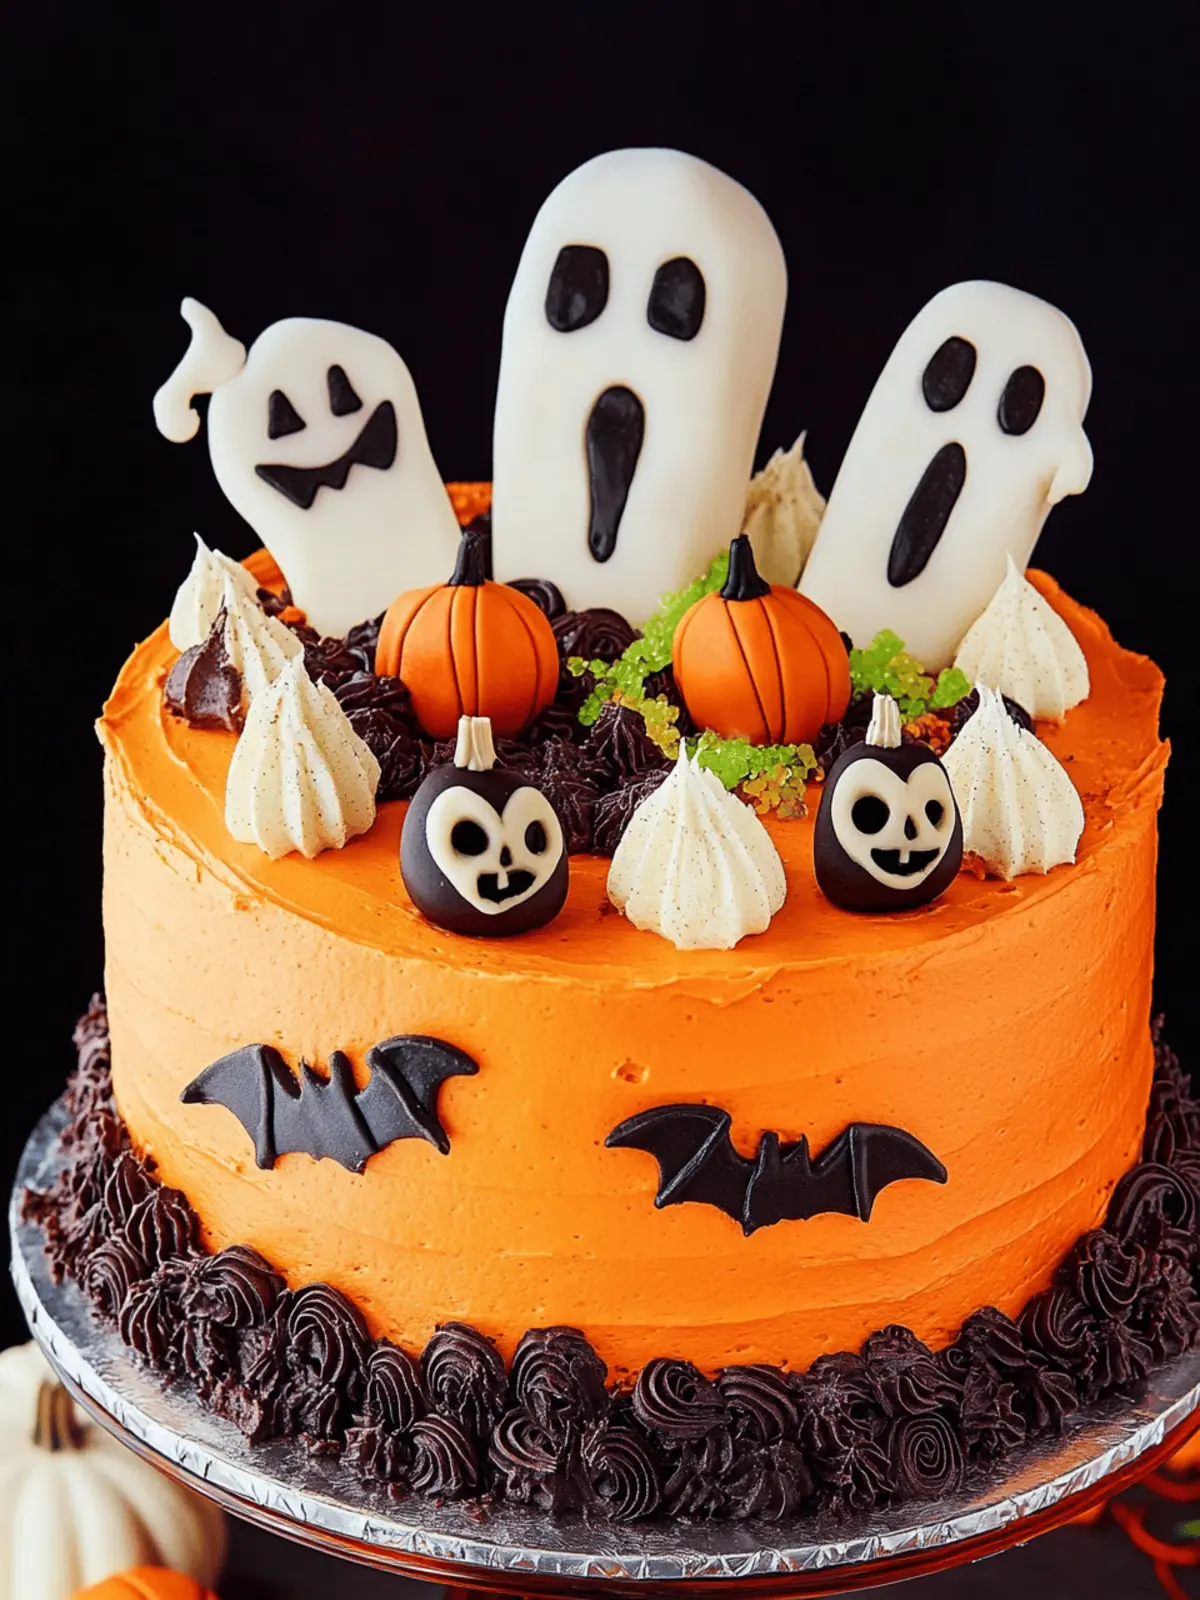
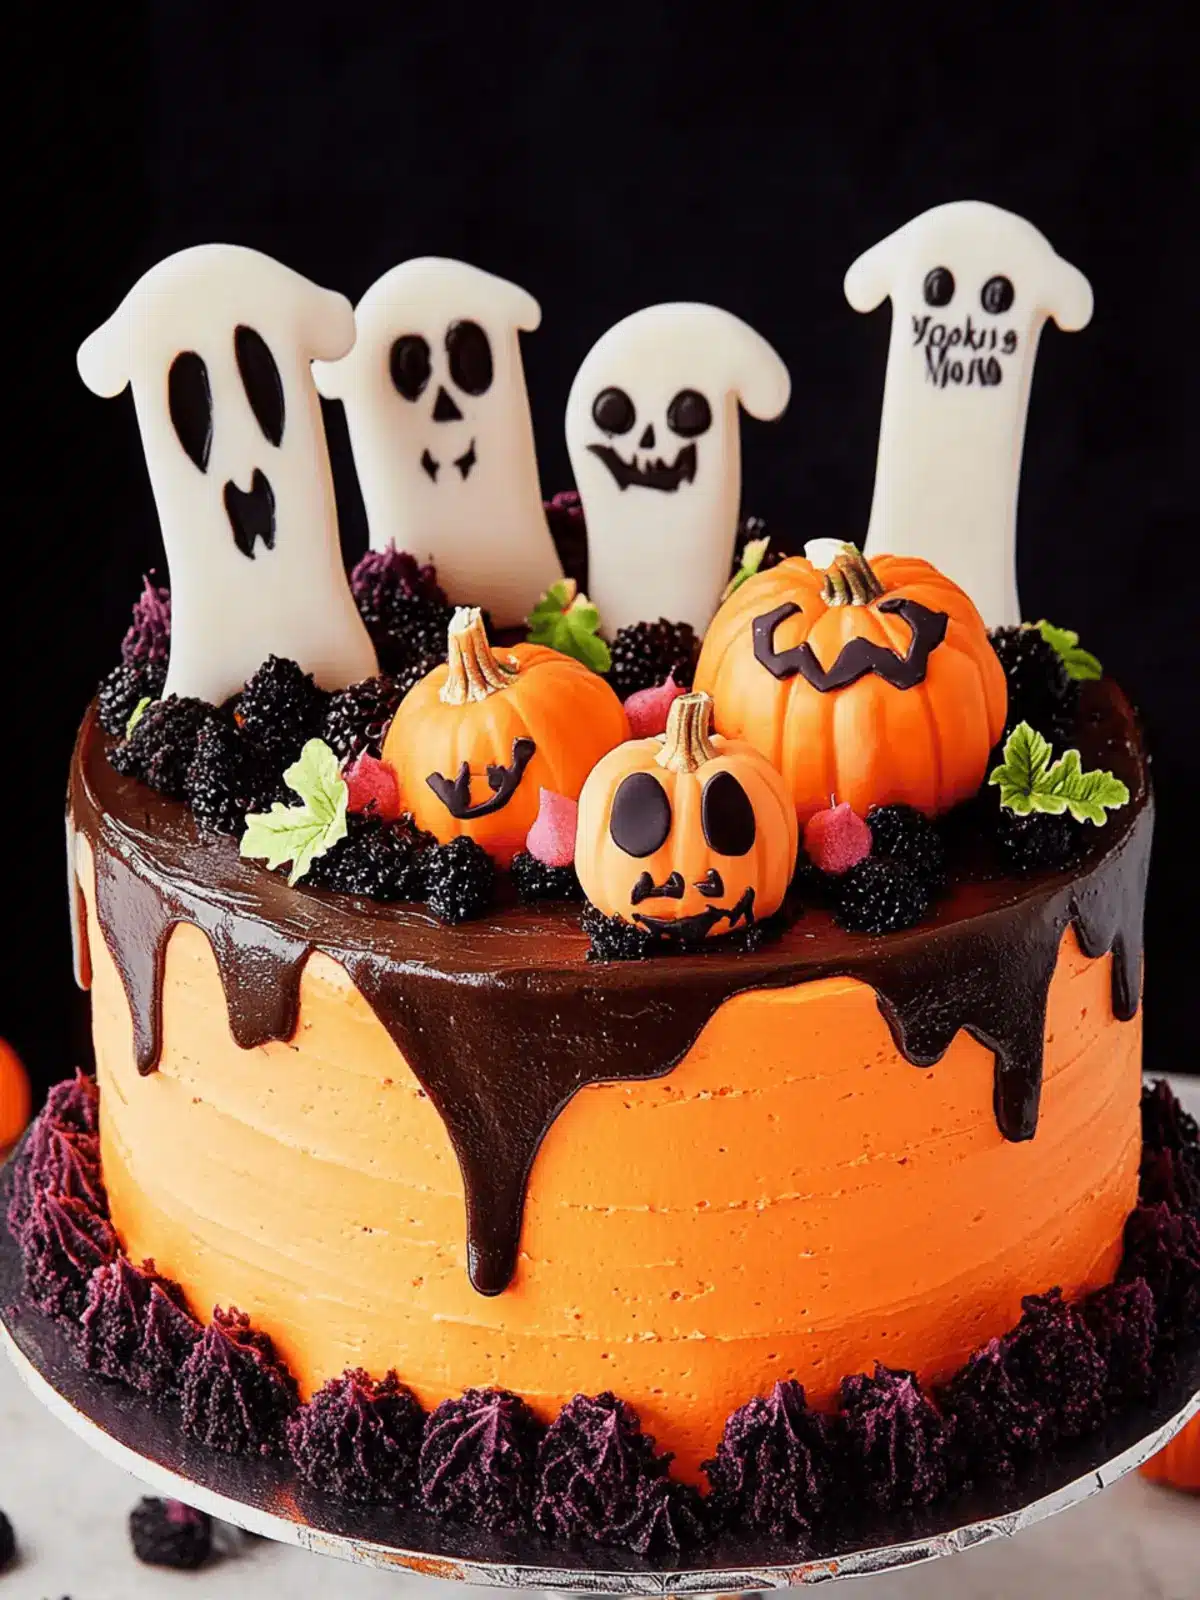
Decorate: Get creative on top by adorning your frosted cake with Ghost Peeps, Milano cookies, and sprinkles for that spooky Halloween allure.
Optional: For a fun twist, add candy corn or crushed Oreos between the layers for added texture.
Exact quantities are listed in the recipe card below.
Expert Tips for Halloween Layer Cake
-
Cool Completely: Allow the cakes to cool completely before frosting. Otherwise, warm layers can melt your frosting, leading to a gooey mess.
-
Level the Layers: Use a serrated knife to even out the tops of your cakes. This ensures stable stacking and a professional-looking finish.
-
Crumb Coat: Apply a thin layer of frosting first as a crumb coat. This traps crumbs in place, preventing them from showing in your final frosting layer.
-
Sift Powdered Sugar: Remember to sift your powdered sugar before adding it to your frosting. Sifting eliminates lumps, keeping your frosting smooth and fluffy.
-
Decorate Last Minute: For the best presentation, decorate the cake just before serving. This keeps the candies fresh and visually appealing.
Creating a stunning Halloween Layer Cake is easier with these helpful tips!
Make Ahead Options
Get a head start on your festivities by preparing the Halloween Layer Cake in advance! You can bake the cakes up to 24 hours ahead of time. Once cooled, wrap each layer tightly in plastic wrap and refrigerate to maintain moisture and freshness. Feel free to make the frosting a day in advance as well; just store it in an airtight container in the fridge. When you’re ready to serve, let the frosting sit out for about 30 minutes to soften before assembling the cake. This approach not only saves you time on the day of your gathering but ensures the cake remains just as delicious and moist, ready to wow your guests!
Halloween Layer Cake Variations
Elevate your spooky creation with delightful twists and turns that cater to every taste bud!
- Gluten-Free: Use a gluten-free cake mix instead of standard mixes for a cake everyone can enjoy.
- Citrus Surprise: Opt for a lemon cake mix instead of vanilla, adding a zesty kick perfect for fall flavors.
- Pumpkin Spice: Fold in 1 cup of pumpkin puree to the batter for a rich, autumnal flavor that’s simply irresistible.
- Nutty Delight: Add 1 cup of finely chopped walnuts or pecans to either cake batter for an enjoyable crunch and texture.
- Beyond Chocolate: Swap Devil’s food cake for a red velvet mix for a festive color and unique chocolate tang.
- Caramel Drizzle: Enhance the frosting with swirls of caramel sauce for an additional layer of sweetness that’ll have everyone coming back for more.
- Peppermint Twist: Mix in 1 tsp of peppermint extract into the frosting for a wintery, refreshing flavor; great for holiday parties!
- Cocoa Crunch: Sprinkle cocoa powder into the vanilla cake mix for a hidden chocolate element that adds surprise with every slice.
With these variations, your Halloween Layer Cake will be as festive and unique as the celebrations themselves, allowing you to spread joy through delicious, customized treats!
What to Serve with Halloween Layer Cake?
As you prepare to celebrate the spooky season, enhance your dessert spread with delightful accompaniments that will make your Halloween gathering truly unforgettable.
- Whipped Cream: A dollop of freshly whipped cream adds creaminess and elevates the cake’s festive flavors, making each slice even more indulgent.
- Apple Cider: Warm or cold, this seasonal beverage pairs wonderfully, balancing the sweetness of the cake with its crisp and refreshing notes.
- Pumpkin Spice Latte: Embrace fall flavors with this cozy drink that complements the cake’s pumpkin spice notes, creating a perfect match for the season.
- Chocolate-Covered Pretzels: A mix of sweet and salty, these treats provide a crunchy contrast that kids and adults alike will love, adding playful fun to your table.
- Gummy Worms: Scatter these creepy candies around the cake for a fun, Halloween theme that will make both kids and adults smile.
- Candy Corn: This colorful classic enhances the festive atmosphere while echoing the cake’s decorations, tying the whole theme together beautifully.
- Warm Cinnamon Apples: Serve alongside your cake for a warm, comforting dessert experience that contrasts perfectly with the rich layers of your spooky cake.
- Autumn Salad: A fresh, crisp salad with apples and walnuts brings a refreshing balance to the table, harmonizing the sweetness of the cake with healthy crunch.
- Hot Chocolate: Rich and creamy, a warm cup of hot chocolate adds cozy vibes, making it an irresistible companion to your Halloween Layer Cake.
These delightful pairings will not only enhance your Halloween Layer Cake but also ensure a memorable feast that engages your guests in the spirit of the holiday!
How to Store and Freeze Halloween Layer Cake
Room Temperature: Store the cake loosely covered at room temperature for up to 3 days to maintain moisture and freshness.
Fridge: If you need to keep the cake longer, refrigerate it in an airtight container for up to 5 days. Bring it to room temperature before serving for the best flavor.
Freezer: For longer storage, wrap the cake tightly in plastic wrap and aluminum foil, then freeze for up to 2 months. Thaw in the fridge overnight before serving.
Reheating: To enjoy the cake warm, lightly microwave individual slices for about 10-15 seconds, being careful not to dry it out. The Halloween Layer Cake remains delightful even after a few days!
Halloween Layer Cake Recipe FAQs
What type of cake mix should I use for the Halloween Layer Cake?
Absolutely! You can use a store-bought Devil’s Food Cake Mix for richness and a Vanilla Cake Mix for contrast. If you’re feeling adventurous, a homemade chocolate cake can also be a wonderful substitute for a personal touch.
How should I store my Halloween Layer Cake?
For optimal freshness, store the cake loosely covered at room temperature for up to 3 days. If you need to keep it longer, refrigerate in an airtight container for up to 5 days. Always allow it to come to room temperature before serving for the best flavor.
Can I freeze the Halloween Layer Cake?
Yes, you can freeze the cake! Wrap it tightly in plastic wrap followed by aluminum foil, and it will last in the freezer for up to 2 months. When you’re ready to enjoy, thaw it in the fridge overnight before serving. This method helps maintain its moist texture.
How can I prevent my frosting from melting?
To prevent melting, make sure your cakes are completely cool before frosting them, leaving them in the pans for about 15 minutes after baking. Additionally, applying a crumb coat (a thin, initial layer of frosting) helps trap crumbs and provides a nice base for a smooth final layer.
Are there any dietary alternatives or substitutions for the ingredients?
Very much so! If you’re looking for dairy-free options, you can replace the butter with margarine and the whole milk with almond milk. For gluten-free needs, swap the Devil’s Food cake mix with a gluten-free cake mix. Just check the labels to ensure they meet your dietary requirements.
Is it okay to use decorations other than Ghost Peeps?
Absolutely! Feel free to get creative with your decorations. Use any seasonal candies you love, such as gummy worms or Halloween-themed chocolates, to make the cake personal and festive. The more the merrier!
These FAQs aim to help you create a memorable Halloween Layer Cake that brings joy and sweetness to your festivities!
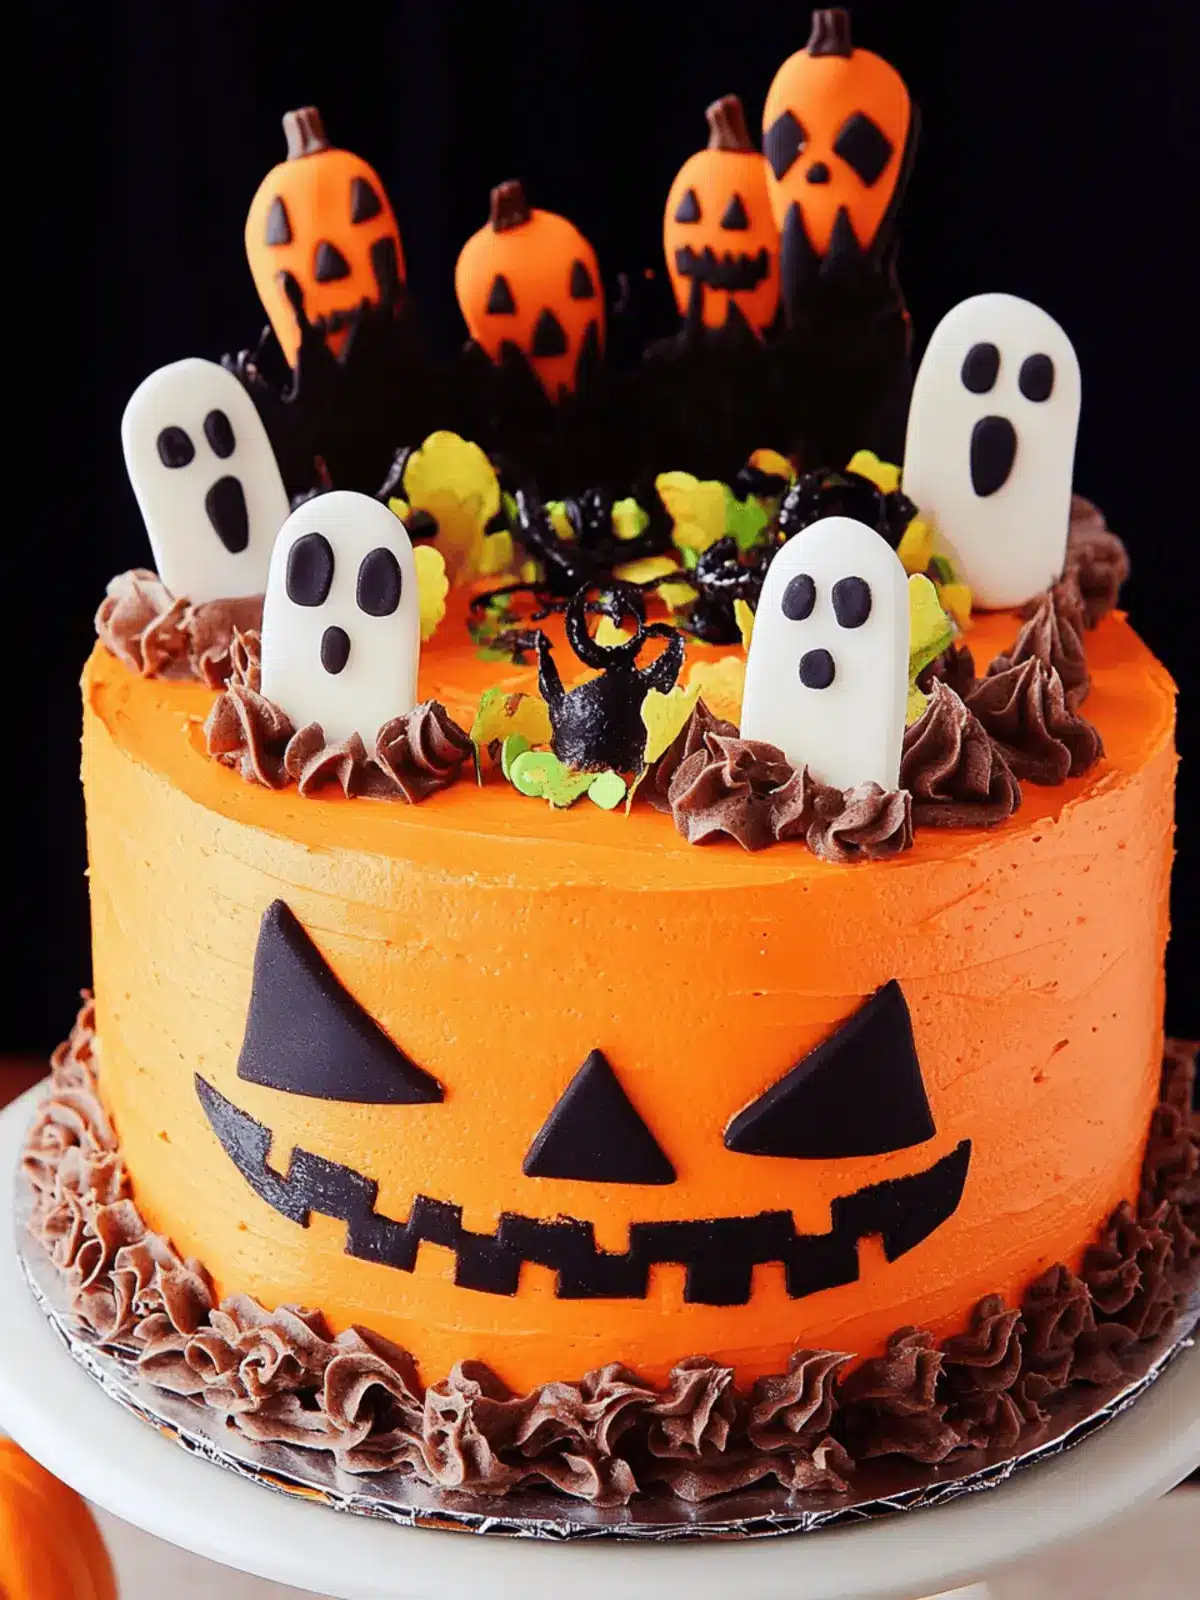
Eerie Halloween Layer Cake: Sweet Treats for Spooky Fun
Ingredients
Equipment
Method
- Preheat the Oven: Start by preheating your oven according to the instructions on the cake mixes. Don’t forget to prepare your cake pans with cooking spray.
- Mix the Batters: In separate bowls, prepare the Devil's Food and vanilla cake mixes according to the package instructions. Stir until just combined.
- Pour and Bake: Divide the batters evenly between the prepared pans. Bake according to the package directions until a toothpick comes out clean.
- Cool the Cakes: Once baked, allow the cakes to cool in their pans for about 15 minutes. Then transfer to wire racks to cool fully.
- Make the Frosting: In a large bowl, cream the softened butter until smooth. Gradually add powdered sugar, whole milk, vanilla extract, and pumpkin spice until creamy.
- Color the Frosting: Add orange food coloring drops until you achieve your desired festive hue.
- Assemble the Cake: Layer the chocolate and vanilla cakes, spreading frosting between each layer. Cover the entire cake in frosting for a smooth finish.
- Decorate: Adorn your frosted cake with Ghost Peeps, Milano cookies, and sprinkles for a spooky look.

