There’s something whimsical about a dessert that looks like dirt but tastes like a chocolate dream! When summer rolls around, I love making No-Bake Dirt Pudding Cups with my kids. These delightful treats combine creamy chocolate pudding with crunchy Oreo crumbs and playful gummy worms, creating a dessert that’s not just easy to whip up but also fun to eat. Whether it’s a backyard BBQ or a birthday bash, these cups add a touch of nostalgia and excitement to any occasion.
What I love most about this recipe is its simplicity just five ingredients and a mere ten minutes of prep time. Perfect for busy days or when you’re looking to spark some creativity in the kitchen with the little ones. So, put on your aprons and join me in crafting these delightful Dirt Dessert Cups that are sure to bring smiles to everyone’s faces!
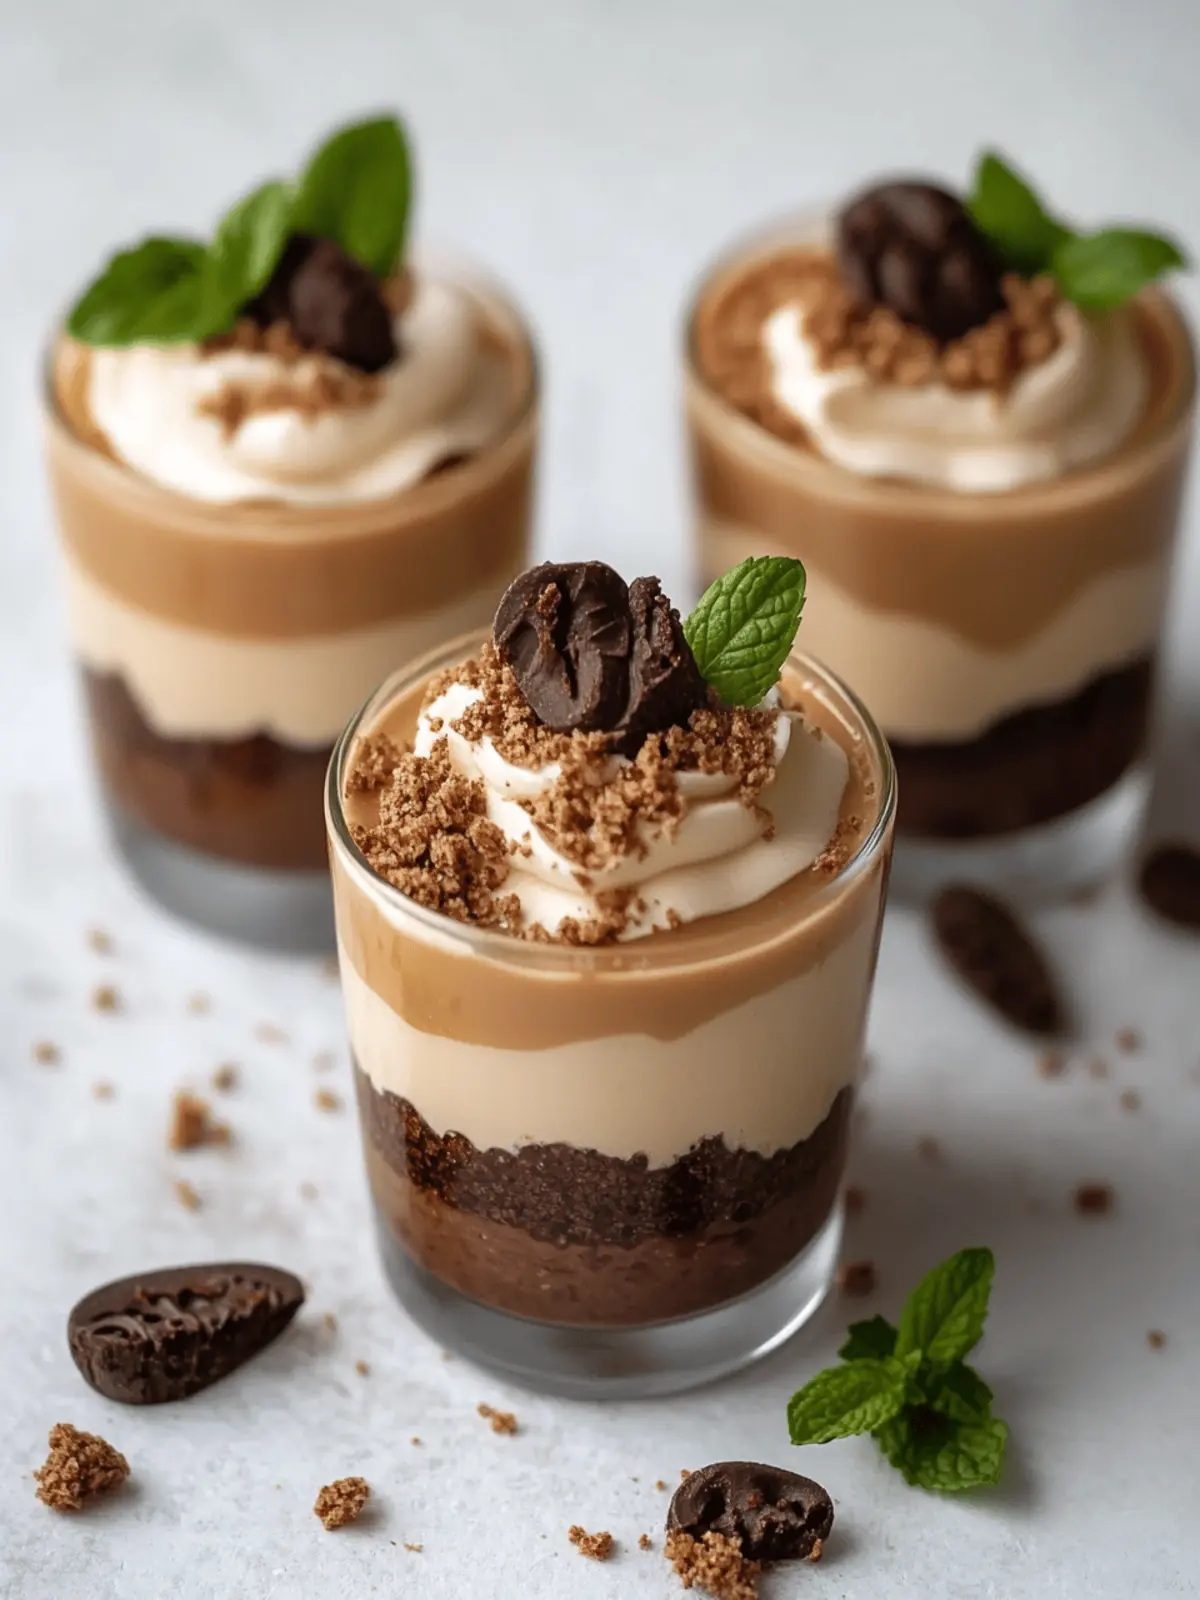
Why Will You Love Dirt Pudding Cups?
Whimsical Appeal: The fun presentation of gummy worms nestled in a chocolatey “dirt” base makes these cups a joyous surprise for any gathering.
Quick and Easy: With just five ingredients, this no-bake recipe takes only ten minutes to prepare, ensuring success without the fuss.
Kid-Friendly: Kids will love not only the unique look but also joining in on the exciting assembly process.
Versatile Options: Substitute ingredients for a custom treat – try vanilla pudding or gummy bears for a twist!
Nostalgic Favorite: Dirt Pudding Cups are beloved by all ages, making them the perfect dessert for both children and adults alike.
Ready to dive into a world of delightful treats? Let’s get started!
Dirt Pudding Cups Ingredients
For the Pudding
- Chocolate Instant Pudding Mix – This is the base for your creamy dessert; consider using vanilla pudding for a fun twist!
- Cold Milk – Helps create a smooth pudding texture; any milk will do, including dairy-free options like almond or oat milk.
- Heavy Cream – Adds a delightful richness; you can substitute with whipped topping for a lighter, airy texture.
For the Topping
- Chocolate Sandwich Cookies (e.g., Oreos) – Provides a delicious chocolate flavor and crunchy texture; feel free to swap it with other chocolate cookies if you prefer!
- Gummy Worms – Adds a playful flair to your cups; consider using gummy bears or other candies for a fun variation.
- Chocolate Rocks (Optional) – Great for decoration and added crunch; you can omit these if you’d like to keep it simple.
Enjoy creating these delightful Dirt Pudding Cups—a dessert that’s sure to be a hit with kids and adults alike!
How to Make Dirt Pudding Cups
- Prepare Oreo Crumbs: Crush the chocolate sandwich cookies in a food processor or place them in a sealed plastic bag and use a rolling pin until finely crumbed. This will add that delightful chocolate crunch!
- Make Pudding: In a large bowl, whisk together the chocolate pudding mix and cold milk until smooth. Let it set for about 5-7 minutes until it thickens for a luscious texture.
- Whip Cream: While waiting for the pudding to set, whip the heavy cream in a separate bowl until you reach medium-firm peaks. This creates a light and fluffy element that enhances the pudding.
- Combine: Gently fold the whipped cream into the set pudding until well incorporated. This blend will create a creamy, dreamy texture that’s rich but not overly heavy.
- Add Cookie Crumbs: Stir in three-quarters of the crushed Oreos to the mixture for an extra layer of chocolatey goodness. The remaining crumbs will be used later!
- Assemble Cups: Evenly distribute the pudding mixture into eight 8-oz cups. Insert three gummy worms into each cup to give that playful “dirt” appearance!
- Top with Oreos: Spoon the remaining crushed Oreos over each cup for a stunning finishing touch. Consider adding chocolate rocks for a decorative flair if desired!
- Serve: Enjoy immediately or refrigerate until ready to serve. These delightful cups can be served chilled for a refreshing dessert.
Optional: Garnish with fresh mint leaves for a pop of color!
Exact quantities are listed in the recipe card below.
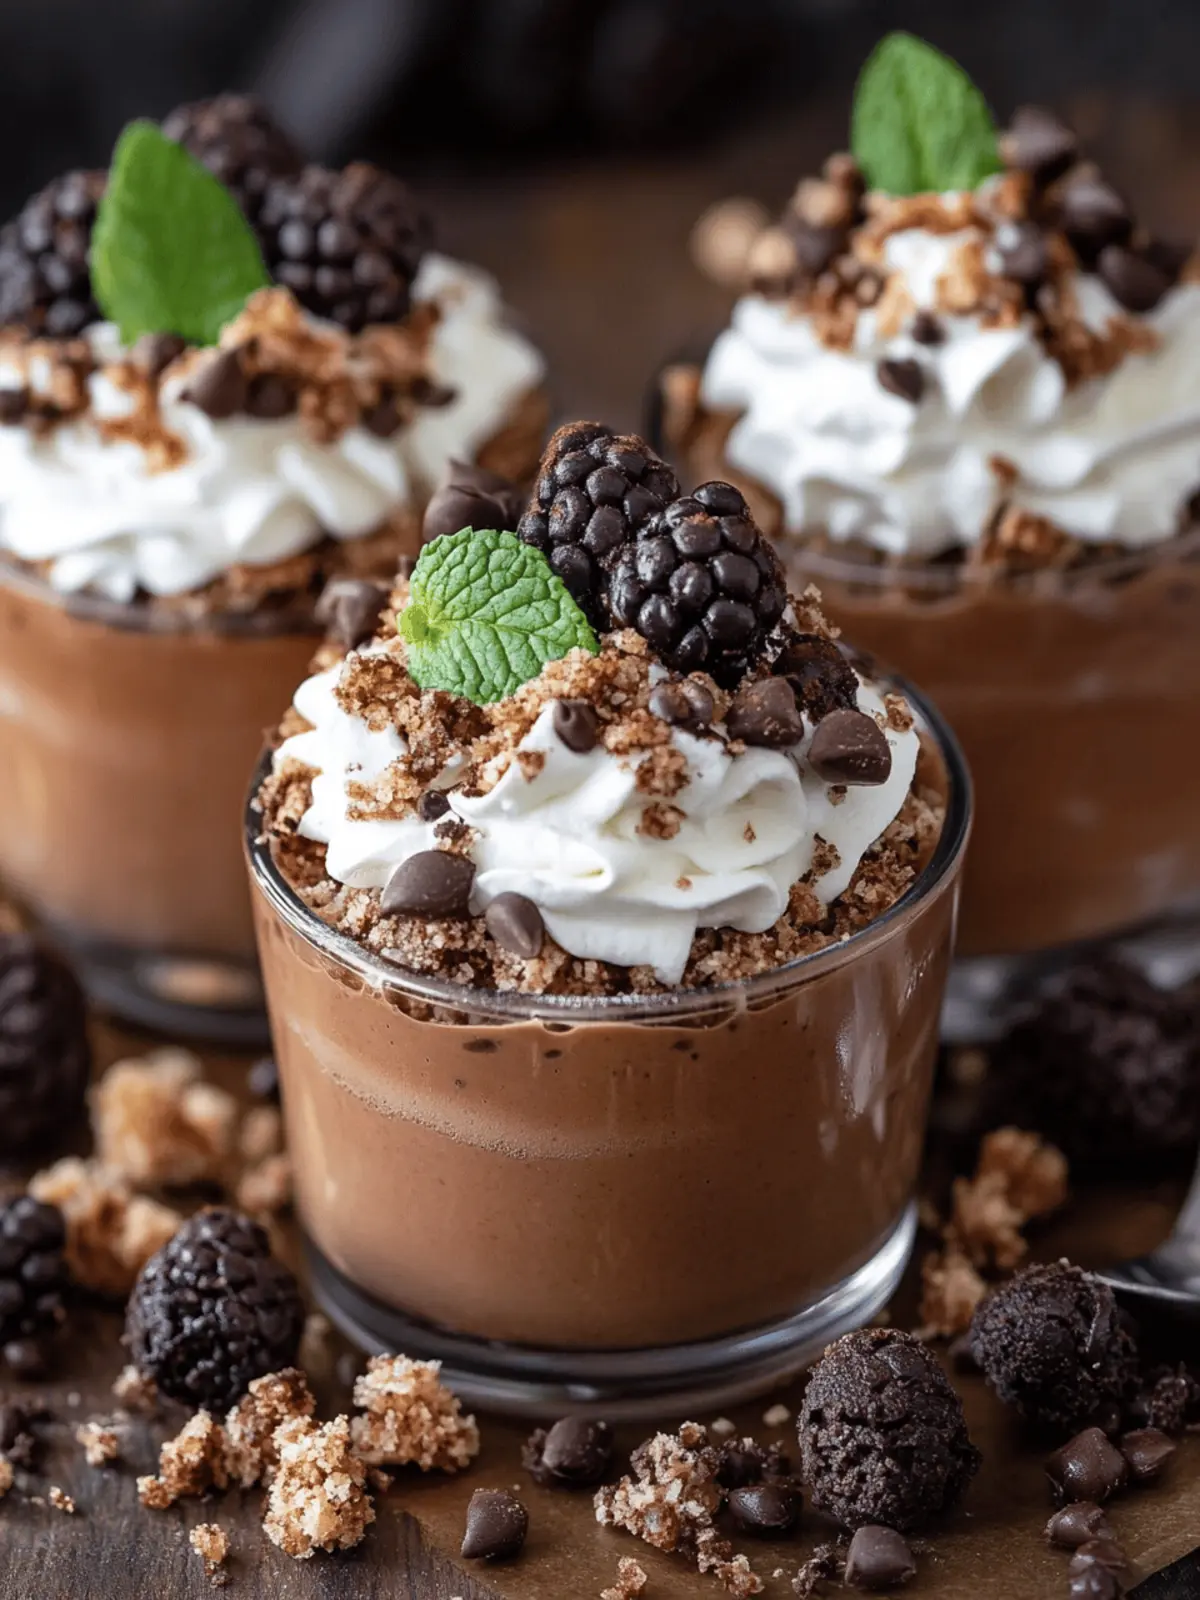
Storage Tips for Dirt Pudding Cups
- Fridge: Store your Dirt Pudding Cups in the refrigerator for up to 5 days. Place a plastic wrap over the cups to keep the pudding fresh and prevent drying out.
- Re-add Toppings: For best texture, add gummy worms just before serving; this keeps them from becoming soggy while stored.
- Freezer: While Dirt Pudding Cups can be frozen, it’s best to consume them fresh. If freezing, use an airtight container and enjoy within 1 month, although texture may change.
- Thawing: To thaw, move the cups to the fridge for a few hours before serving, ensuring a better texture to enjoy this delightful treat!
What to Serve with Dirt Pudding Cups?
Elevate your delightful dessert experience with these complementary sides that are sure to please everyone at your gathering.
- Fresh Fruit Cups: Bright and juicy fruits like strawberries or blueberries offer a refreshing contrast to the rich chocolate.
- Vanilla Ice Cream: A scoop of creamy vanilla ice cream adds another layer of texture and a cool sweetness that pairs perfectly with the pudding.
- Chocolate Dipped Pretzels: The salty crunch of pretzels dipped in chocolate enhances the overall experience, bringing a fun twist to your dessert table.
- Milkshakes: A chocolate or vanilla milkshake can complement the flavors of dirt pudding, creating a nostalgic classic experience for kids and adults alike.
- Mini Cupcakes: These adorable bite-sized treats can be a fun addition, offering a slightly different texture and flavor to balance out the rich pudding.
- S’mores Bars: The toasted marshmallow and chocolate flavors in s’mores bars echo the dirt pudding’s taste, creating a cohesive dessert theme.
- Sparkling Water: Lightly flavored sparkling water can cleanse the palate between bites, enhancing the enjoyment of your delightful Dirt Pudding Cups.
With these pairings, you’re bound to create a memorable dessert experience that everyone will love!
Make Ahead Options
Dirt Pudding Cups are perfect for busy home cooks looking to save time while still delighting their family! You can prepare the pudding mixture and Oreo crumbs up to 24 hours in advance, refrigerating them separately in airtight containers to maintain freshness. Simply make your chocolate pudding according to the instructions and let it set, then fold in the whipped cream. To serve, layer the pudding in cups with crushed Oreos and add gummy worms just before digging in, which keeps them from getting soggy. With these make-ahead tips, you’ll enjoy the fun of assembling these delightful treats without the last-minute rush!
Delicious Dirt Pudding Cups Variations
Feel free to get creative and make these Dirt Pudding Cups your own with these fun and easy variations!
- Dairy-Free: Use almond or coconut milk in place of regular milk, and opt for a dairy-free whipped topping for an inclusive treat.
- Vanilla Twist: Swap the chocolate pudding with vanilla pudding and add cocoa powder for a new flavor profile that surprises the taste buds.
- Fruit Fun: Instead of gummy worms, top each cup with fresh berries like strawberries or raspberries for a delicious, fruity contrast to the chocolate.
- Crunchy Texture: Add crushed nuts or granola in place of some cookie crumbs for a delightful crunch that enhances every bite.
- Layered Delight: Create layers in a trifle dish with alternating layers of pudding, cookie crumbs, and fruits, elevating the visual appeal and flavor.
- Spicy Kick: Sprinkle a dash of cinnamon or cayenne pepper in the pudding for an unexpected twist that adds a hint of warmth and excitement.
- Gourmet Option: Try using gourmet chocolate cookies or even homemade chocolate cookies for a decadent touch that will impress any chocolate lover.
- Single Serve: Use mini jars or cups for individual servings perfect for parties or picnics, making them easy to grab and enjoy!
With these variations, your Dirt Pudding Cups will always have something fresh to offer, keeping the excitement alive at dessert time!
Expert Tips for Dirt Pudding Cups
- Proper Pudding Setting: Allow the pudding to set fully before folding in whipped cream, as this maintains a light and airy texture in your Dirt Pudding Cups.
- Effortless Crushing: Use a food processor for quick and uniform cookie crumbs, ensuring your Oreos break down easily—if you don’t have one, a rolling pin works fine, too!
- Gummy Worm Timing: To prevent gummy worms from getting soggy, place them in each cup just before serving for that fun, playful touch!
- Scaling for Guests: If you’re expecting a crowd, this recipe is easily doubled. Consider using a trifle dish for a stunning presentation that everyone will love.
- Creative Substitutions: Don’t hesitate to mix and match ingredients; using vanilla pudding with cocoa powder or different candies can customize your Dirt Pudding Cups to everyone’s taste.
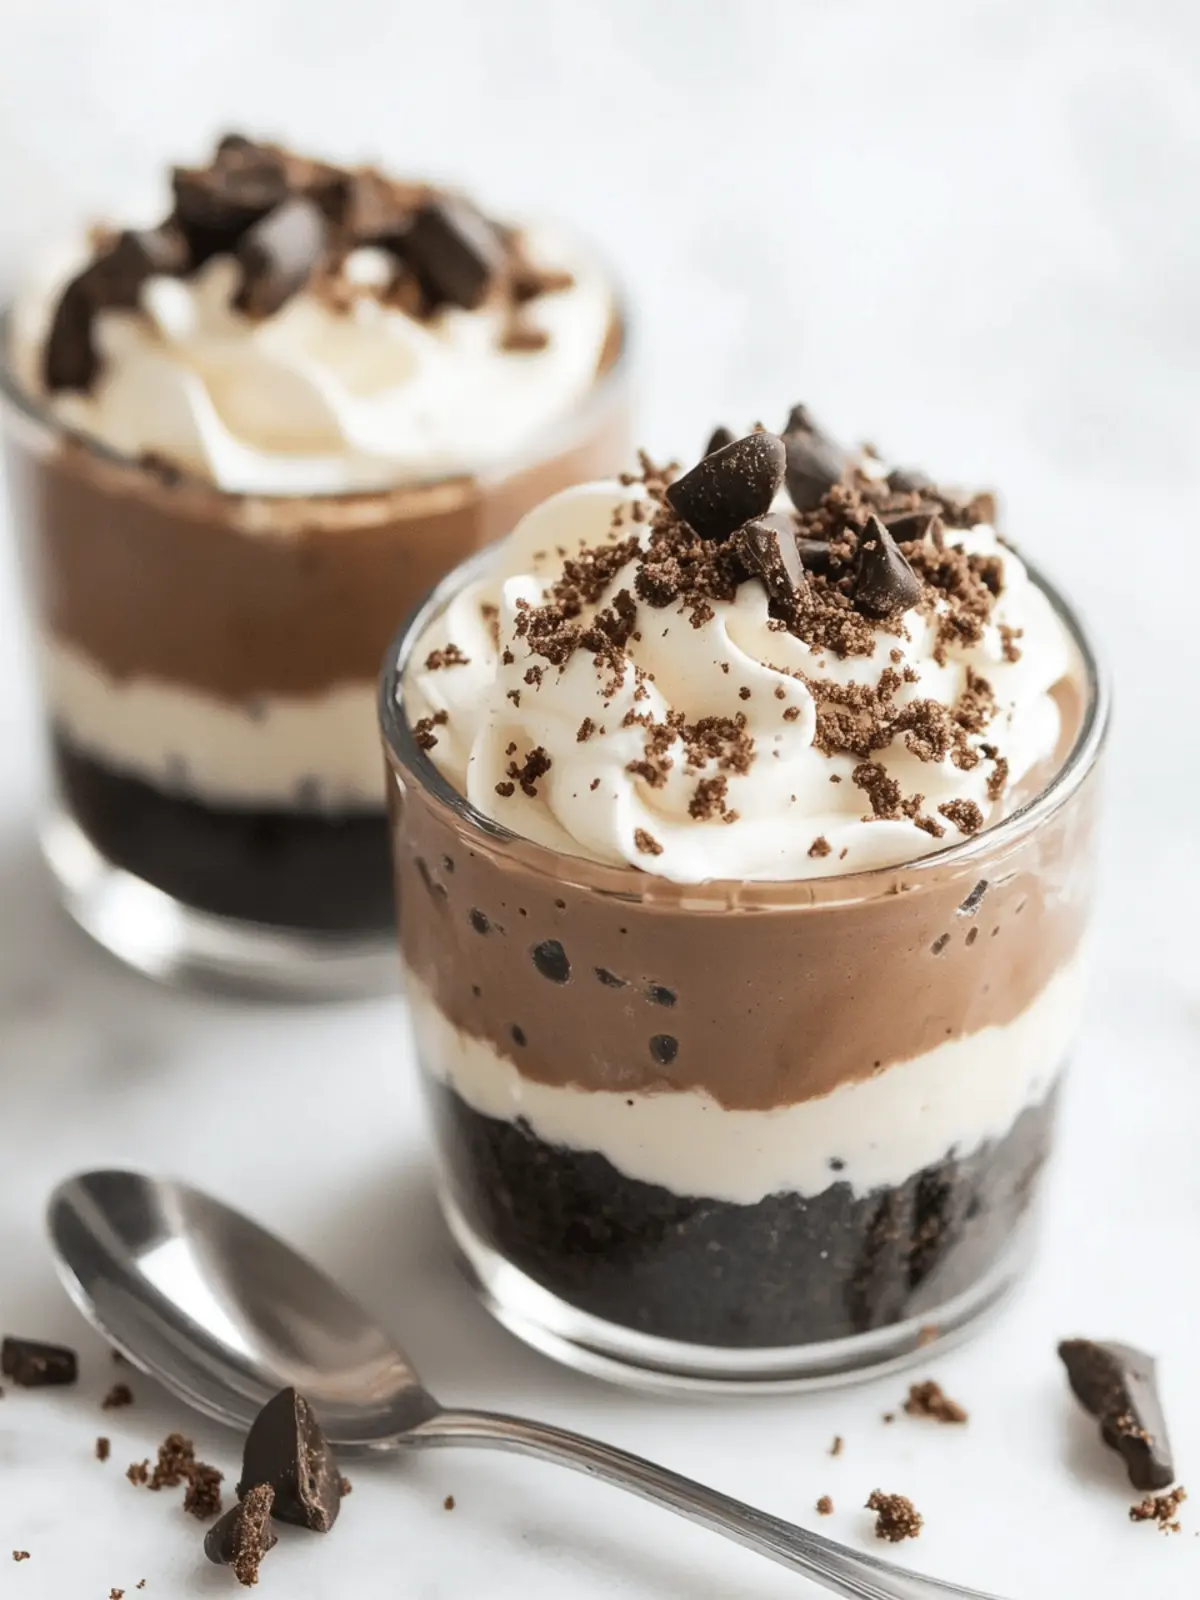
Dirt Pudding Cups Recipe FAQs
What kind of chocolate cookies should I use for Dirt Pudding Cups?
Absolutely! Traditional chocolate sandwich cookies, like Oreos, work perfectly for this recipe. If you’re feeling adventurous, any chocolate cookies can be substituted, bringing different textures and flavors to your Dirt Pudding Cups.
How should I store Dirt Pudding Cups?
You can store your Dirt Pudding Cups in the refrigerator for up to 5 days! Just cover each cup with plastic wrap or a lid to keep the pudding fresh.
Can I freeze Dirt Pudding Cups?
While it’s best to enjoy Dirt Pudding Cups fresh, they can be frozen for up to 1 month in an airtight container. When you’re ready to enjoy, transfer the cups to the fridge for several hours to thaw. However, keep in mind that the texture may change slightly after freezing.
My pudding didn’t thicken; what should I do?
If your pudding didn’t set as expected, ensure you whisked the pudding mix and cold milk thoroughly. Let it sit for another 5-10 minutes. If you’re still having trouble, try refrigerating the pudding for some time—it often helps achieve that desired thickness.
Are there any dietary considerations for this recipe?
This recipe is quite flexible! If serving to kids with dietary restrictions, you can use dairy-free milk and whipped topping to accommodate allergies. Ensure to check for any gummy worms that may contain common allergens. Always read labels and opt for alternatives if needed!
Can I customize the toppings on my Dirt Pudding Cups?
Very! While gummy worms are a classic touch, you could get creative with other toppings. Try using gummy bears, crushed candies, or even sprinkles for extra fun. Just make sure to add these right before serving for the best texture!
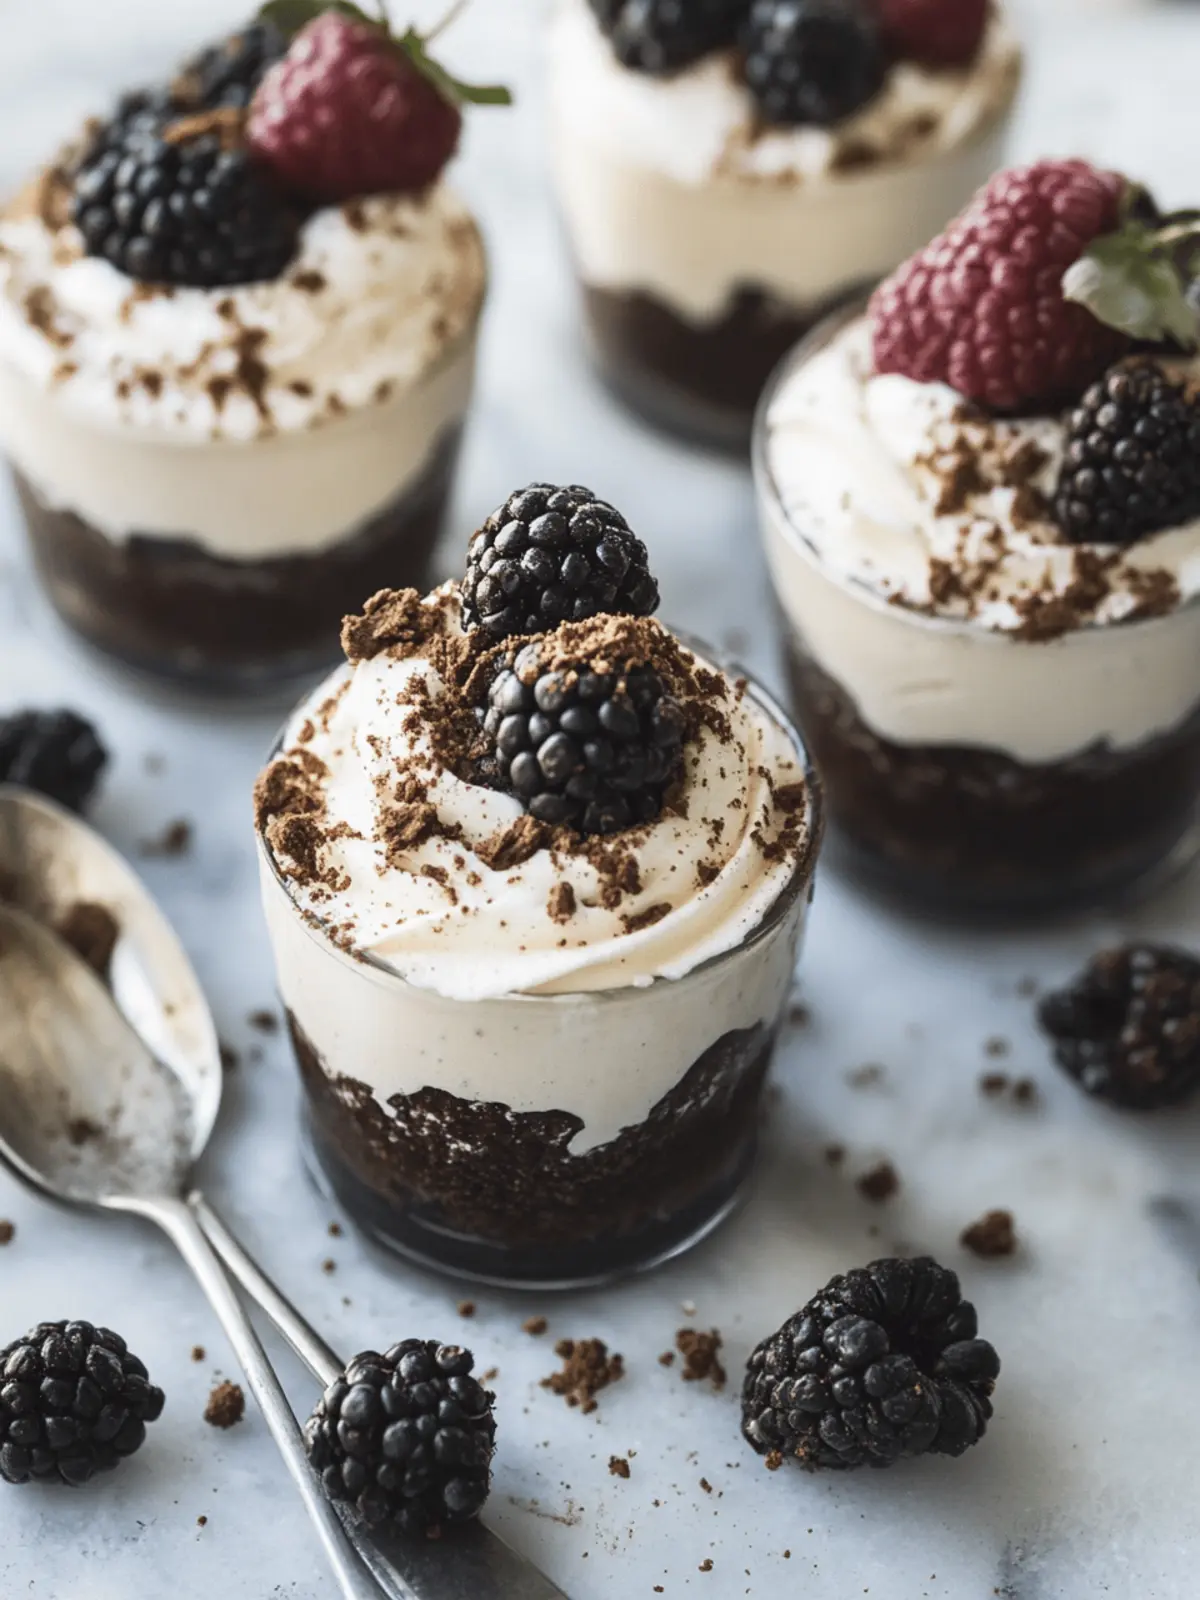
Irresistible Dirt Pudding Cups That Kids Will Love
Ingredients
Equipment
Method
- Crush the chocolate sandwich cookies in a food processor or place them in a sealed plastic bag and use a rolling pin until finely crumbed.
- In a large bowl, whisk together the chocolate pudding mix and cold milk until smooth. Let it set for about 5-7 minutes until it thickens.
- Whip the heavy cream in a separate bowl until medium-firm peaks are reached.
- Gently fold the whipped cream into the set pudding until well incorporated.
- Stir in three-quarters of the crushed Oreos to the mixture.
- Evenly distribute the pudding mixture into eight 8-oz cups. Insert three gummy worms into each cup.
- Spoon the remaining crushed Oreos over each cup.
- Enjoy immediately or refrigerate until ready to serve.


