There’s something incredibly comforting about the aroma of freshly baked chocolate chip traybake wafting through the kitchen, instantly transforming any day into a special occasion. This easy and family-friendly recipe combines deliciousness with simplicity, making it a delightful way to gather everyone around the oven.
Picture this: kids eagerly awaiting the magic of melted chocolate chips, while you mix together the rich, fudgy batter. Not only is it a fun activity that sparks creativity, but it’s also a chance to indulge in a cozy, homemade treat that’s perfect for school snacks or family gatherings.
With endless possibilities for toppings and flavor variations, this traybake can easily adapt to your taste and let’s be honest, who doesn’t love a versatile dessert that pleases both kids and adults alike? So grab your aprons and let’s dive into this delightful baking adventure!
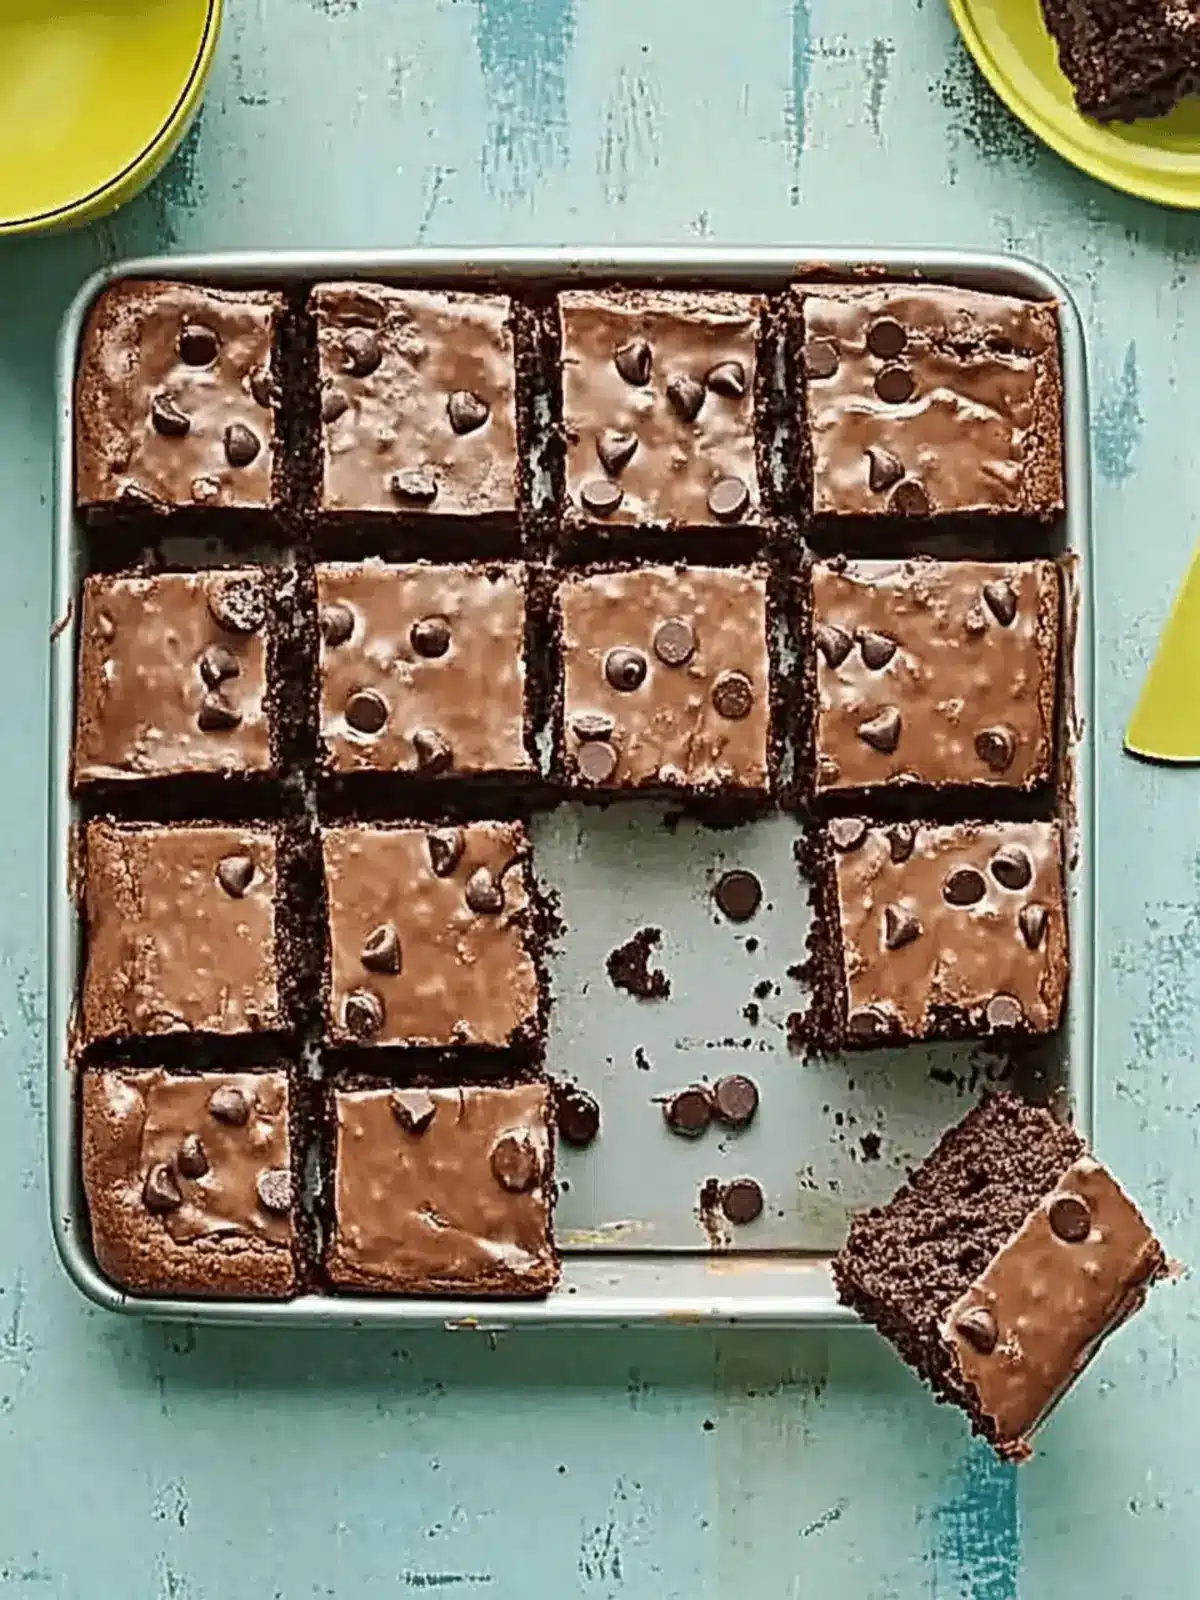
Why is Chocolate Chip Traybake a Must-Bake?
Irresistible aroma: The smell of chocolate melting fills your home, creating an instant mood boost.
Family-friendly fun: Perfect for baking with kids, turning kitchen time into cherished memories.
Endlessly versatile: From toppings to mix-ins, customize it to suit every palate or occasion.
Quick and easy: This straightforward recipe comes together in no time, making it a go-to for busy days.
Crowd-pleaser: Ideal for gatherings, it’s a dessert guaranteed to impress family and friends alike.
Chocolate Chip Traybake Ingredients
• Dive into the delightful world of baking with the essentials for a perfect chocolate chip traybake!
For the Batter
- Rapeseed Oil – Adds moisture and tenderness to the bake. Can be replaced with sunflower oil or melted coconut oil.
- Plain Flour – Provides the structure for the traybake. Ensure to measure accurately to avoid a dense texture.
- Cocoa Powder – Gives a rich chocolate flavor and color. Use Dutch-processed cocoa for a deeper cocoa taste.
- Baking Powder – A leavening agent that helps the traybake rise. Don’t substitute with baking soda without adjusting other ingredients.
- Light Brown Soft Sugar – Sweetens the bake and adds moisture. Dark brown sugar can be used for a stronger flavor.
- Whole Milk – Contributes moisture and richness. Substitute with a dairy-free alternative like almond or oat milk for a vegan option.
- Vanilla Extract – Enhances the sweetness and flavor profile. Use pure vanilla extract for the best taste.
- Large Eggs – Binds the ingredients and adds structure. Aquafaba can be used as a vegan substitute (3 tablespoons per egg).
- White Chocolate Chips – Provide sweet bursts of flavor throughout. Swap for milk or dark chocolate chips if preferred.
For the Icing
- Butter – Used for making the icing, giving it a smooth texture. Margarine can be used as a dairy-free alternative.
- Icing Sugar – Sweetens and thickens the icing. Can substitute with powdered erythritol for a sugar-free version.
- Cocoa Powder (for icing) – Adds richness to the icing.
- Milk (for icing) – Adjusts the consistency of the icing. Use as needed to reach desired thickness.
Gather these ingredients, and you’ll be well on your way to creating a memorable Chocolate Chip Traybake that your family will adore!
How to Make Chocolate Chip Traybake
-
Preheat the Oven: Begin by preheating your oven to 180°C (160°C fan/gas 4). Grease a 33 x 23 cm roasting tin and line it with baking parchment for easy removal.
-
Mix Dry Ingredients: In a large bowl, combine the plain flour, cocoa powder, baking powder, light brown soft sugar, and a pinch of salt. Whisk together to ensure there are no lumps in your flour mixture.
-
Combine Wet Ingredients: In a jug, whisk together the rapeseed oil, whole milk, vanilla extract, and large eggs until evenly combined. Pour this mixture into the bowl with the dry ingredients, and then add the white chocolate chips. Stir gently until no dry flour remains.
-
Bake the Traybake: Pour the batter into your prepared tin and smooth the top. Bake for 25-30 minutes, checking doneness by inserting a skewer into the center. If it comes out wet, bake for an additional 5 minutes. Let it cool in the tin for 20 minutes.
-
Prepare the Icing: For the icing, melt the butter in a saucepan. Once melted, stir in the icing sugar, cocoa powder, and enough milk to achieve a smooth, pourable consistency.
-
Icing & Serving: Pour the icing over your cooled traybake, allowing it to set for a few minutes. Slice into squares and enjoy this delicious treat with your loved ones.
Optional: Serve warm with a scoop of vanilla ice cream for an indulgent dessert experience.
Exact quantities are listed in the recipe card below.
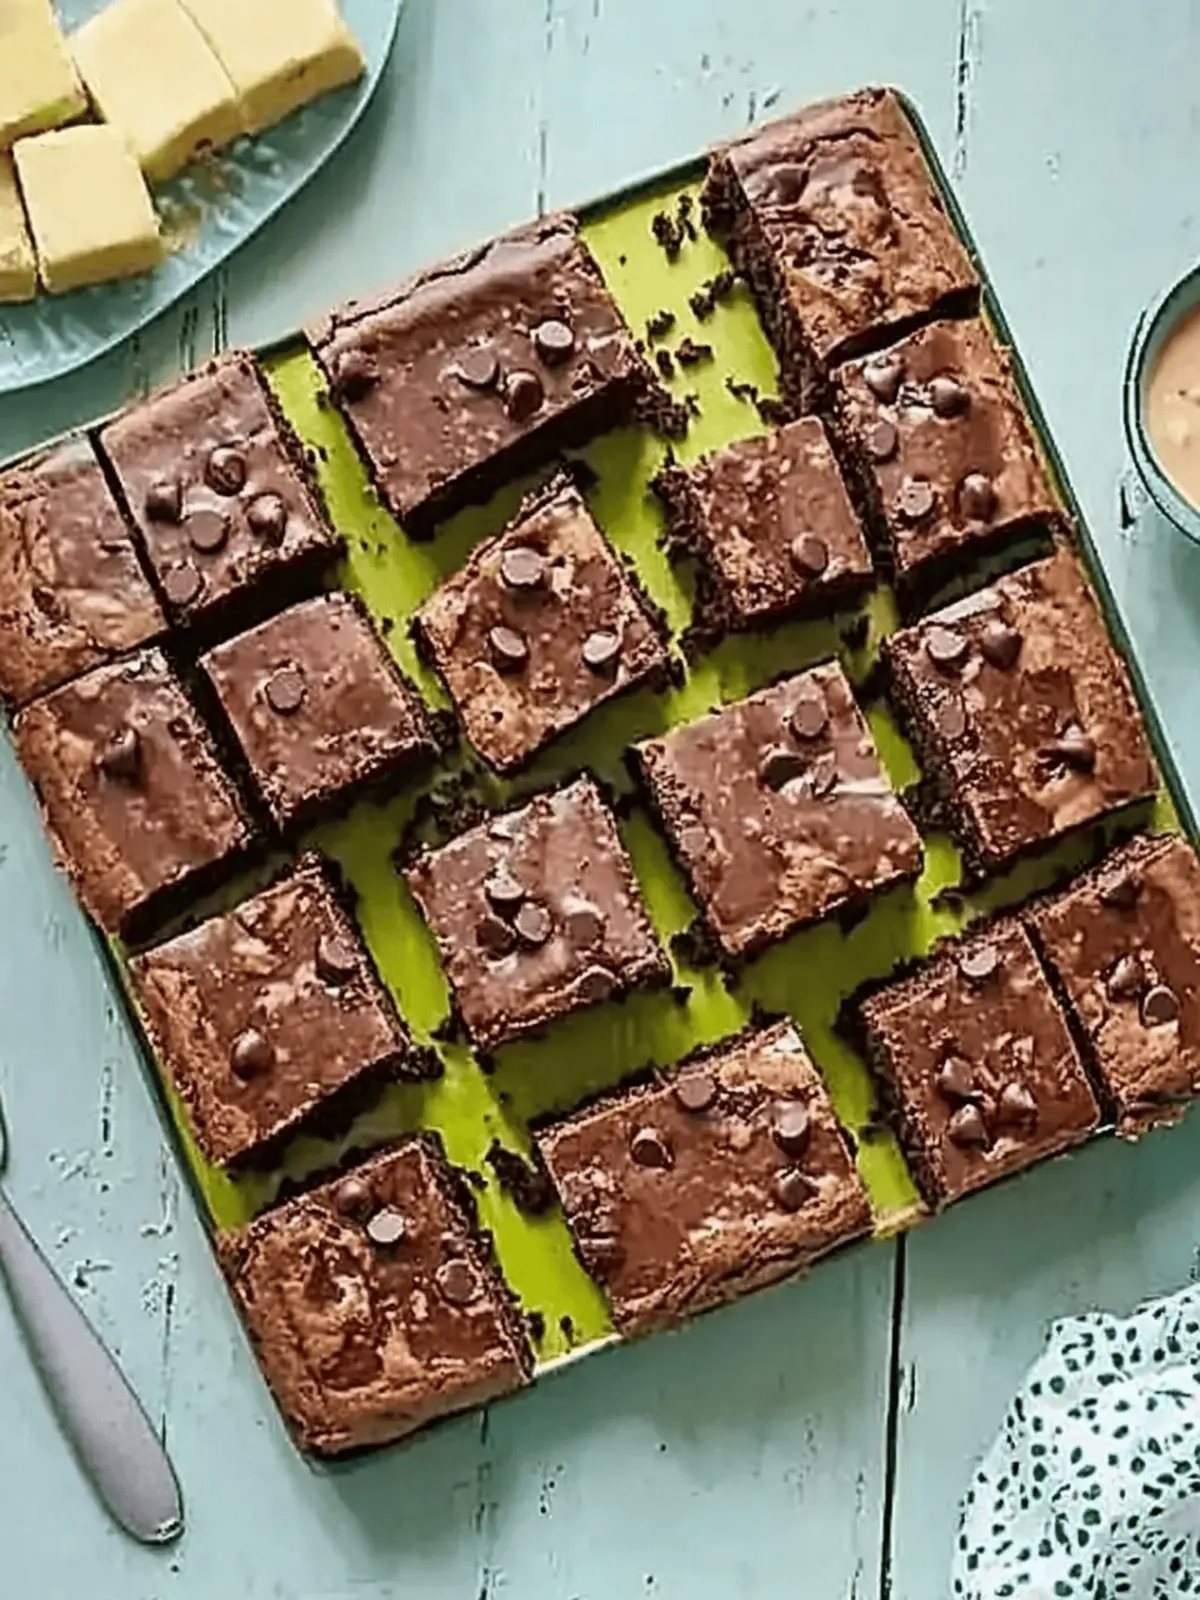
Make Ahead Options
These Chocolate Chip Traybake squares are perfect for meal prep enthusiasts! You can prepare the batter up to 24 hours in advance by mixing the dry ingredients, storing them in an airtight container, and refrigerating the wet ingredients separately. To maintain quality, keep your chocolate chips and eggs at room temperature until ready to mix and bake. When you’re set to enjoy this delicious treat, simply combine the wet and dry ingredients, pour the batter into the tin, and bake according to the recipe instructions. The traybake will come out just as delightful and fudgy, saving you precious time on busy weeknights!
Expert Tips for Chocolate Chip Traybake
- Avoid Overmixing: Gently fold the batter to prevent a dense texture; mixing too much can make your chocolate chip traybake tough.
- Check for Doneness: Use a skewer to test; if it comes out sticky, give it a few extra minutes in the oven for perfectly baked squares.
- Cool in the Tin: Let the traybake cool for 20 minutes in the tin before slicing to maintain its structure and avoid crumbling.
- Customize Your Icing: If the icing is too thick, simply warm it gently to achieve a smooth pourable consistency, ensuring a beautiful finish.
- Storing Leftovers: To keep your chocolate chip traybake fresh, store it in an airtight container at room temperature for up to 4 days.
Chocolate Chip Traybake Variations
Feel free to explore creative twists and substitutions to make this traybake your own!
- Dairy-Free: Swap whole milk for almond or oat milk to make this yummy dessert vegan-friendly without losing its rich flavor.
- Nutty Delight: Add chopped walnuts or pecans for a satisfying crunch that complements the chocolatey goodness beautifully.
- Frosting Layer: Elevate your traybake by spreading a layer of cream cheese frosting on top for an indulgently creamy finish.
For a seasonal twist, imagine the joy of a spiced version: sprinkle in some cinnamon or nutmeg. It’s like a cozy embrace in cake form!
- Fruit Fusion: Mix in a handful of dried fruits like cranberries or cherries for a sweet and tart explosion in every bite.
- Sprinkled Cheer: Top with colorful sprinkles or crushed candies for a festive look that makes this treat perfect for parties.
- Spicy Kick: Add a pinch of cayenne pepper or chili powder to the batter for an exciting, unexpected heat that will tantalize your taste buds.
Let your culinary creativity shine, and enjoy experimenting with this delightful recipe!
How to Store and Freeze Chocolate Chip Traybake
- Room Temperature: Keep the chocolate chip traybake in an airtight container at room temperature for up to 4 days to maintain its freshness and texture.
- Fridge: For longer shelf life, refrigerate in an airtight container for up to 1 week, ensuring it’s properly wrapped to avoid drying out.
- Freezer: To freeze, slice the traybake into individual squares, wrap each piece tightly in plastic wrap, and place them in a zip-lock bag. They’ll stay fresh for up to 3 months.
- Reheating: When ready to enjoy, thaw at room temperature or reheat in the microwave for 15-20 seconds for that fresh-baked taste.
What to Serve with Chocolate Chip Traybake?
Treat your loved ones to a delightful spread that complements the fudgy bliss of this traybake, creating a perfect dessert experience.
- Vanilla Ice Cream: The creamy coldness pairs beautifully with warm chocolate, enhancing every bite of indulgence.
- Fresh Berries: Juicy strawberries or blueberries provide a refreshing contrast, cutting through the richness of the traybake with their bright flavors.
- Whipped Cream: Light and fluffy, a dollop of whipped cream adds an element of airiness that perfectly balances the dense chocolate treat.
- Chocolate Sauce: For the ultimate indulgence, drizzle velvety chocolate sauce on top to intensify the chocolate experience.
- Nutty Caramel Sauce: A swirl of nutty caramel adds depth and an irresistible sticky sweetness that elevates your dessert moment.
- Coffee or Tea: Serve with a bold cup of coffee or fragrant tea to enhance the dessert and create a cozy feel.
- Milkshake: A chocolate or vanilla milkshake pairs wonderfully, making this a fun throwback dessert experience, reminiscent of diner days.
- Decorative Sprinkles: For an extra pop of color, top your traybake with festive sprinkles—perfect for celebrations or a fun treat for kids!
Each pairing adds a unique twist, making your Chocolate Chip Traybake a pinnacle of sweet satisfaction!
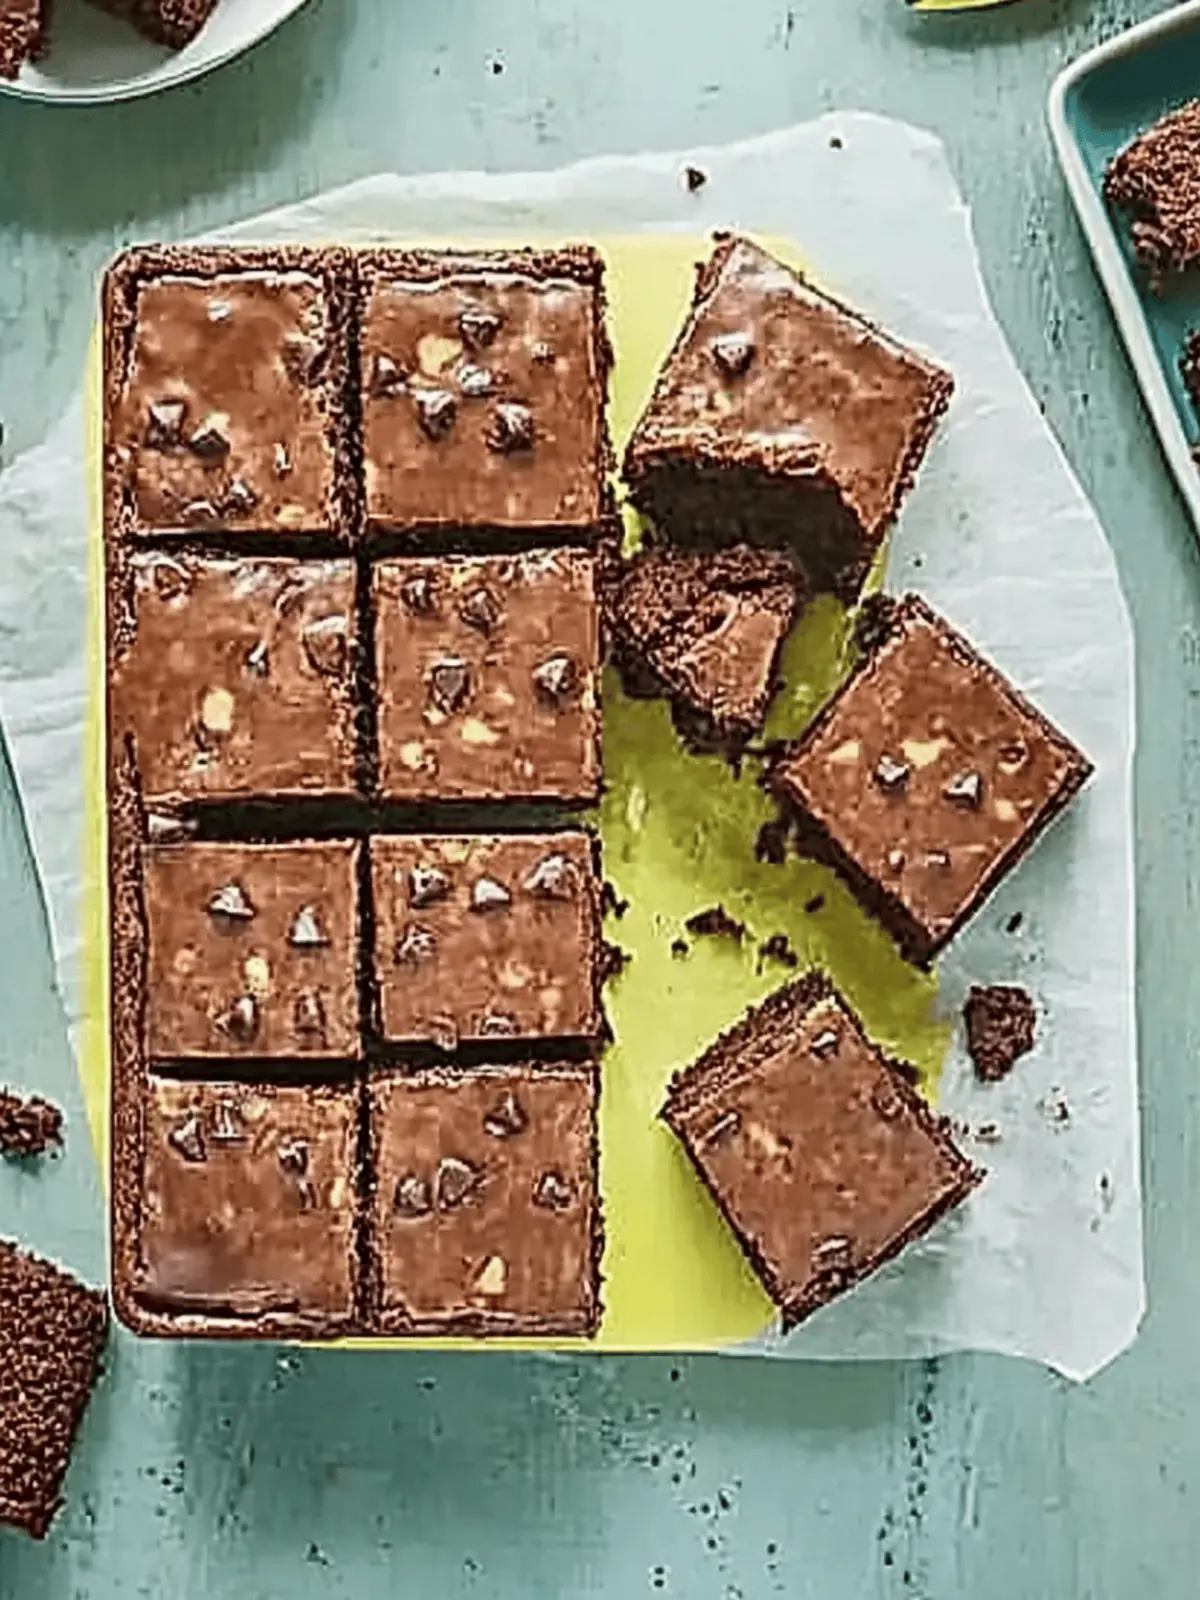
Chocolate Chip Traybake Recipe FAQs
How do I choose the best ingredients for my Chocolate Chip Traybake?
Absolutely! For the best results in your traybake, always go for fresh ingredients. Use high-quality rapeseed oil, as it enhances moisture. When selecting cocoa powder, Dutch-processed cocoa offers a richer flavor. Ensure your eggs are fresh, and for the vanilla extract, opt for pure for the most authentic taste. Lastly, for chocolate chips, choose your favorite variety—white, milk, or dark—to cater to your family’s preferences!
How should I store my Chocolate Chip Traybake to keep it fresh?
To maintain the deliciousness of your Chocolate Chip Traybake, store it in an airtight container at room temperature for up to 4 days. If you want it to last longer, pop it into the fridge, where it will stay fresh for up to 1 week. Just be sure it’s well wrapped to prevent that dreaded dryness!
Can I freeze my Chocolate Chip Traybake? If so, how?
Absolutely! Freezing is a fantastic option to enjoy your Chocolate Chip Traybake later. Slice the traybake into individual squares and tightly wrap each piece in plastic wrap. Then, place them in a zip-lock bag and freeze for up to 3 months. When you’re ready to indulge, thaw the squares at room temperature, or if you’re in a hurry, microwave them for 15-20 seconds for that freshly baked taste!
What should I do if my traybake comes out too dense?
If your Chocolate Chip Traybake turns out too dense, it could be due to overmixing the batter or measuring the flour inaccurately. When incorporating the wet and dry ingredients, gently fold them together until just combined. If this happens again, consider using a kitchen scale for precise measurements and take care not to rush the mixing process!
Are there any dietary considerations I should keep in mind while making this traybake?
Very! This Chocolate Chip Traybake is versatile. If you have dietary restrictions, you can make it vegan by substituting large eggs with 3 tablespoons of aquafaba and using a dairy-free milk alternative like almond milk. Be sure to check that your chocolate chips are dairy-free if necessary. Always verify ingredient labels for potential allergens, especially if you’re hosting a gathering.
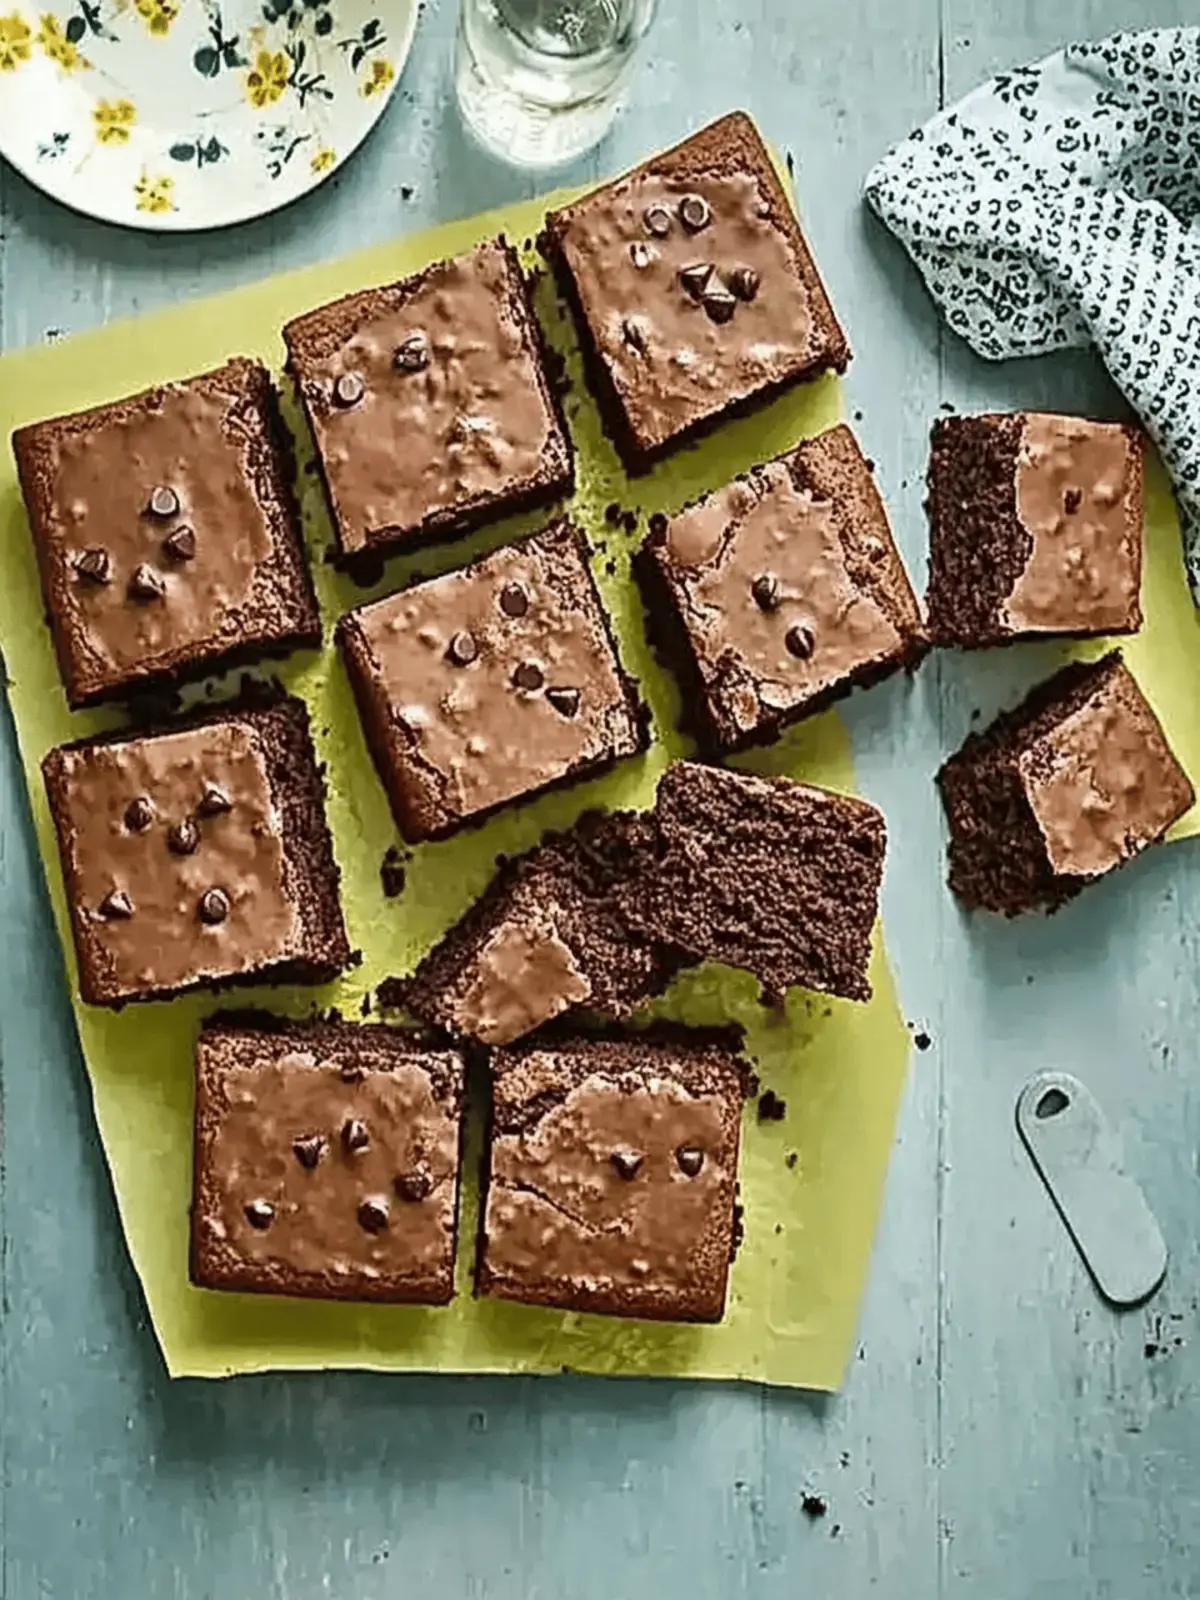
Irresistible Chocolate Chip Traybake for Sweet Family Moments
Ingredients
Equipment
Method
- Preheat your oven to 180°C (160°C fan/gas 4). Grease a 33 x 23 cm roasting tin and line it with baking parchment for easy removal.
- In a large bowl, combine the plain flour, cocoa powder, baking powder, light brown soft sugar, and a pinch of salt. Whisk together to ensure there are no lumps in your flour mixture.
- In a jug, whisk together the rapeseed oil, whole milk, vanilla extract, and large eggs until evenly combined. Pour this mixture into the bowl with the dry ingredients, and then add the white chocolate chips. Stir gently until no dry flour remains.
- Pour the batter into your prepared tin and smooth the top. Bake for 25-30 minutes, checking doneness by inserting a skewer into the center. If it comes out wet, bake for an additional 5 minutes. Let it cool in the tin for 20 minutes.
- For the icing, melt the butter in a saucepan. Once melted, stir in the icing sugar, cocoa powder, and enough milk to achieve a smooth, pourable consistency.
- Pour the icing over your cooled traybake, allowing it to set for a few minutes. Slice into squares and enjoy this delicious treat with your loved ones.


